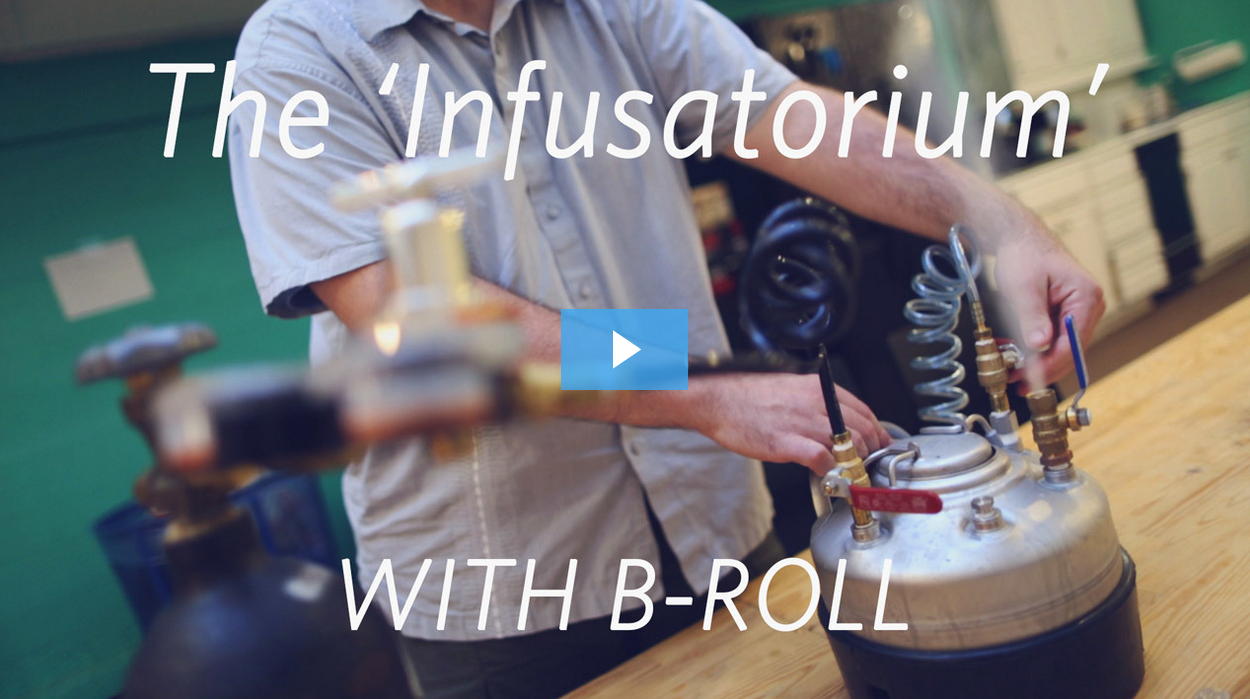
How to create a visual story using b-roll.
How to Create a Visual Story with B-roll
by Meryl Ayres on August 11, 2015
At Wistia, most of our videos start out looking something like this:
After we edited together Ben’s narrative, we implemented some footage to help create a more visual story. Watch the difference it makes:
Simply put, B-roll lets you show and not just tell. Instead of watching Ben talk about infusions, we get to see the whole process in action: preparing ingredients, using the infusatorium, and doling out drinks.
Interested in adding B-roll to your videos? We’ve got five quick tips to get you started. Let’s get (B)-rolling!
Keep it relevant
B-roll should always be directly tied to the main narrative of the video or the footage surrounding it. If the connection isn’t immediately clear, then B-roll becomes disruptive. When you begin shooting this footage, think about painting a scene or illustrating a message with different shots.
Now, I don’t know about you, but as soon as Ben started talking about applying “many multiples of atmospheric pressure” in the example video, I needed a visual to fully comprehend the process. B-roll to the rescue! A few shots of Ben’s contraption painted a picture I could wrap my head around.
Plan ahead (and embrace spontaneity)
B-roll should never be an afterthought in post-production. When you plan out your video, you should always keep B-roll in mind. At Wistia, we often write notes about the B-roll shots we want next to certain lines in a video’s script.
While it’s important to plan ahead, it’s equally essential to remain open to new ideas you might glean from the shoot. For video interviews, sometimes it makes sense to shoot additional B-roll after the fact, based on the talent’s responses.
Motivated camera movement and style
B-roll presents a great opportunity to get creative with camera movement and shooting styles, but your artistic choices shouldn’t call attention to themselves. Sort of like background music, the best B-roll should feel seamless to your audience.
In our video of Ben, the dynamic, hand-held shooting style worked well to capture shots from interesting angles and perspectives.
Pro tip: Using a camera slider can help turn a still shot into something a bit more engaging.
Limit distractions
The whole purpose of B-roll is to tell the story visually. It should supplement the main narrative, not interrupt it. If your footage is shaky or blurry, it can disturb the viewer’s experience. Likewise, if the sound captured in the B-roll footage is jarring, it can distract your viewers from the message. In most cases, you’ll want to turn down the sound for your B-roll clips and let the main shot’s sound carry over.
Timing is everything
The overall goals and pace of your video should help determine the length of of your B-roll shots. Say you have a longer support video demonstrating a specific process to your customers. Those illustrative shots might be 20 to 30 seconds long, depending on what you’re trying to achieve.
On the other hand, for a 30-second promotional video, the B-roll shots will most likely be short and sweet. The pacing of your edit should always come first, so embrace the fact that some shots may end up on the cutting room floor. Be ruthless!
In our example video, some 2-second detail shots of Ben bartending helped create a fun, upbeat pace for this playful culture video.
Pro tip: Before you stop recording a shot, try to count to three slowly. This extra time might come in handy when you’re editing later.
Go forth and cut away!
The ability to cut away from the main shot in your video is empowering, and it’s critical for crafting an engaging visual story. At the very least, you’ll find that having relevant B-roll footage gives you more flexibility in post-production. So go out there and capture some B-roll. Bring your story to life!


