
Four device settings that improved my study habits
If you’re like me and use digital devices (laptops, tablets, smartphones, etc.) regularly both in your study and leisure time, you may have trouble switching your brain between casual ‘social time’ and a distraction-free study mode.
Personally, I use my digital devices for everything from note-taking to online revision to organizing my schedule. But the difficulty always seems to lie in getting rid of the constant stream of notifications, emails, and ever-so-appealing red icons whenever I try to sit down and study.
Although there doesn’t seem to be an easy fix for this problem, I’ve found a few device settings that have helped make my study sessions more distraction-free. I’ve listed them below, with instructions on how to activate each setting. Good luck, and happy studying!
1. Invert the colours of your laptop
Why?

My colour-inverted laptop screen!
Living in an age of distraction, we are constantly subjected to notifications, blurbs, texts. Obviously these hash-grams and insta-tags and whatnot are detrimental to our work habits. So the obvious (and for me, necessary) solution is to put them away when it’s time for work. But what about when you need to use Facebook or the web for a group project, for example? How do you limit yourself?
I found that inverting the colours on my laptop screen (my main study/work station) helped me in two ways:
- It flips the constant white screens of PDFs, Word docs, and other pages to a black background, making it easier for your eyes to focus on the task at hand over longer periods of time.
- When I HAVE to integrate social media in my work (e.g. using Facebook messenger for a group project) but don’t want to be distracted by pretty pictures and red icons, fear not! The inverted colours of this setting make almost any image or post indistinguishable, so I’m not as easily led off the path of productivity.
There is also a keyboard shortcut you can enable (command+alt+control+8) that allows you to switch back and forth between inversion and normal colour with ease!
How?
Mac:
- Open System Preferences.
- Go to the keyboard panel and select Accessibility in the sidebar.
- Check ‘Invert Colors.’ This will allow you to now use the keyboard shortcut (Control-Option-Command-8) to invert the laptop’s colours whenever you like!
Windows:
- Launch the Magnifier application (found in the help bar).
- Click on the grey gear to open ‘Magnifier Options.’
- Click ‘turn on colour inversion.’
2. Download a free blue-light eliminator extension (laptop)
Why?
This free plug-in eliminates the blue light emitted by your laptop screen, which may help you get a better night’s sleep. It also has a variety of ‘evening’ and ‘nighttime’ colour scheme settings and alarms that can remind you when it’s time to go to bed. It seems like a small change, but a gentle reminder and push to hit the hay can work wonders in maintaining a healthy study schedule.
How?
If you search for a blue-light eliminator program online, there are many popular options that can be installed easily — just make sure you’re using a trusted program. The extension I use is called Flux, and has worked wonders for my sleep cycle.
3. Night Shift (iPhone IOS 9.3)
 Why?
Why?
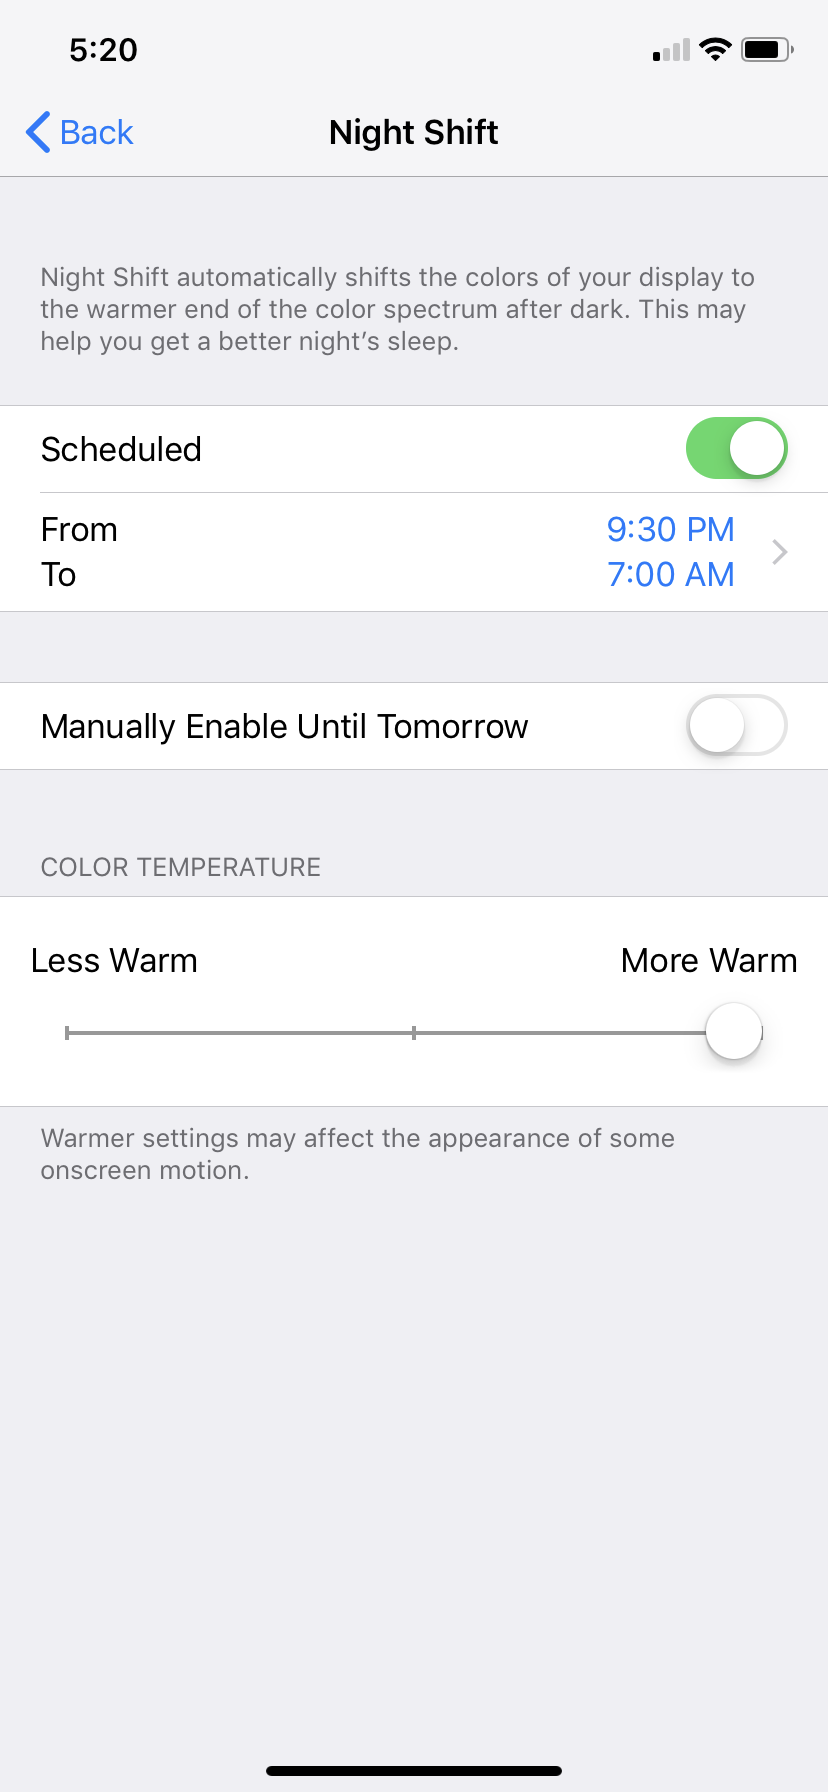
This setting is essentially the same thing as above, but for your phone. Night mode and the ‘bedtime’ function (automatically installed on iPhones) can help eliminate those of us tempted to stay on our phones at night (though it’s worth noting that the best solution for me was to ditch my phone entirely before going to bed).
How?
- In settings, click on ‘Displays and Brightness.’
- Tap on ‘Night Shift.’
- Adjust ‘screen temperature’, and schedule what hours you would like your phone to change the blue light ratio.
4. Grey-scale iPhone screen
Why?
 This works on the similar principal as #1: many of us now have visceral, entrenched responses to these colourful, shiny notifications on our devices.
By setting my iPhone to a grey-scale screen when I’m studying, I feel less tempted to pursue notifications that pop up, while still allowing me to message or communicate when I have to.
How? (IOS 10)
- In settings, go to the General tab.
- Click on Accessibility, and then Display Accommodations.
- You can now choose to either activate either grayscale, Classic or Smart Invert options. Hooray!


Some nifty tricks I had no idea about, thanks Talen!