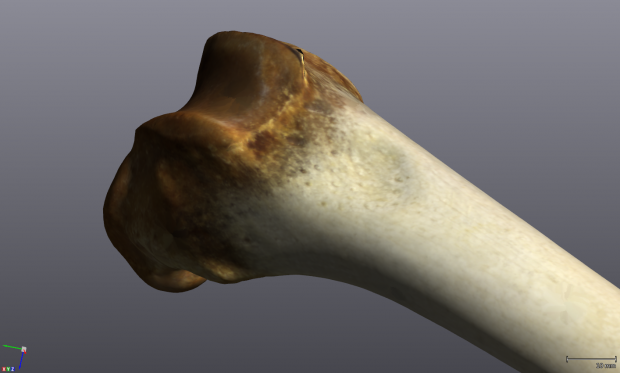
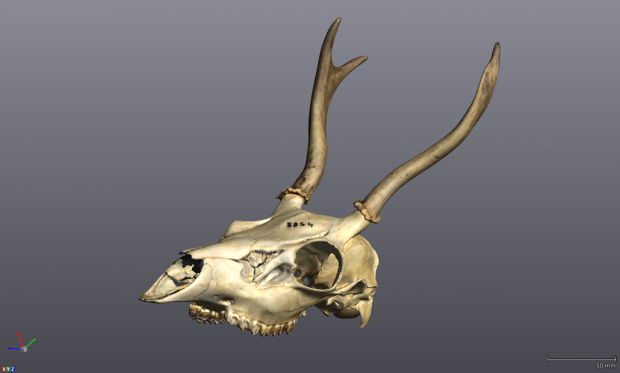
Have you ever considered the applications of a 3D scanner? It’s possible depending on your background and interest in emerging technology, however once you past the novelty of being able to scan in 3D, you realize it has many useful real world applications. As the technology becomes more widely available, 3D scanners are being used for everything from engineering to art. In our case, we’ve been tasked with archiving a portion of the Ian Cowan collection.
Documenting Ian Cowan’s field books can be done with a flatbed scanner or by transcribing, but how do you also document his vast collection of real-life specimens? One option is to photograph them with the right lighting and equipment, but being able to create 3D models gives a hands on and immersive experience that simply can’t be recreated without viewing the specimen in person.
The scanner we’re working with in the Digitization Centre uses something called “laser triangulation” to scan objects. The scanner emits light from three different lasers laid out in a triangular formation within the scanner’s body. The scanner then calculates the distance to the object of interest based on the light reflected back to the scanner’s sensor. The scanner also has an on-board camera to capture the colour of the object and overlays this imagery on top of the, what would otherwise be a plain, 3D model.


New to the world of 3D scanners, I was immediately impressed with not only the detail, but the accuracy which the scanner was able to capture. Even at standard resolution, the scanner was able to pick up small grooves and divots within the specimens being scanned. Not only are the scans it produces high quality, but the scanner itself is quite intuitive and can be handled by anyone with the right instruction.
However (as it always seems to happen), with new technology comes new challenges. For 3D scanning; these challenges came in the guise of furry and thin objects.
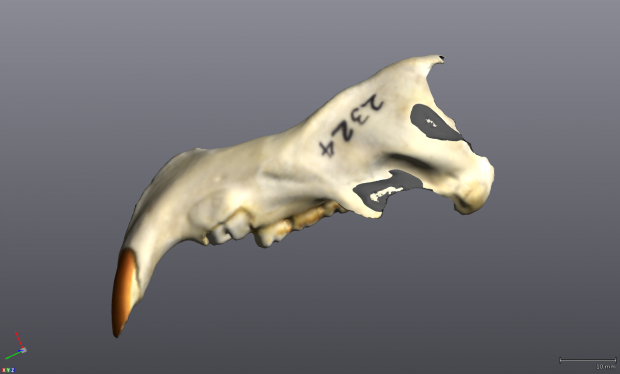
While the scanner has no difficulty in capturing fine detail and small variations in topography and texture, it struggles with small and thin portions of the object that protrude from the main body. This shortcoming became especially apparent when working with a piece of a porcupine’s jaw.
With thin objects, the flattest and largest section can be scanned without any trouble. The real problem arises in post-production when it comes time to “merge” the 1mm thick edges together.
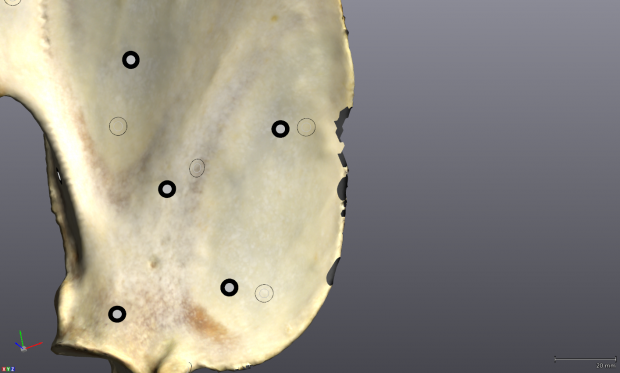
Any object we scan is done in at least two sections. We scan one side of the object, flip it over and then scan the other side separately. After both sides have been scanned we use a 3D modelling software called “VXelements” to align and merge these two scans together. Larger objects or objects with interior or complex sections may require more than two scans but are processed the same way.
Normally the software can locate the overlapping portions and smooth out the “edges” without any difficulty (aside from astronomical rendering times, depending on the size of the scan). With thin objects however, the program often struggles to locate the edges of the scan as the edges are so thin there is little to no overlap in the scans. After crossing my fingers and hoping for the best, I’ve so far only encountered two outcomes:
- The software finds the edges and a portion of the two scans phase through each other creating an overlap; or

- The edge, along with a sizeable chunk of the scan goes missing.

Luckily, and despite how serious they look at first glance, both problems are relatively easy fixes. While “VXelements” is used for both scanning and merging, we use a different software called “Meshmixer” to clean and seal our scans. When the first problem occurs, it’s only a matter of exporting and opening the scan in “Meshmixer” and using a sculpting tool to push each overlap back to proper side. The second problem is a bit more interesting as there are two possible solutions. The first option is to use a built in tool in “VXelements” which will automatically fill any gaps in the scan if information about the problem area is available. The other option is to re-merge a portion of the original scan onto that area, like a virtual Band-Aid. Which method will work involves some trial and error, and depends upon the overall structure of the 3D model.
While no technology is without flaw, the scanner has so far exceeded my expectations when it comes to the overall quality of the scans it produces, and in the near future all our scans will be uploaded to https://sketchfab.com/.

Keep an eye out for updates as I continue to work and experiment with the scanner and its capabilities.
