[et_pb_section fb_built=”1″ _builder_version=”3.22″][et_pb_row _builder_version=”3.25″ background_size=”initial” background_position=”top_left” background_repeat=”repeat”][et_pb_column type=”4_4″ _builder_version=”3.25″ custom_padding=”|||” custom_padding__hover=”|||”][et_pb_text _builder_version=”4.7.7″ background_size=”initial” background_position=”top_left” background_repeat=”repeat” hover_enabled=”0″ sticky_enabled=”0″]
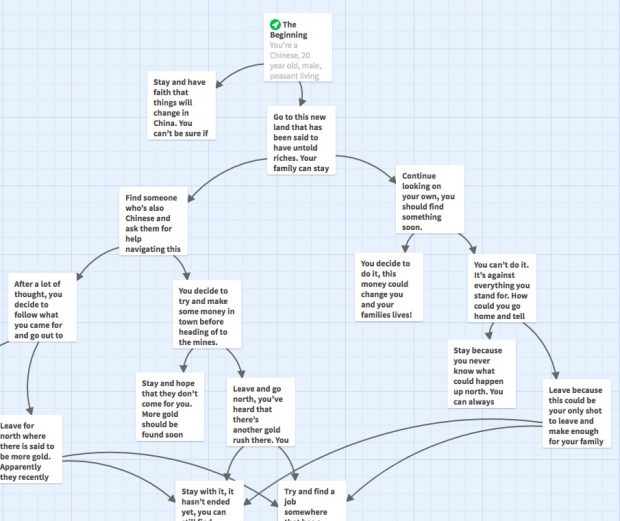
If you’re looking for a quick and easy way to publish an interactive story, where the reader is able to make decisions that affect the direction or outcome of the story, then Twine might be the tool for you. Twine’s web-based drag and drop interface make it easy to see the flow of your story as you can see in the image below.
When you start a new story in Twine, you are presented with an initial “passage.” To make a link to another story line or “passage” in Twin parlance, simply bracket the text in the passage you are working on with: [[Link text here]]. Once you’ve done this a new passage” will appear automatically using the link text as it’s name, with an arrow pointing to it after you close the passage you’re working on. If you have links to multiple texts in a passage, then multiple new passages will be created for you. To add an image to a passage, you need to use html code to insert it. E.g.: <img src=”url to image here”> (instructions here). YouTube videos can also be added, by using embed share option from the YouTube video page (instructions here).
One thing to keep in mind that all of the editing you are doing in Twine is being saved through your web browser to your local hard drive, not to the Twine website like you might think. In order to publish your story for the world to see you need to download your story (or “Publish to File”) and then upload the HTML file to a website that you have access to. Here is the Twine instructions on how to publish your work.
I’m new to Twine, but was amazed at what I could create with it in a very short period of time. Because Twine is an Open Source project, there are no licensing costs associated with using it. Check Twine Out!
[/et_pb_text][et_pb_post_nav prev_text=”%title” next_text=”%title” _builder_version=”4.7.7″ global_module=”4392″][/et_pb_post_nav][/et_pb_column][/et_pb_row][/et_pb_section]

