Teams Webinar
Webinar is now integrated into Microsoft teams. This update makes it convenient to sign up for a webinar, interact with the audience, and schedule a webinar with your colleagues.
To create a webinar through MS Teams, simply head to the “calendar” tab on the left-hand side of the Teams desktop app, then select the drop-down arrow beside the “new meeting” tab.
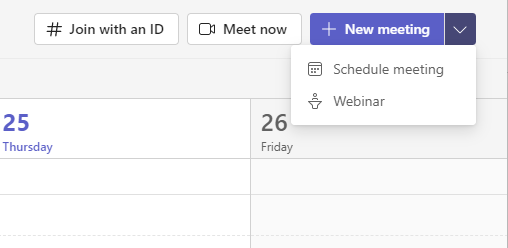
This will direct you to a page with customization options, as seen below:
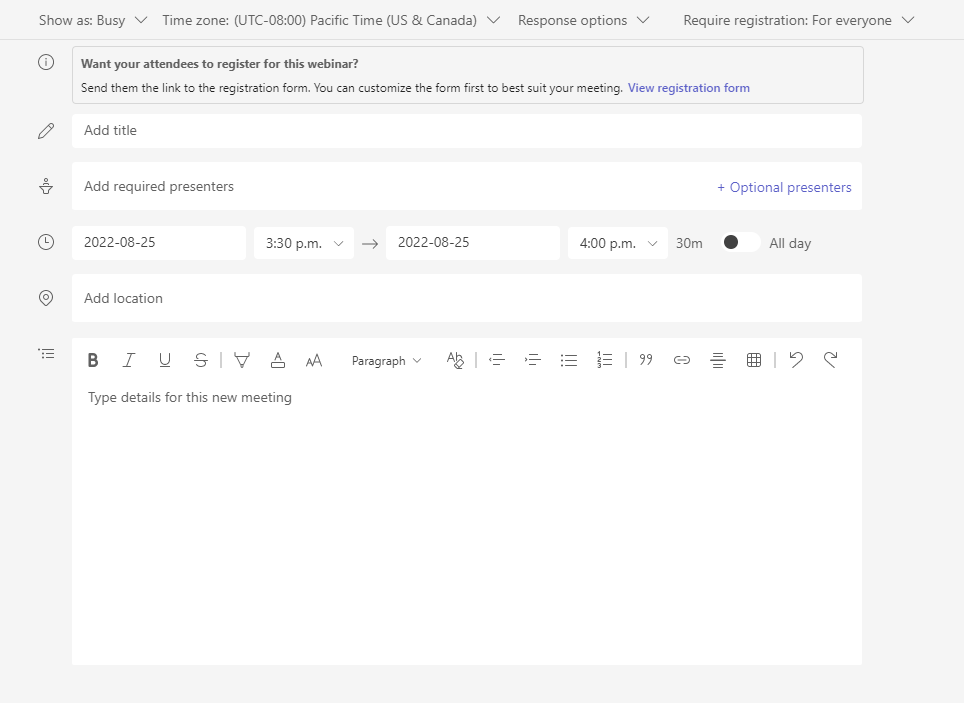
This features both the standard scheduling assistant features, and an added bonus. Clicking “View registration form” allows the host to create a bio for every speaker or presenter in the webinar, enabling the audience to get to know their presenters ahead of time. Once all the details are set, hit “Copy Registration Link” on the upper right-hand side of the screen to easily send out the webinar invitation to your audience.
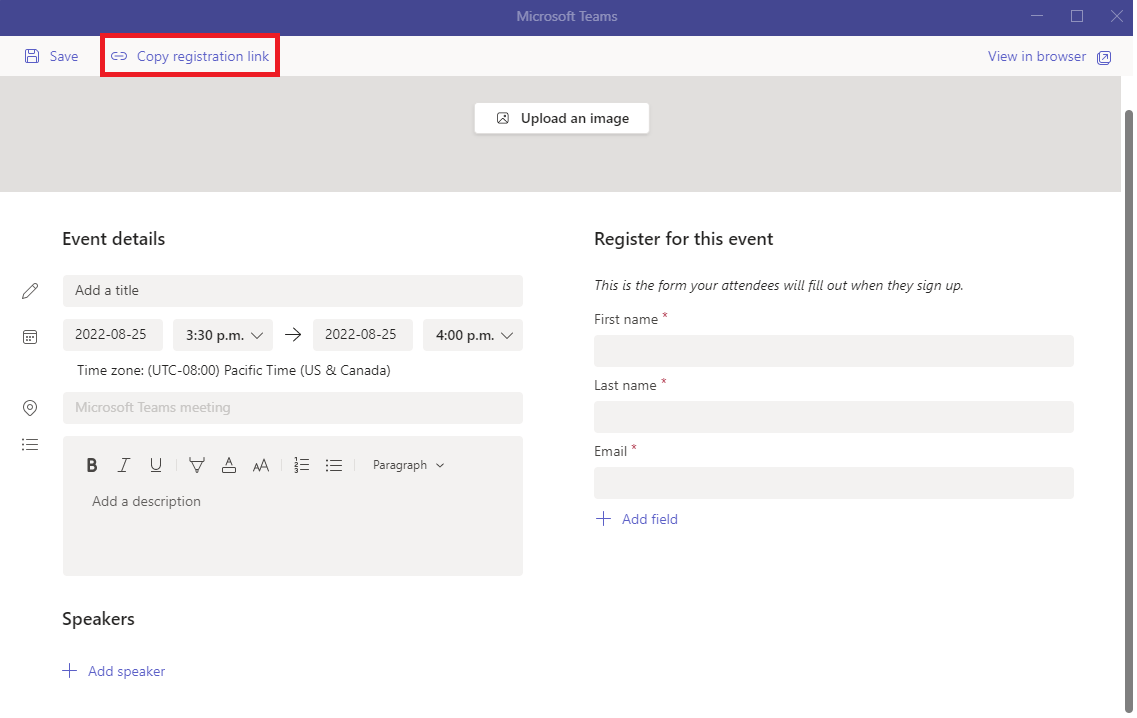
Check out Microsoft’s documentation for more information.
Self Chat
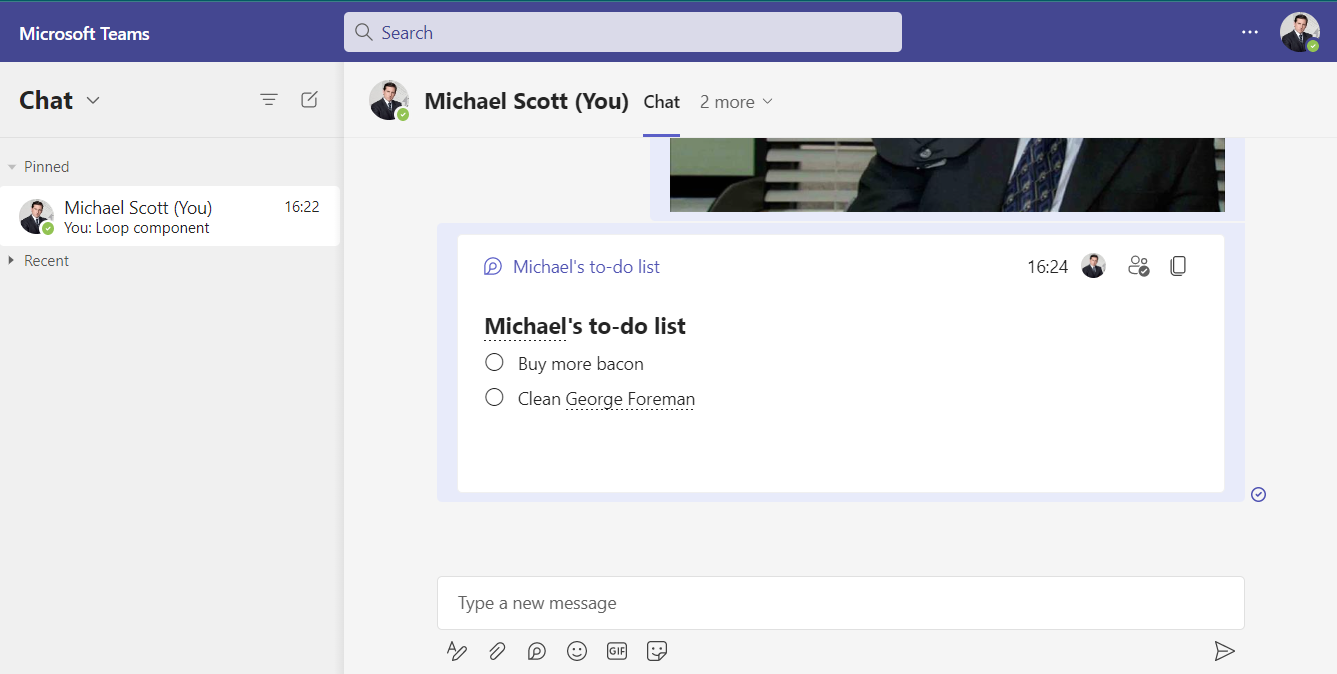
Now you can talk to yourself in Teams! Self chat allows you to have a chat with yourself, providing some new quality-of-life benefits. When you want to transfer a file from one device to another, you can simply drag and drop the file into the chat and download it from another device. Stay on top of things by sending handy little notes and reminders to yourself. Trying using self chat with a loop component to create to-do lists, add reminders, draft messages, and more!
Shared Channels
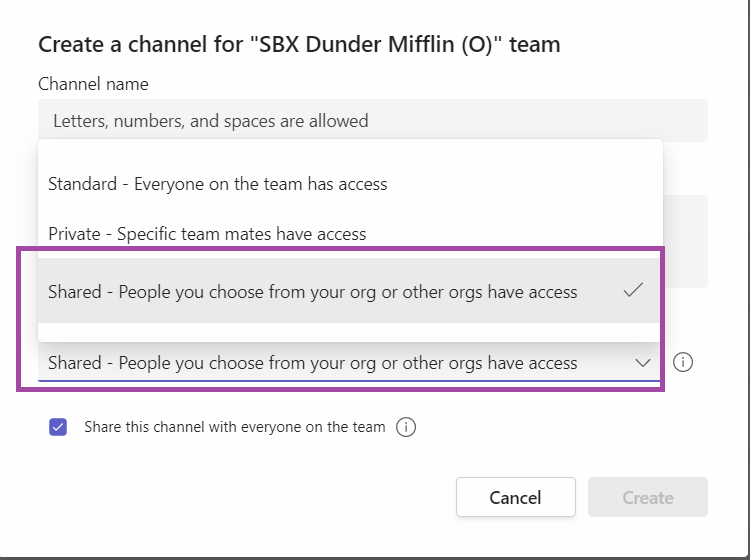
The Teams update also brings a new type of team’s channel, Shared Channels. This channel type allows you to collaborate with colleagues outside of your team. Channel owners can share a channel with teams they own, with colleagues at UVic, and with other UVic teams. Shared channel information has been incorporated into the UVic team owner training, providing full details on when best to make use of shared channels.
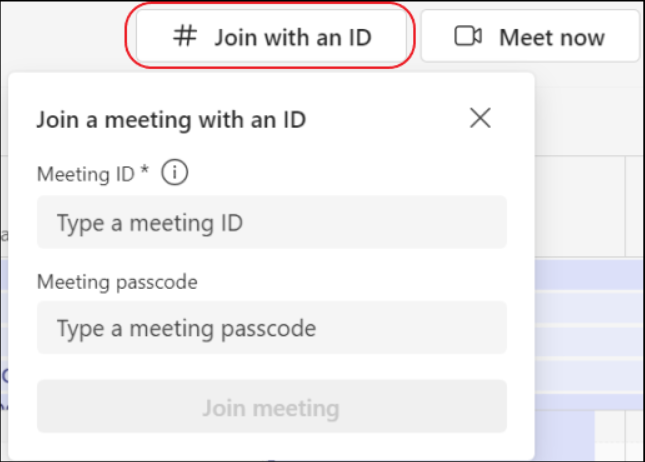
Join Teams meeting with meeting ID
There are now several new features integrated into Teams calls. You can now have attendees join your meeting with a meeting ID and passcode, similar to Zoom. To do so, open your Teams Calendar and select “Join with an ID”. Enter the information you have been provided into the pop up, and click the join meeting button.
Speaker Coach
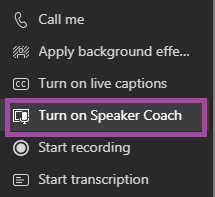
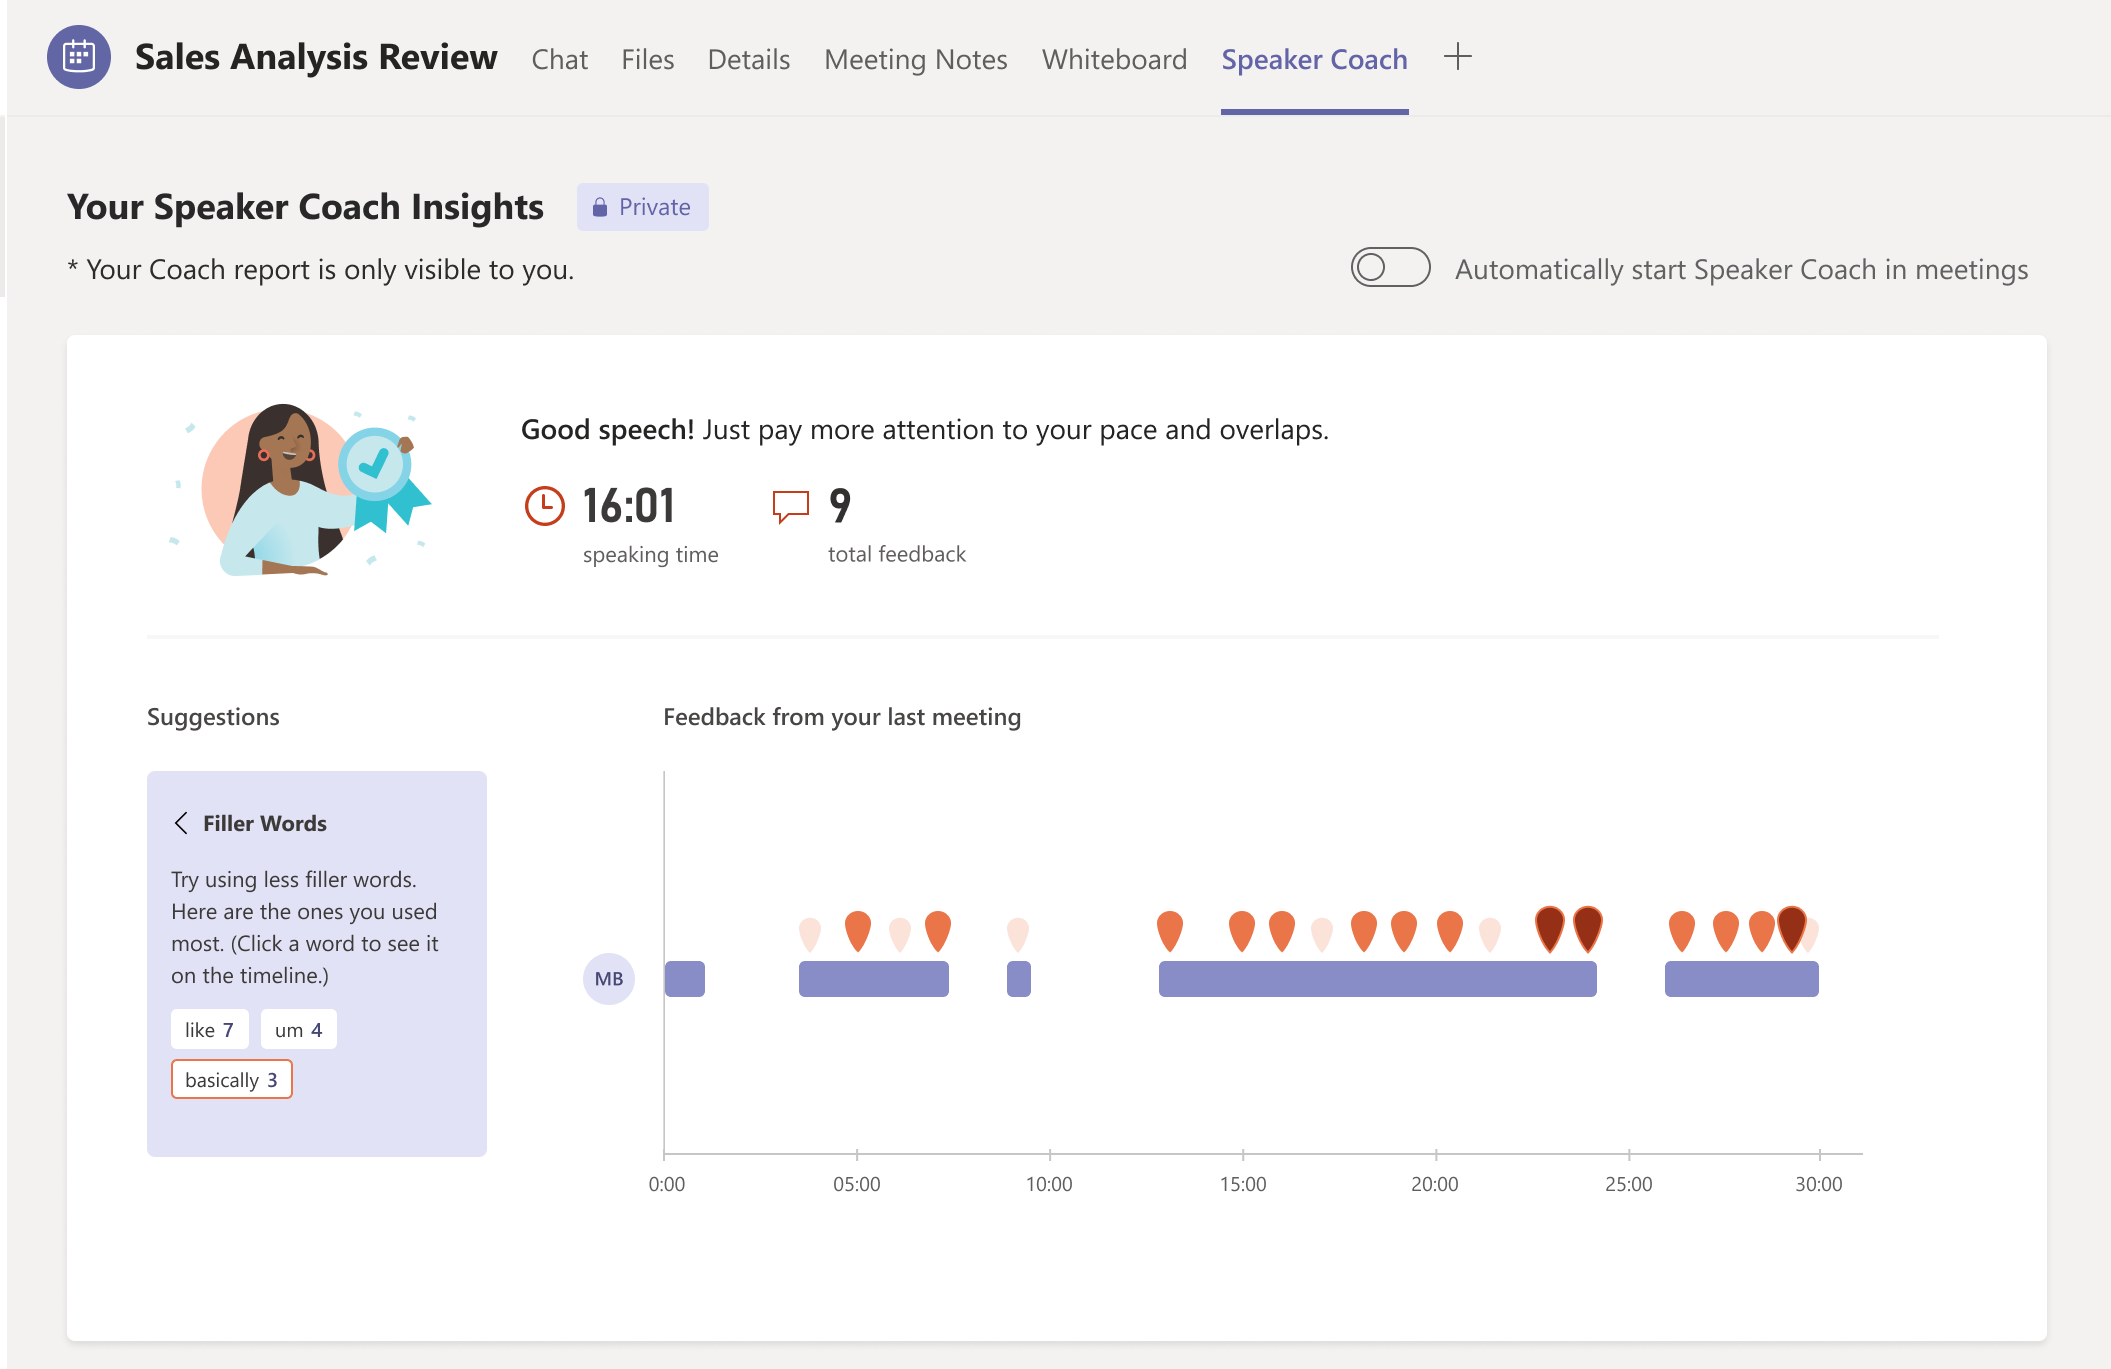
Ever wondered how your presentation is going? Teams can now tell you! Speaker Coach provides both in-meeting insights, and a post meeting review. Practice your pacing, avoid interrupting others, and get reminders to check in with participants. Look for this setting soon in the menu under the Ellipses in a Teams meeting: insert this photo
Together Mode for Everyone
If you are a meeting organizer or presenter, you can start Together mode for everyone in the meeting. To change the view, select View > Change meeting views button, Together mode > Change scene. While choosing a scene, make sure to check the box to Select Together mode for everyone before selecting Apply.

Pop Out Shared Content
You can now have both videos and presentations being shared open at the same time in separate windows in a Teams meeiting. When compatible content is shared, click the “Pop out” button in the meeting toolbar to pop out the content into a separate window.

Annotate while screensharing in a Teams meeting
While you’re sharing your full screen in a meeting, select the Start annotation icon in the meeting controls at the upper-middle area of your screen. This can allow users to provide real time feedback on a project proposal, mark down any questions or concerns they have, and highlight key points. You can also restrict annotation to yourself, if you want to add some notes or content as you go.

Out of Office Messages
With the upgrade to Exchange 2016 for employee email accounts, Teams will now automatically sync any out of office message you set in Outlook to your Teams profile. Users in your teams will be able to see the out of office message when contacting you and direct their inquiries accordingly.

Math Assistant in One Note
One Note now has support for the Math Ink Recognizer and the Math Solver Service. To use, simply write out your equation, then select it. Open the drawing tab and hit the math button to convert your ink equation to text, and even solve it. See Microsoft’s documentation for a useful tutorial video.
Visio for Web
Visio for the Web is now available for use with UVic M365 accounts! The desktop version still requires a separate license and fee. Microsoft Visio can be used to create diagrams such as flow charts, block diagrams, and process steps. Spruce up your next project or report with some custom made images.
A big thanks to Serafin and Avary for this blog post!
