Learner Empowerment and Academic Resource Network (UVic Learn)
Find articles, tip sheets, and video tutorials to develop the learning skills you need for academic success at all stages of your journey at the University of Victoria (UVic).
UVic Learn is part of the Division of Learning and Teaching Support and Innovation (LTSI).
Integrity in Practice
Take our new self-paced online courseGet a basic understanding of academic integrity, essential for your success both within and beyond the university.

Our digital academic resources will support you with a range of learning skills
Click the icons below to browse resources by category
Getting Started
Set yourself up for success throughout the school year
Researching
Find tips on pursuing and presenting your research
Communicating
Sharpen your reading, writing, and speaking skills
Using Learning Technologies
Learn how to use UVic’s digital tools including Brightspace and Echo360
Studying & Exams
Maximize your study time and understand academic integrity
Your Well-Being
Take care of your body and mind
Start the term strong!
Elements of a course syllabus

Three time management tips
Are you hoping to reduce your stress during your studies and use your time productively? Learn three time management strategies that can be used thoughout the term.

Learning to read critically

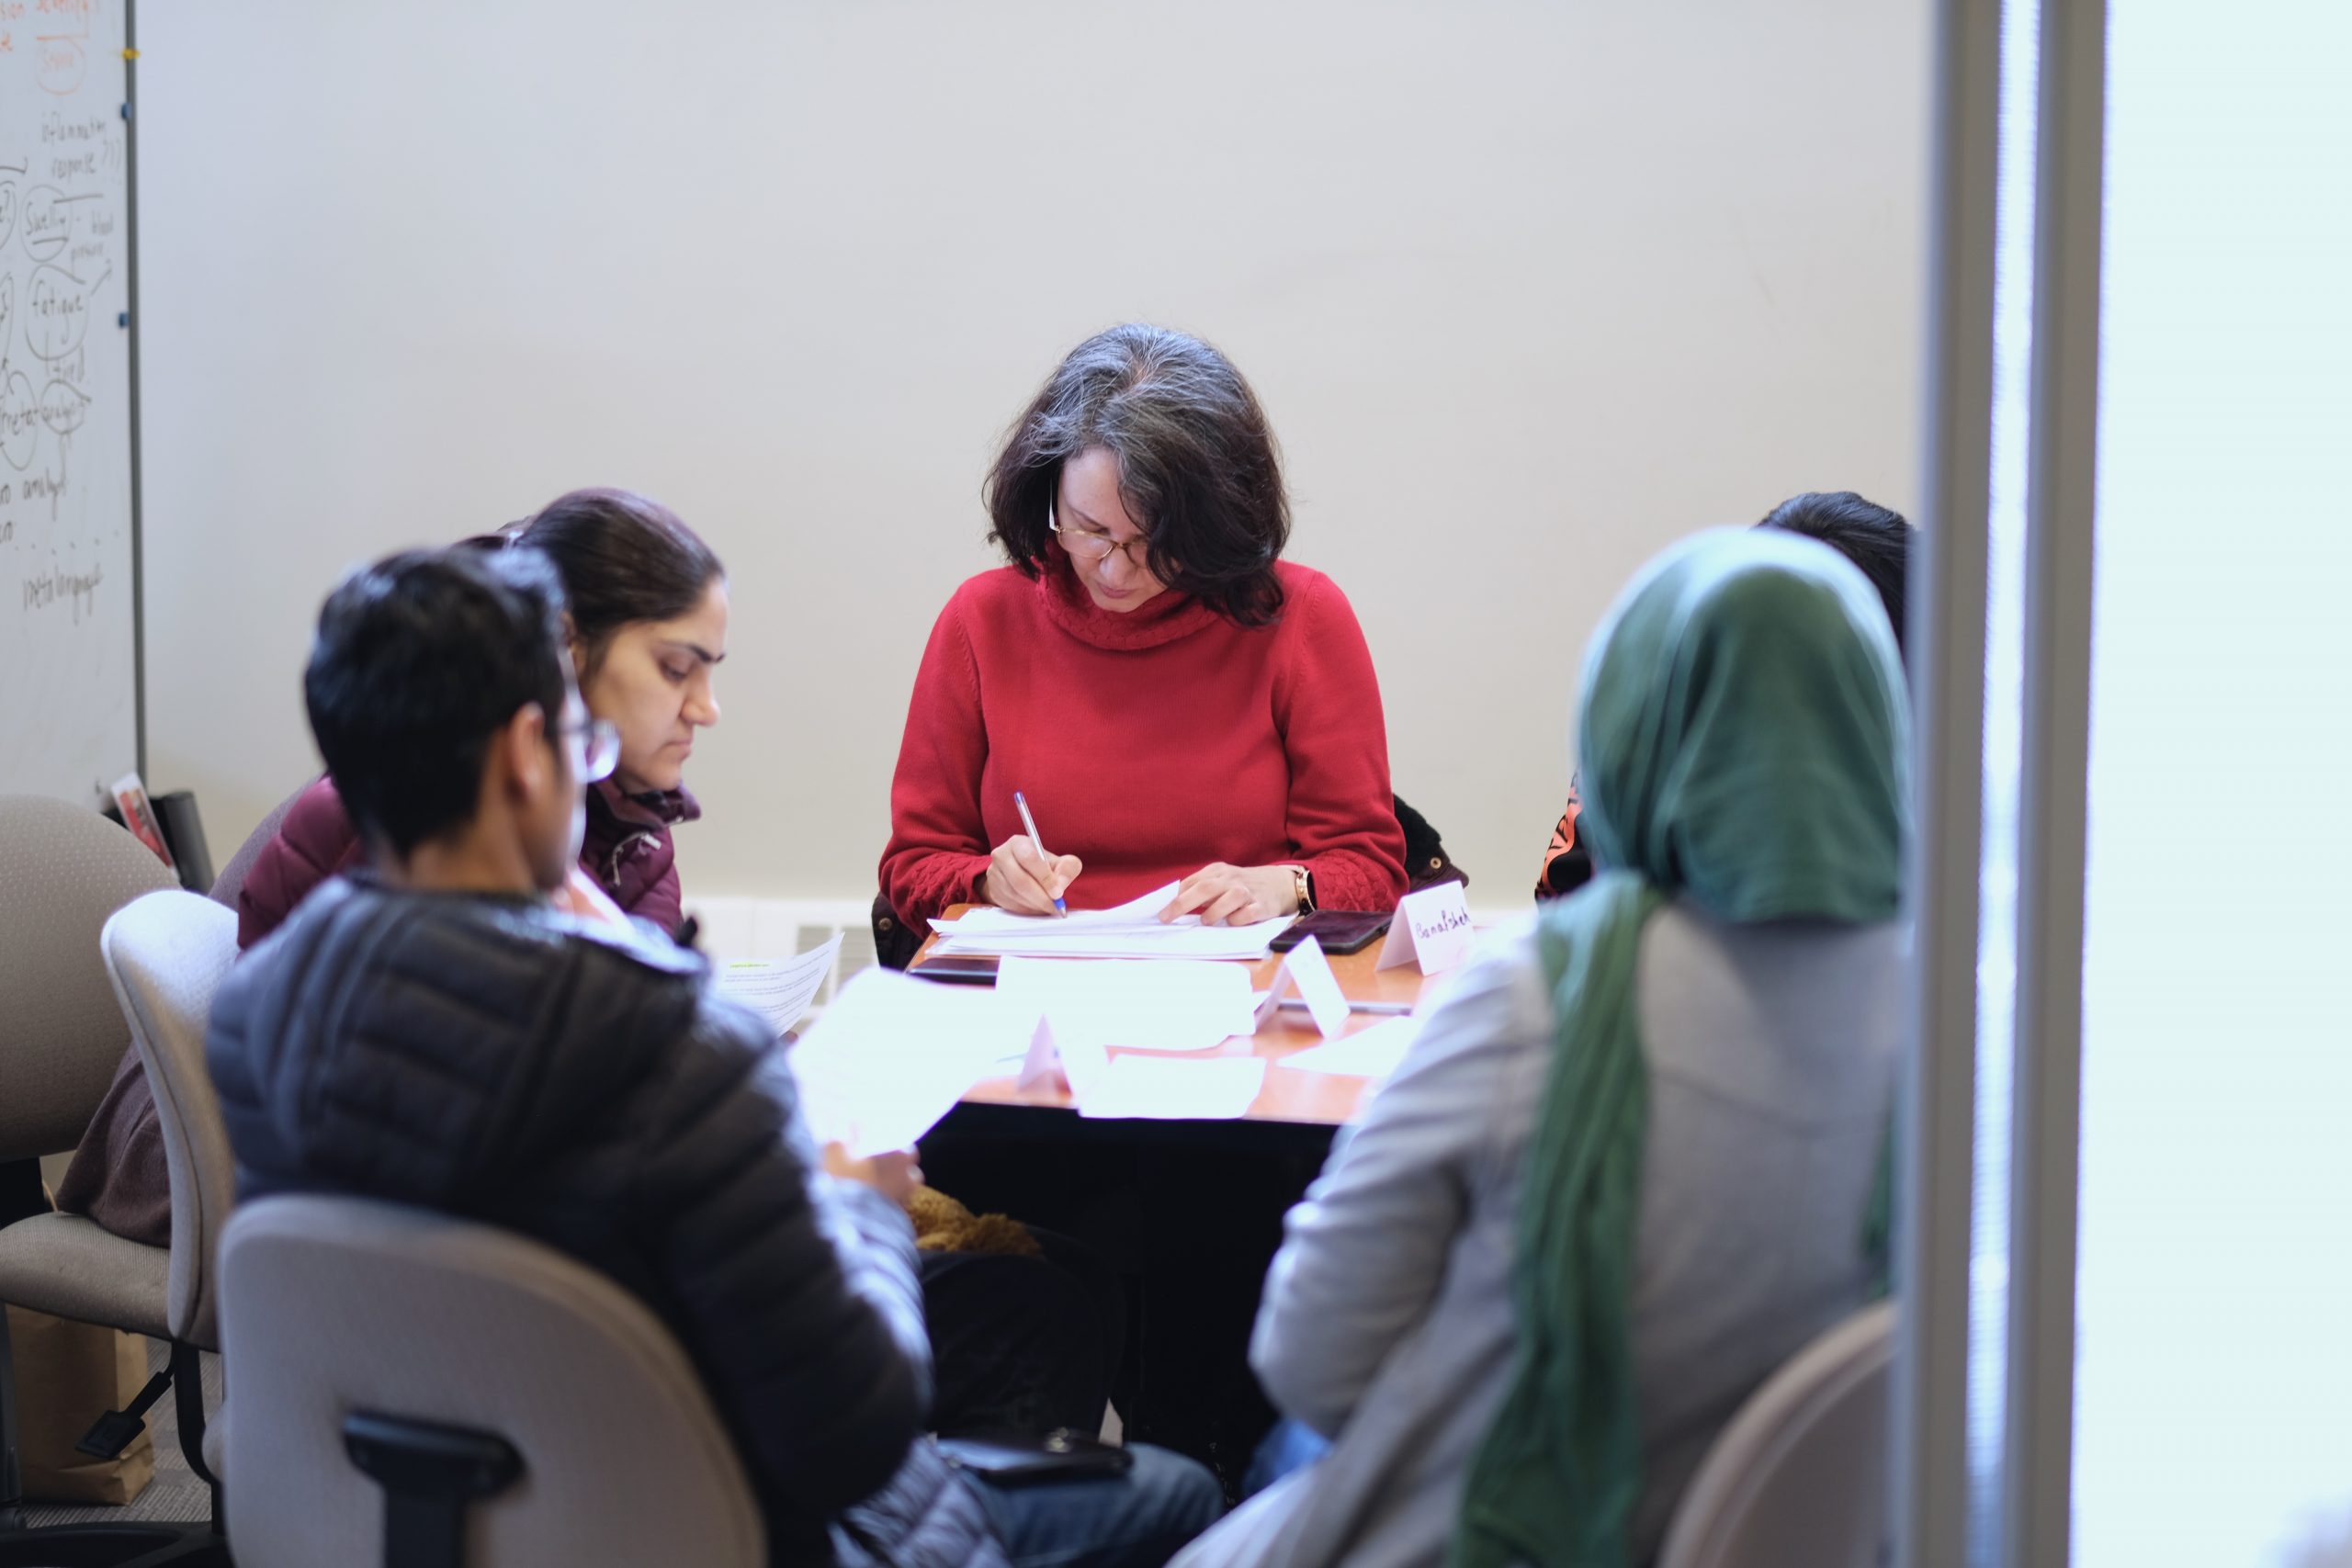
Participate in free student academic success offerings
The Centre for Academic Communication
one-on-one appointments
online tutoring
workshops
English conversation cafés
writing rooms for graduate students
The Math and Stats Assistance Centre
free drop-in one-on-one tutoring
collaborative study space where you can work on your 100- and 200-level math and stats course