Using the Cascade UVic Faculty Template Lesson 3: Using Your Faculty Tabs Template

If you would like your Faculty Pages to have Tabs instead of the default Paragraphs, you will need to use your own Tabs Blocks. Each Faculty Page needs its own Tabs Block.


To make updates faster and easier, and to keep your formatting consistent, make a blank Faculty Tabs template, and then follow these instructions.


If you do not have a Faculty Tabs Template, please follow Lesson 2 to create one.


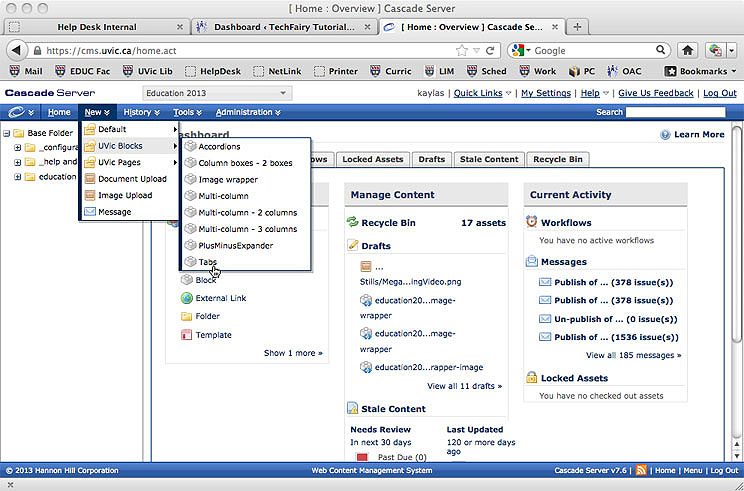
Step 1: Go to your Faculty-Tabs Template.

Go to faculty-tabs template.


Step 2: Hover over your Faculty-Tabs block and click the triangle that appears.

Hover and click the triangle.


Step 3: From the drop-down menu, choose “Copy.”

Choose "Copy."


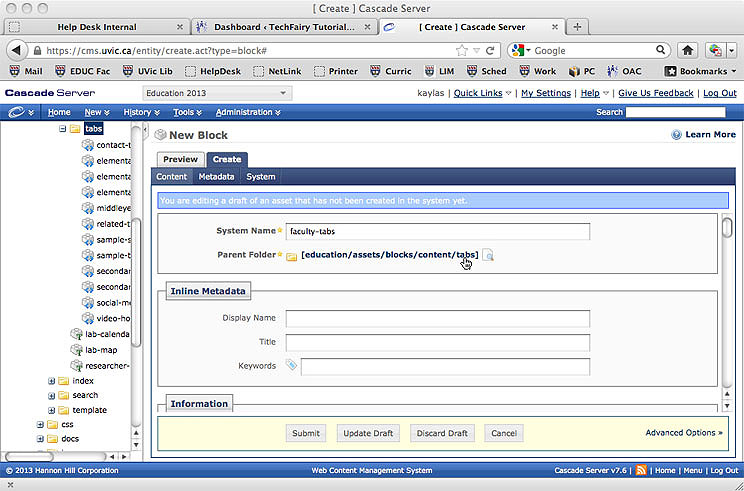
Step 4: Change the “System Name” of the copy to match the Faculty Profile name. I am changing mine to “smithjohn-tabs.”

Change to “Parent Folder” to the same folder you keep your Faculty Profiles in.

Change System Name and Parent Folder.


Step 5: Click Submit.

Submit.


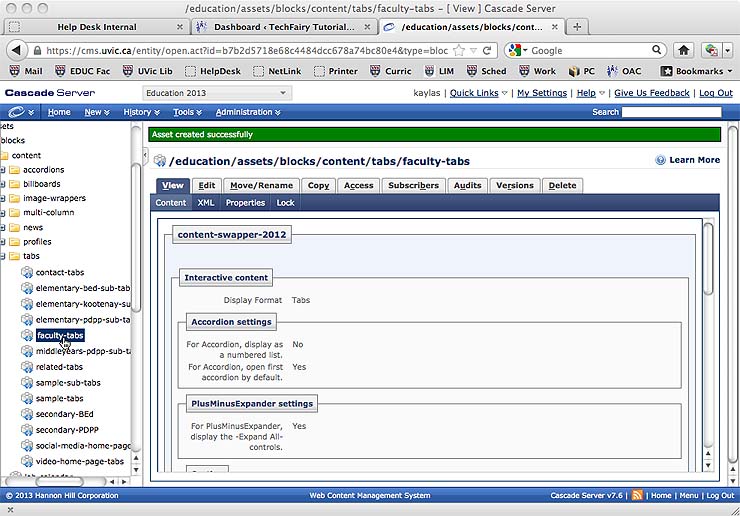
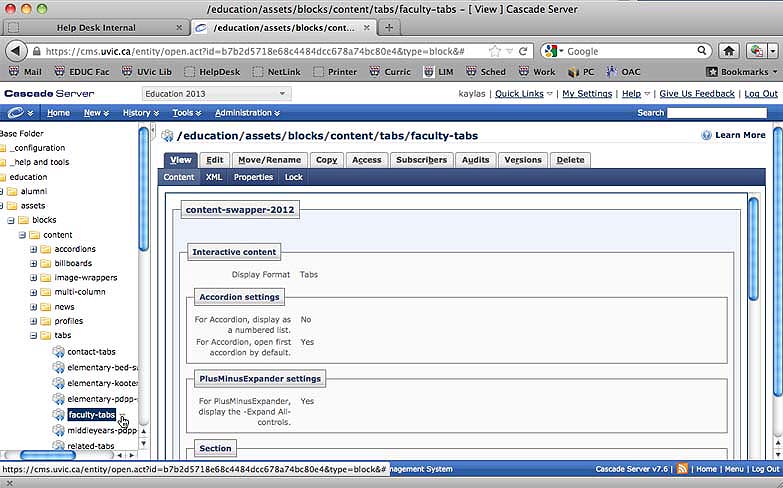
Step 6: Go to your Faculty Folder and click on your new Faculty Tab.

Click on your new tab.


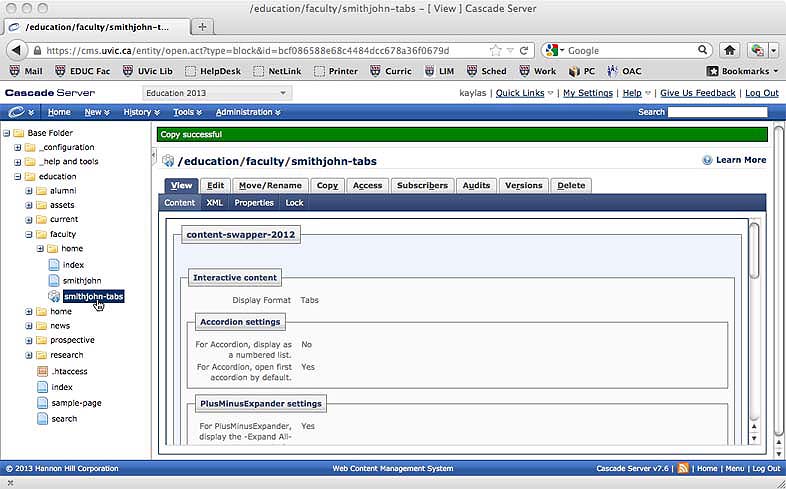
Step 7: Click “Edit.”

Click "Edit."


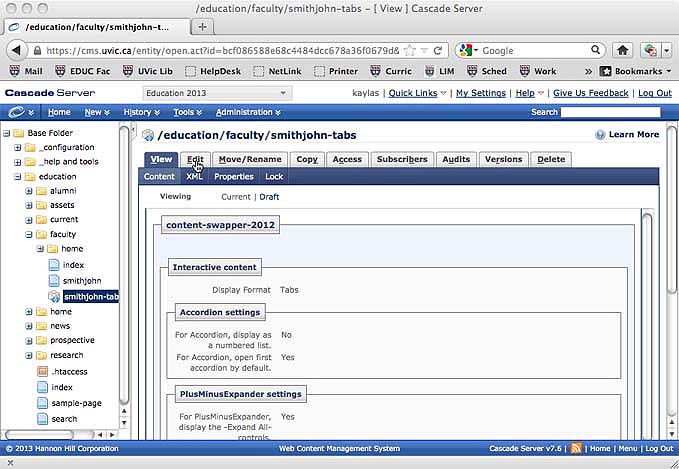
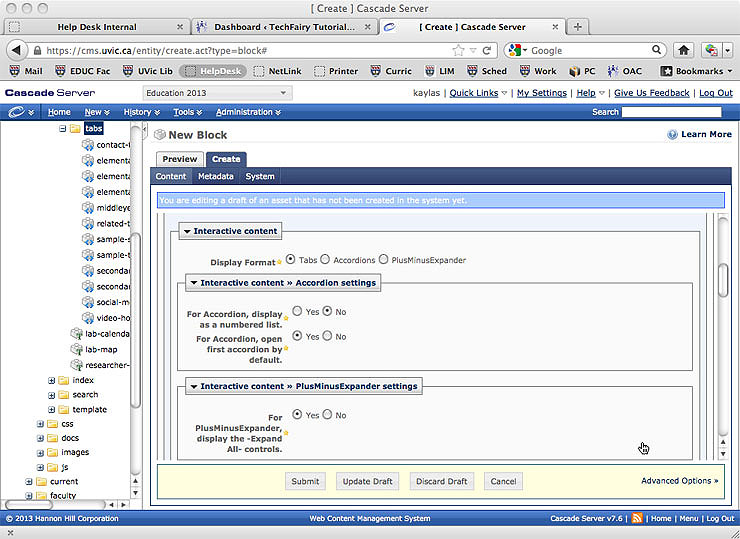
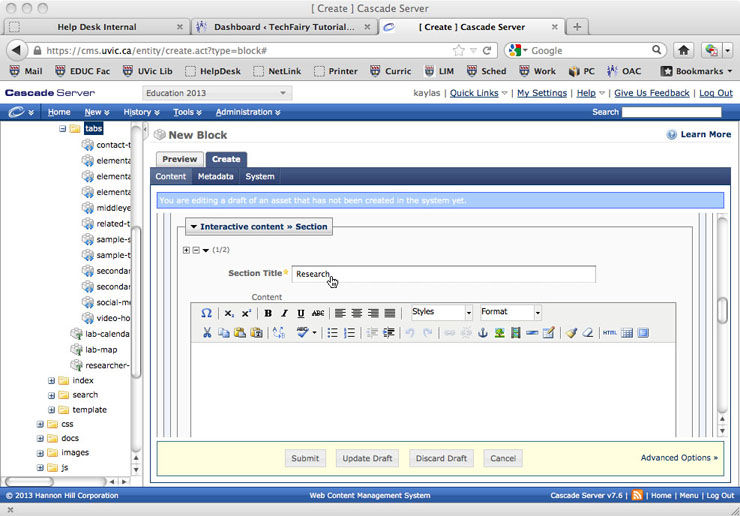
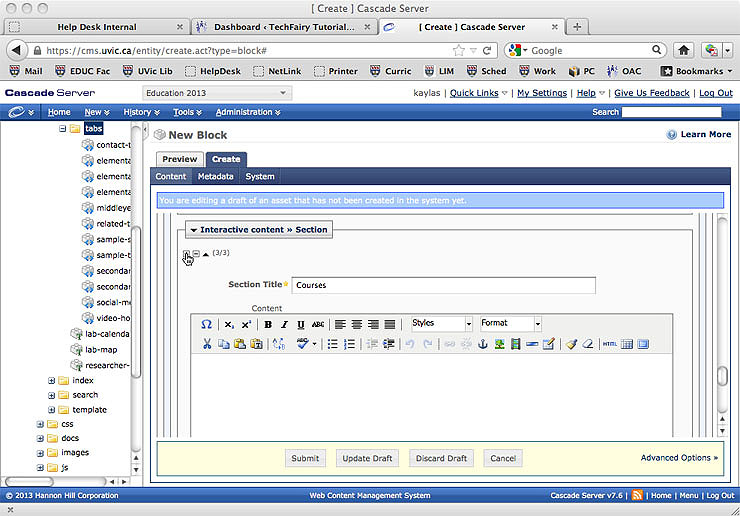
Step 8: Fill in the Content sections of the tabs.

Add Content.


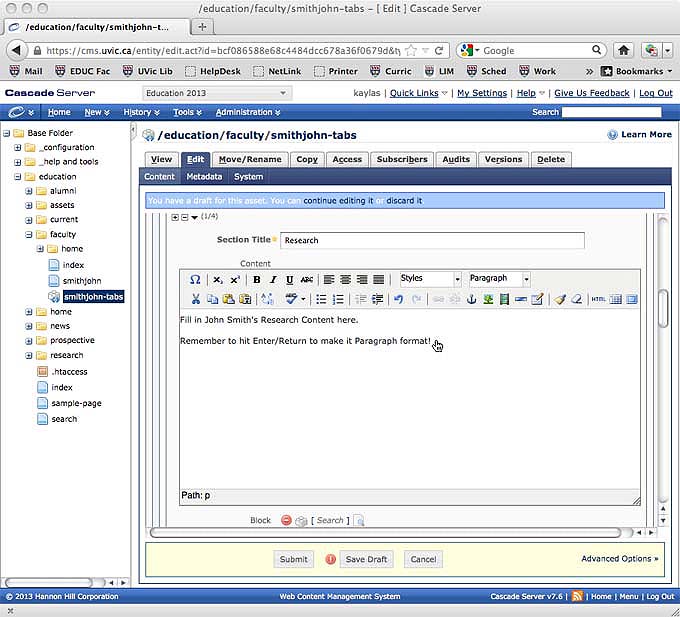
Step 9: Submit when you are done.

Remember: you can use the “-” (minus) icon to remove tabs you do not want.

Submit.


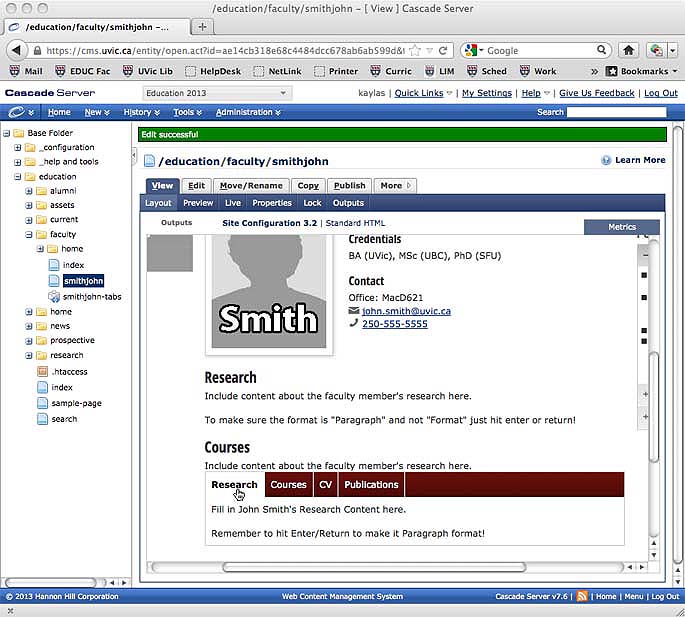
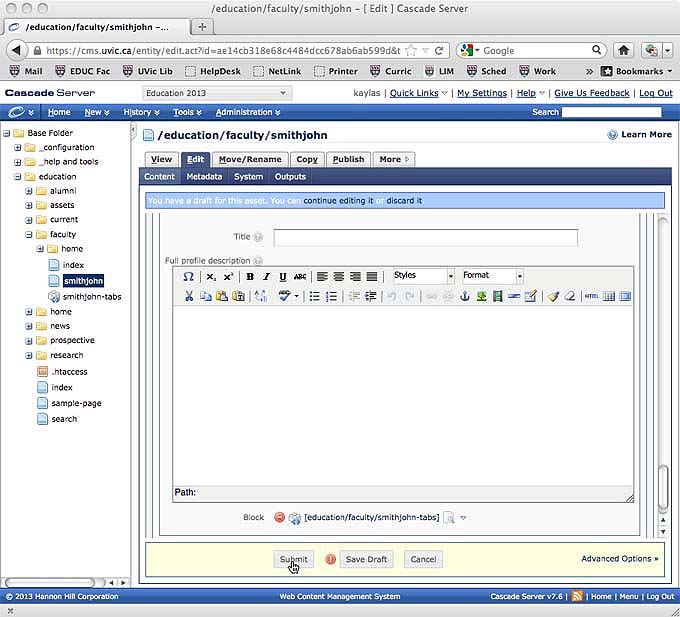
Step 10: Click on the Faculty Profile. Click “Edit.”

Go to the Faculty Profile. Click "Edit."


Step 11: Scroll down to the “Profile Long Desc Section.” On an empty box, click the word “Search” next to the word “Block.”

Click the word "Search" next to the word "Block."


Step 12: Select the faculty tab block for that Faculty Profile.

Do not select the default template block (it will be blank!)

Select the correct faculty tab block.


Step 13: Click “Submit.”

Submit.


Step 14: Your tabs are now visible on the Faculty Profile Page.

Your tabs are now visible.


Using the Cascade UVic Faculty Template Lesson 2: Creating a Tabs Template

Template complete!

If you would like your Faculty Pages to have Tabs instead of the default Paragraphs, you will need to create your own Tabs Block to use as a template.


If you already have a Tabs Block Template, please skip to Lesson 3 to learn how to use it.


Step 1: Click on the “New” Menu. Choose “UVic Blocks”, and “Tabs.”

Click "New", "UVic Blocks", "Tabs."


Step 2: Change your System Name to “faculty-tabs”. Change your Parent Folder. The Parent Folder is where “faculty-tabs” will be located.

Change your System Name and Parent Folder.

Step 3: The Interactive Content setting are set up by default, you can ignore them.

Ignore the Interactive Content options.


Step 4: Put the Tab title in the “Section Title” box. Leave the content box blank. Remember, this a blank template.Title your tabs.


Step 5: Use the “+/-” (plus/minus) icons to add and remove tabs. Use the black triangle icons next the “+/-” icons to change the order of your tabs.

Title and arrange all your required tabs.

+/- icons add and remove tabs. Triangle icons move them.


Step 6: When all your required tabs are added, titled, and arranged, hit “Submit.”

Hit "Submit" when you are done.


Step 7: Your “faculty-tabs” template is now complete. It is located in the chosen Parent Folder.

Template complete!