iMovie 10 vs iMovie 10: Which Tutorial Series is Right for You?

iMovie 10 vs iMovie 10

It was confusing enough when there were two iMovie video tutorial series on this site, on iMovie ’11 and iMovie 10. Now there’s three series instead! The new series, accessible at https://onlineacademiccommunity.uvic.ca/techfairy/category/imovie-10/imovie-10-yosemite/, is made for the new version of iMovie 10, available only for OS X 10.10 Yosemite. So with all of these tutorials covering essentially the same topics, which series should you be watching? To find out what version of the program you have installed, open iMovie and select (from the top menu) iMovie -> About iMovie or read the following:

If the iMovie icon is black and gold, you have iMovie ’11 for Snow Leopard (or possibly an even earlier version such as iMovie HD).

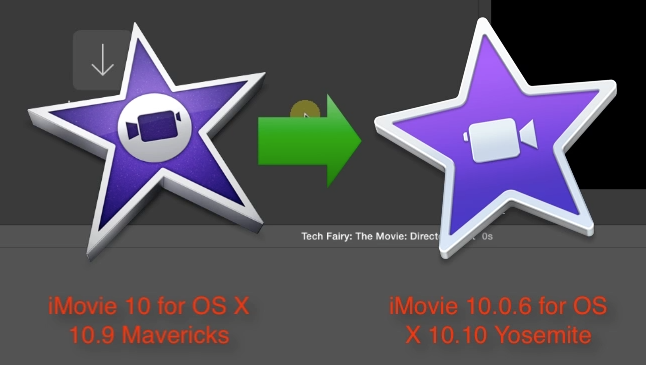
If the iMovie icon is dark purple and grey, with a left-facing purple camera, you have iMovie 10 for Mavericks.

If the iMovie icon is light purple and white, with a right-facing white camera, you have iMovie 10.0.6 or later for Yosemite.

If you have Mavericks or Yosemite but still have iMovie ’11, you may be eligible for a free upgrade to iMovie 10. Check the Purchases tab of the App Store for more details.

iMovie Basics – Tutorial 10: Saving, Transferring, and Backing Up an Unfinished iMovie Project

https://www.youtube.com/watch?v=F7glOXX03TA&feature=youtu.be

If your iMovie is unfinished but you want to back it up or move it to a new computer, you’ll need to back up your iMovie Events and iMovie Projects folders. This tutorial will show you how.

The file path used in this tutorial is: Harddrive, Users, *your username*, Movies. Remember, the target folders are iMovie Events and iMovie Projects. You need BOTH.

IMPORTANT REMINDER: As express in the video, please pay very careful attention to the iMovie Events and iMovie Projects folders you are deleting. Delete the folders in the “Movies” folder. DO NOT DELETE YOUR BACKED UP FOLDERS. YOU WILL LOSE YOUR DATA. Copy your backed up folders and paste them into the “Movies” folder.

This tutorial series created by a University of Victoria student for the use of University of Victoria students. Enjoy!

iMovie Basics – Tutorial 8: Adding Titles, Subtitles and Credits

https://www.youtube.com/watch?v=I4ZEkinXEm4

In this lesson I show you how to add titles, subtitles and credits to your iMovie. I cover making your own title or credit screen, as well as overlaying titles or subtitles on pre-existing clips.

This tutorial series created by a University of Victoria student for the use of University of Victoria students. Enjoy!

iMovie Basics – Tutorial 6: Adding Audio Files to Your iMovie

https://www.youtube.com/watch?v=e8-kbrk3i1c&feature=youtu.be

This video covers adding audio files to your iMovie. Audio files can be added as a background track, or in a specific spot.

This tutorial series created by a University of Victoria student for the use of University of Victoria students. Enjoy!

iMovie Basics – Tutorial 5: Ken Burns Effect

https://www.youtube.com/watch?v=muUt_rfo-6g

So, you’ve just added still images to your iMovie. Do you like the automatic Ken Burns Effect iMovie applies? Here’s how to add, remove, and change the iMovie Ken Burns Effect; and show your still images exactly the way you want to.

iMovie Basics – Tutorial 4: Adding Still Images

https://www.youtube.com/watch?v=gKNpMQSbQMs

In this video I will explain 2 different ways of adding still images to your iMovie; the drag and drop method, and the iPhoto method.

I will also explain how to add a still image on top of a clip, in order to show the image but still play the narration.