If you would like your Faculty Pages to have Tabs instead of the default Paragraphs, you will need to create your own Tabs Block to use as a template.
If you already have a Tabs Block Template, please skip to Lesson 3 to learn how to use it.
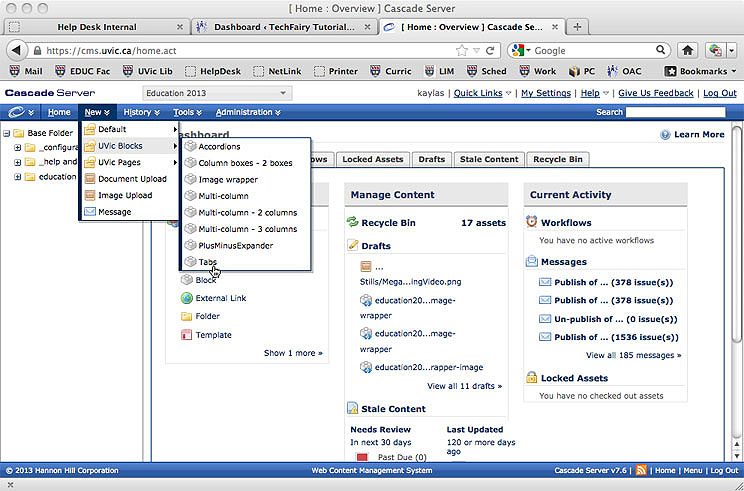
Step 1: Click on the “New” Menu. Choose “UVic Blocks”, and “Tabs.”
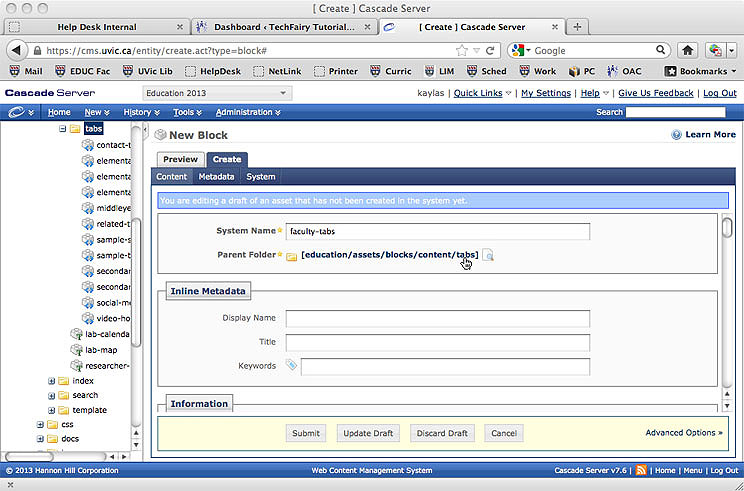
Step 2: Change your System Name to “faculty-tabs”. Change your Parent Folder. The Parent Folder is where “faculty-tabs” will be located.
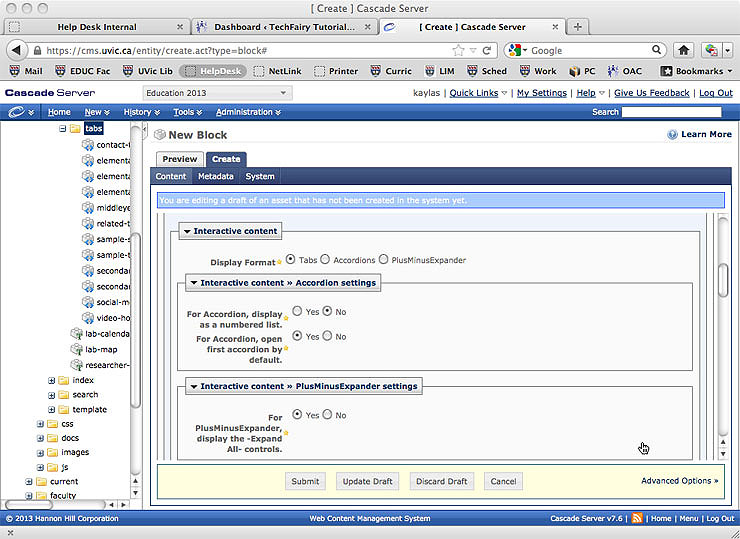
Step 3: The Interactive Content setting are set up by default, you can ignore them.
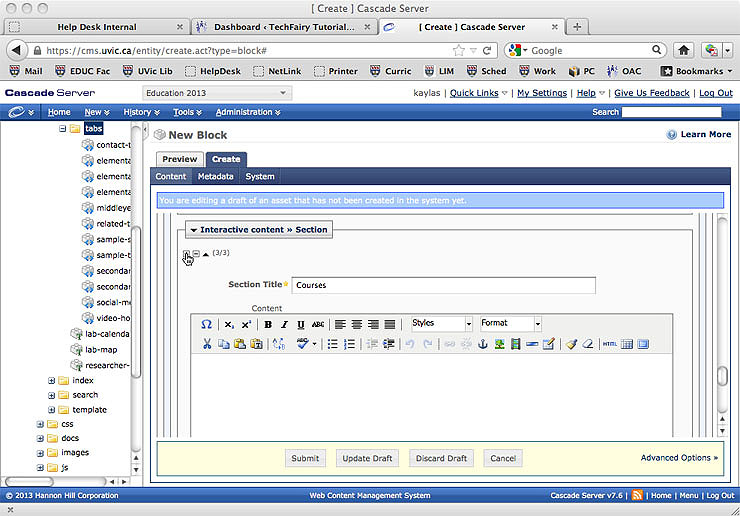
Step 4: Put the Tab title in the “Section Title” box. Leave the content box blank. Remember, this a blank template.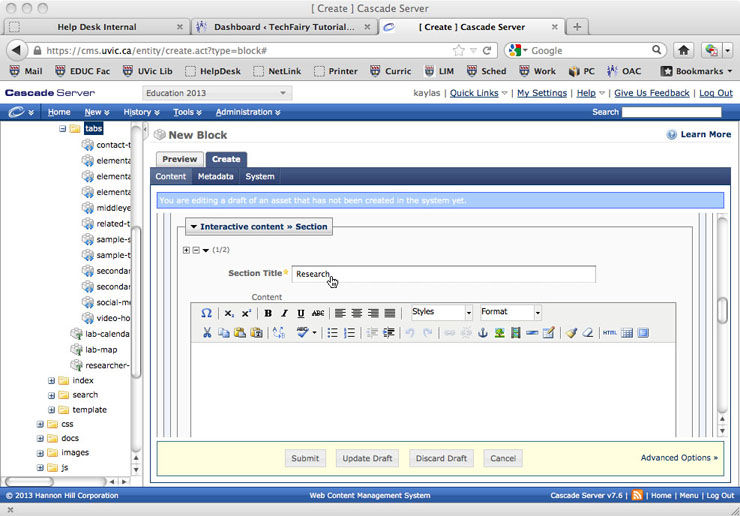
Step 5: Use the “+/-” (plus/minus) icons to add and remove tabs. Use the black triangle icons next the “+/-” icons to change the order of your tabs.
Title and arrange all your required tabs.
Step 6: When all your required tabs are added, titled, and arranged, hit “Submit.”

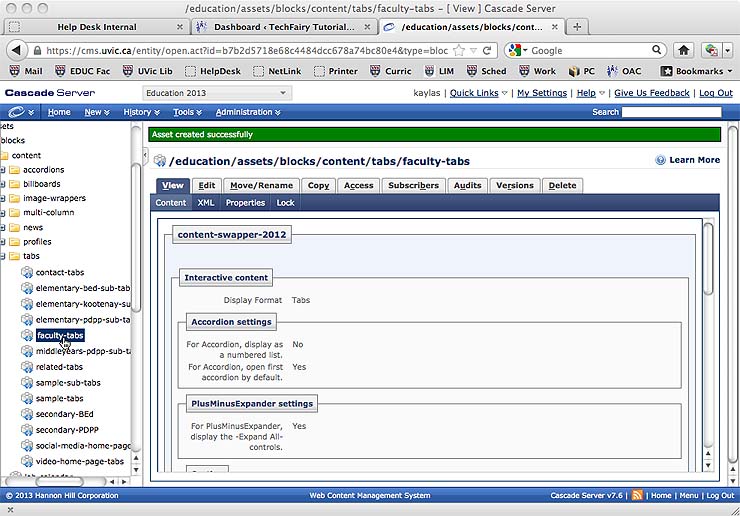
Step 7: Your “faculty-tabs” template is now complete. It is located in the chosen Parent Folder.