Pre-lesson: Uploading photos review
Before you can create a new faculty page, your faculty photo must be uploaded.
If your photo is uploaded already please skip to Part 1.
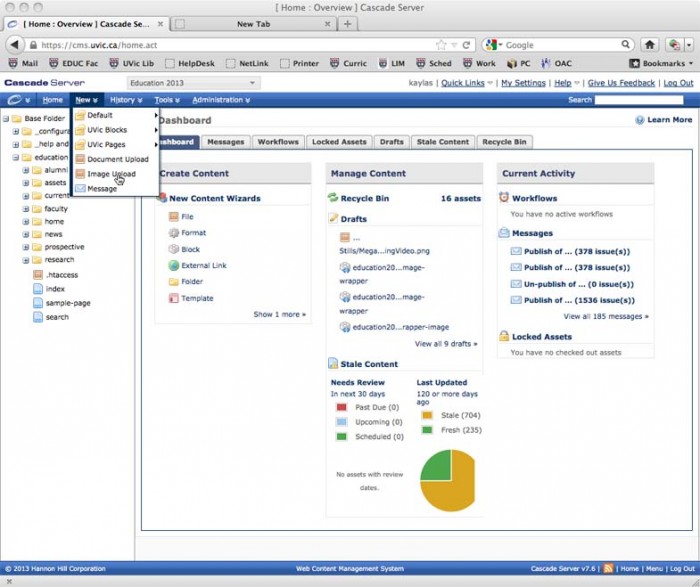
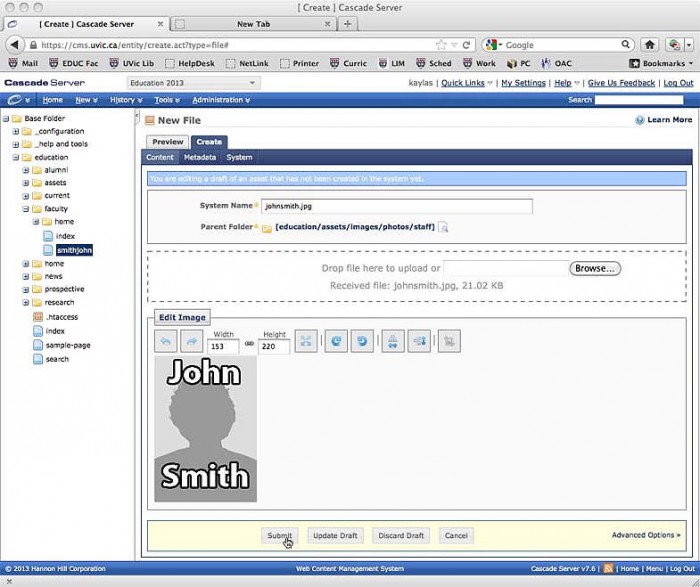
Step 1: Click on the ‘New’ Menu. Choose Image Upload.
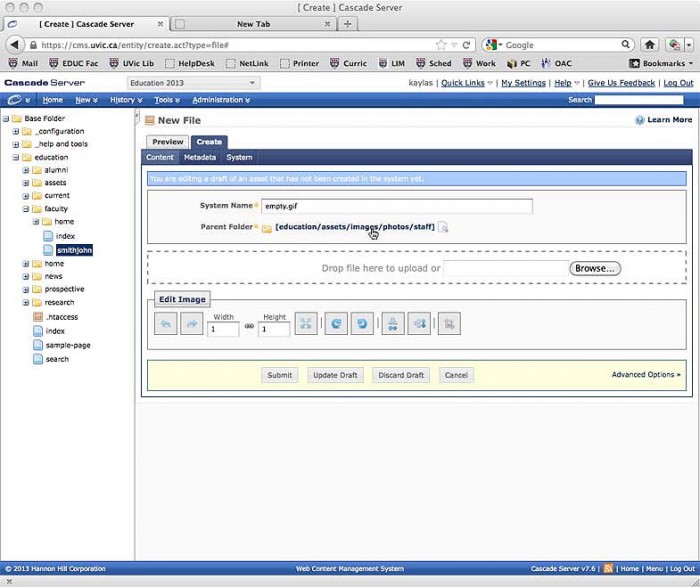
Step 2: The ‘System Name’ will automatically change to the name of the file you are uploading, so you can ignore it.
Choose the ‘Parent Folder.’ The photo will be stored in this folder.
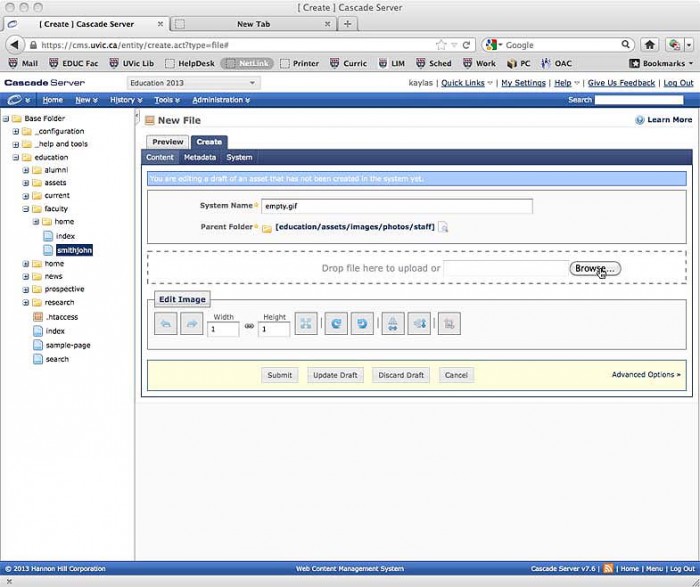
Step 3: To choose the image you would like to upload, click ‘Browse.’
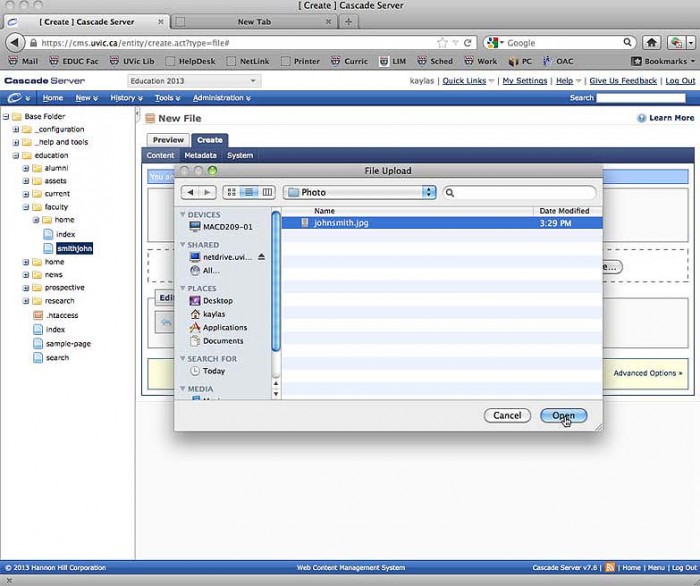
Step 4: Select your photo and click ‘Open.’
Step 5: Make sure that your photo is sized correctly. Also make sure that the System Name is now correct.
When you are ready to upload, hit submit.
Now your photo is ready for use! Please continue to Lesson 1.

