NOTE: Before you can create a new faculty page, your faculty photo must be uploaded.
If your photo is not yet uploaded please read the Pre-Lesson: ‘Uploading Photos Review.’
Step 1: Click on the ‘New’ Menu. Choose UVic Pages > Faculty Profile.

Step 2: Click on the default generic photo name to replace it with your own photo.
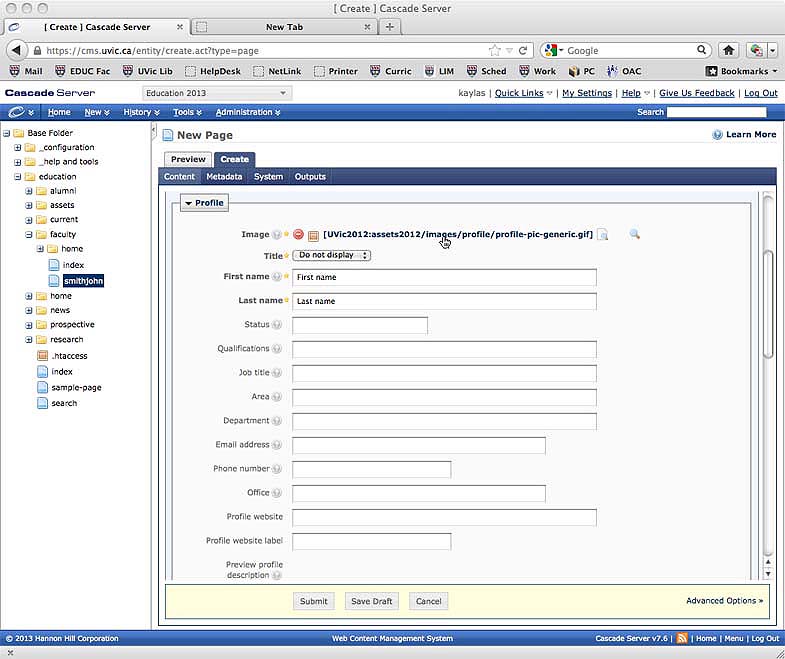
Step 3: Choose your photo.

Step 4: Fill out the appropriate information. Make sure to use the ‘Title’ drop-down menu if you would like to include a title.

Step 5: Add content to the ‘Profile Long Desc’ section. This adds content in the default format, the paragraph format. Write the title in the ‘Title’ box so it will automatically format.

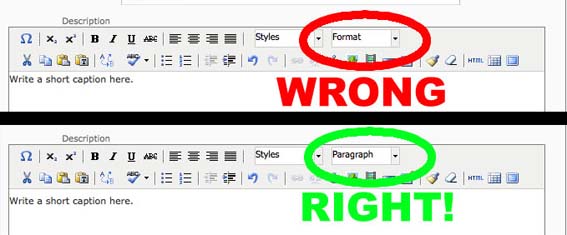
NOTE: After adding your content, hit the ‘Enter’ or ‘Return’ key once. This will change the ‘Format’ dropdown menu (next to the ‘Styles’ dropdown menu) from ‘Format’ to ‘Paragraph.’
Formatting errors can occur if this is not done.
Step 6: Click the ‘+’ (plus) sign in the upper left hand corner of the ‘Profile Long Desc’ section. This will add another box that you can use add more content.

Step 7: Use the new box to add more content. If you ever want to delete a box entirely, click the ‘-‘ (minus) sign next the its plus sign. If you would like to change the order of the boxes, use the black triangles next the the ‘+/-‘ signs.

Step 8: When your faculty page is ready, click ‘Submit.’

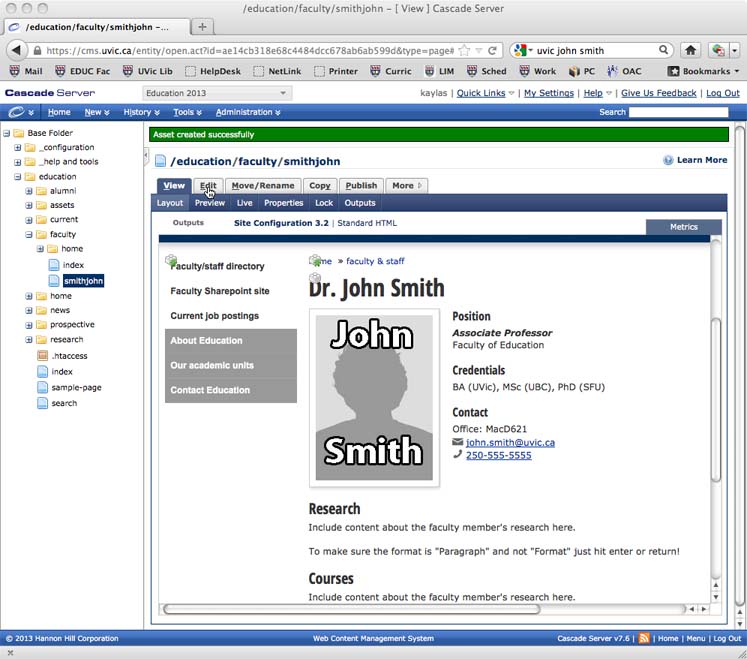
Step 9: And your faculty profile is complete.