This page is dedicated to the series of experiences each team member has had during our work with the medieval naalbinding technique.
————————————————————–
Hazel
Attempt 1
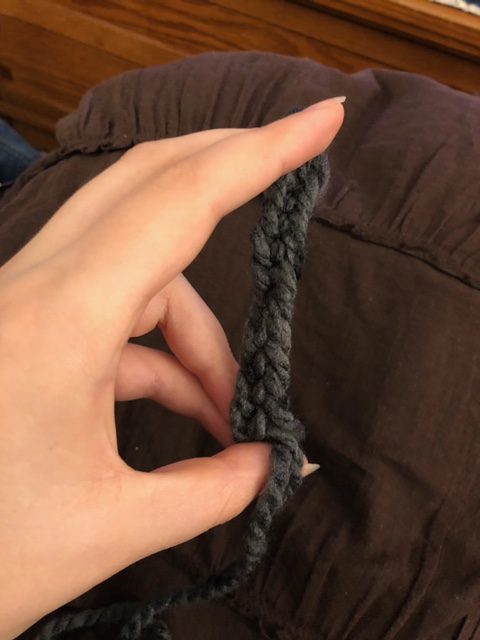
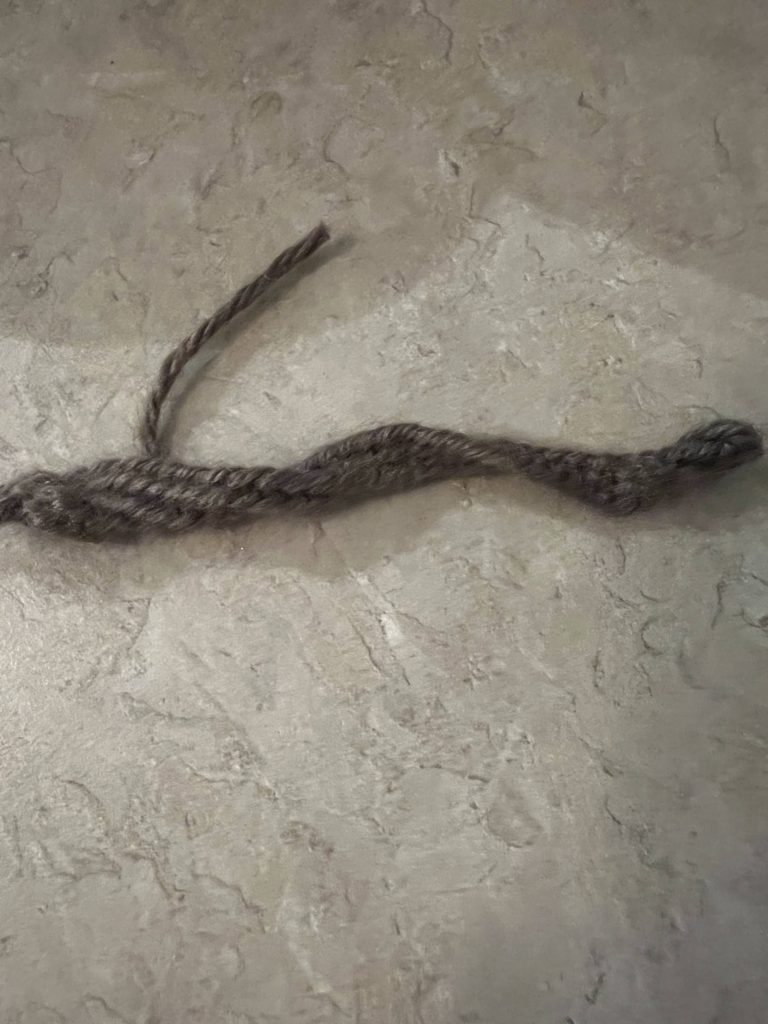
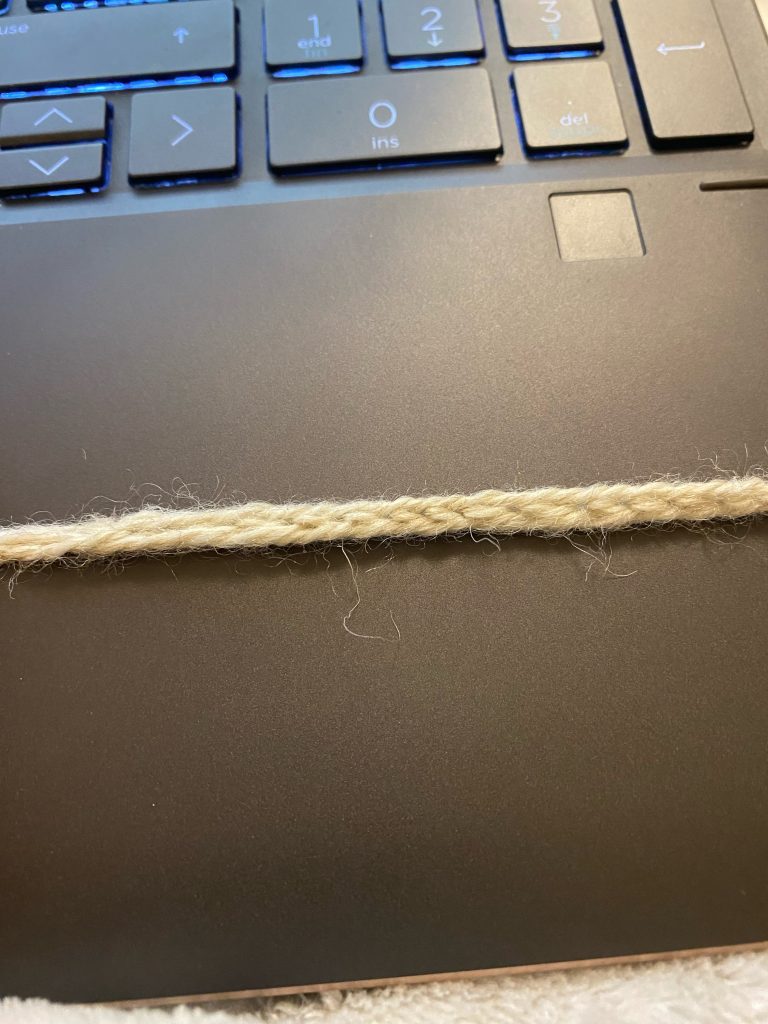
For my first attempt I used a size 8mm chunky weight acrylic yarn. As we quickly learned, thicker yarn is much easier to learn with as it gives you a lot more space in the stitch (as well as making the stitches more visible). The initial construction of the foundational stitch was confusing to me, as it required quite a few more steps than a simple crochet chain, which is what I am more familiar with. However, once I had begun adding on it became much easier and the pattern began to emerge. After about 30 minutes I had a strand of Oslo stitches that I was happy with. On the first attempt I did not find too much irritation in the joints of my hands, and what I did notice seemed to be due to having the hand that is holding the working thread in the same position for a length of time.
Attempt 2
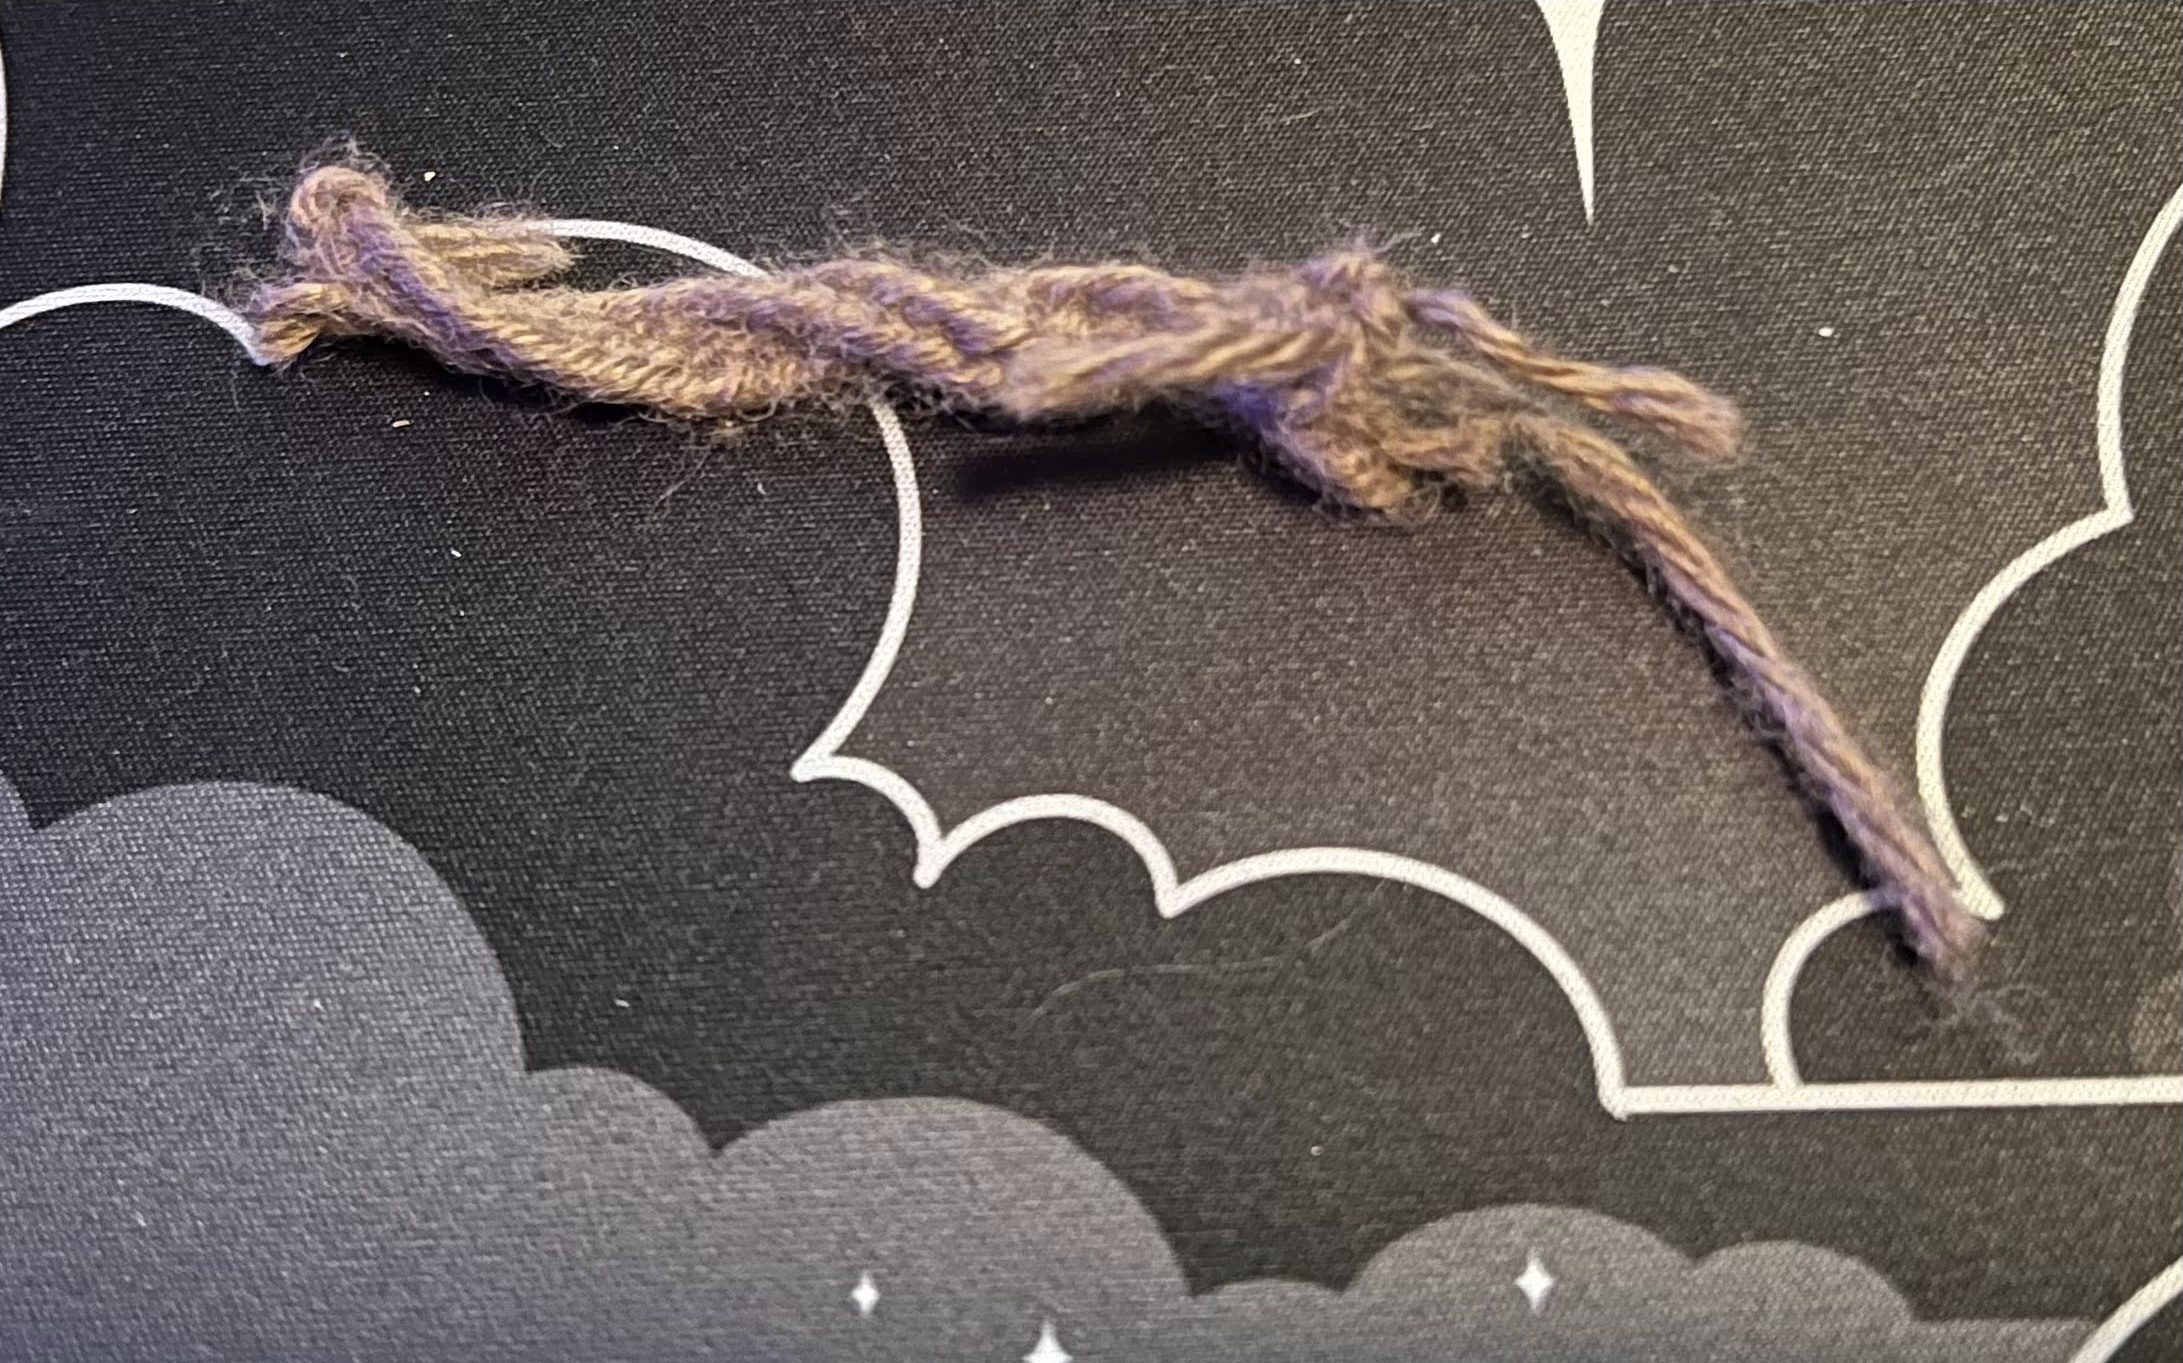
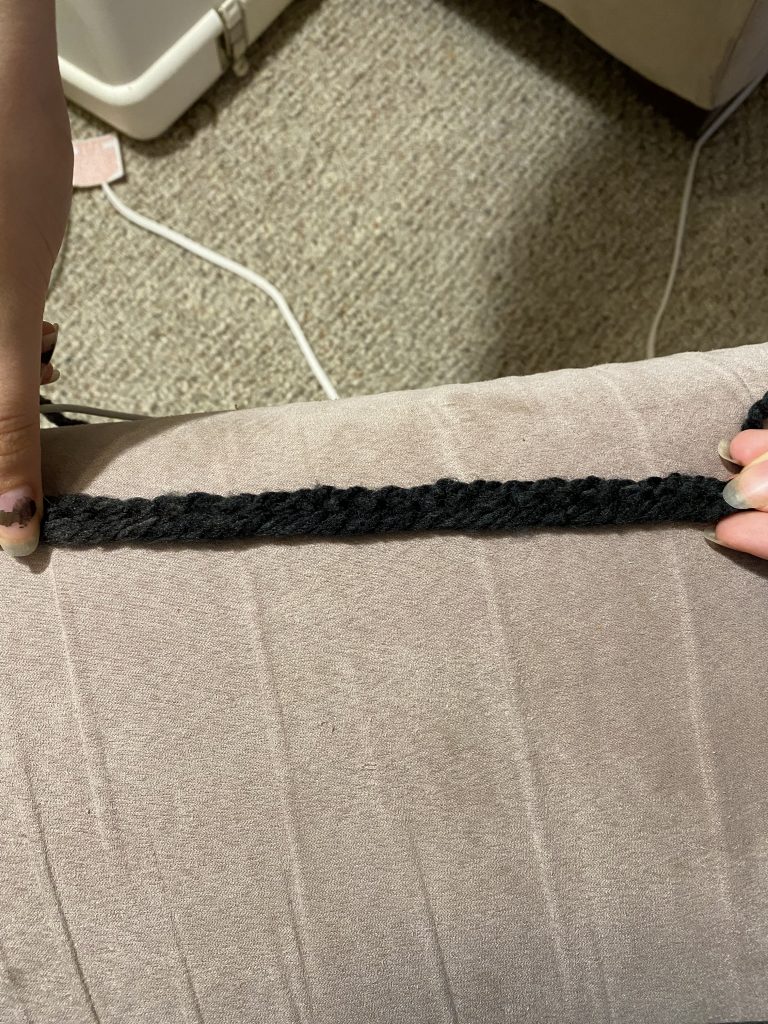
On my second attempt I used a light coloured yarn of the same weight and thickness. The lighter colour allows for the stitches to be more visible. This attempt was a larger piece, and as such took a bit longer, roughly 40 minutes with some re-starts. I felt more confident on my second try, and I ended up really enjoying the braided texture that the Oslo stitch creates. On this attempt I did mate note of a more prominent effect on my hands. The hand that holds the piece being worked is in the same position for quite a while, and once you extract your hand from a piece it can be hard to find where you left off. This is also the hand that keeps the tension, which can be difficult on sensitive joints. The hand holding the needle was not as blatantly effected, but the repetitive twisting motions of the wrist did cause some noticeable tension and soreness.
Conclusions
I think that much like other textile arts, after a significant amount of time the repetitive motions of naalbinding can put a lot of strain on the body. Especially a body that has restricted mobility. Our practicing only took a couple of hours here and there to learn and observe. By comparison, the time that someone in the medieval world would have had to take to make a living or to provide wearables for their family would be very difficult for someone who has physical restrictions.
Sam
Attempt 1

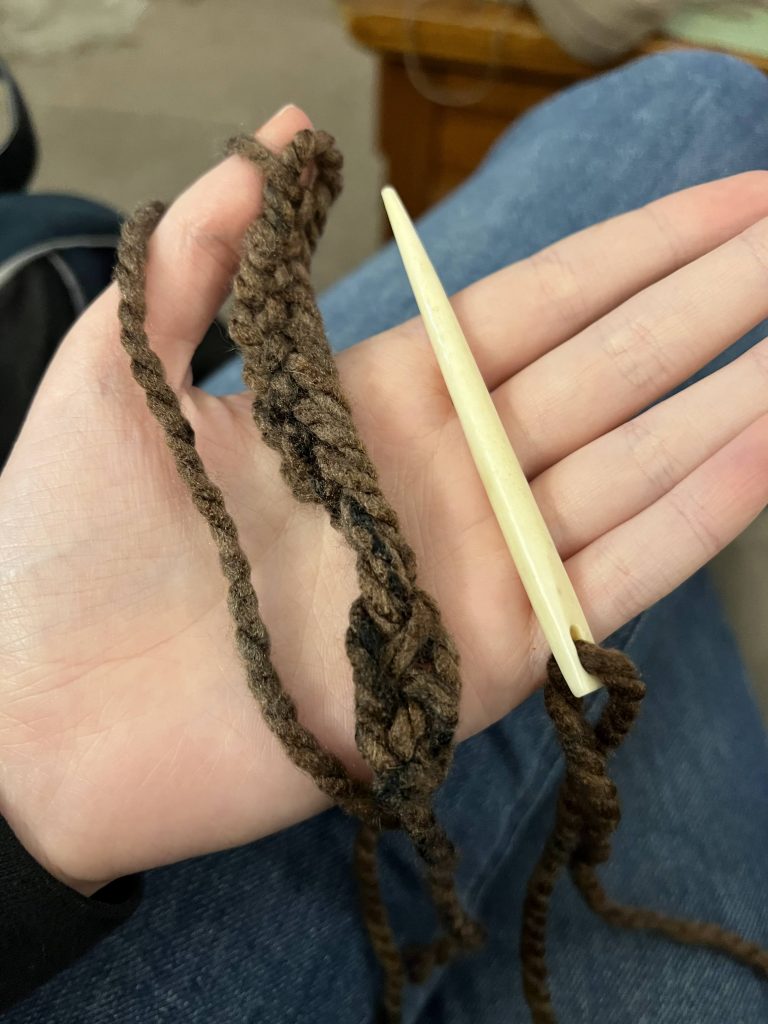
During the first attempt of learning naalbinding, our full group sat down together and watched Kimberly Nelson’s (TheArtfulAcorn) video on the Oslo stitch. Earlier in the day we had gone shopping for yarn together and I selected a smaller size of alpaca wool. Going into this, we knew that actual wool would be easier to use than anything synthetic as adding on additional length to the working thread traditionally entails felting the raw ends together by wetting them and quickly rolling them together between your hands to create enough friction to hold them together.
Initially, the process was slow going as we tried to wrap our heads around the proper techniques and struggled to understand what exactly the “proper tension” was, where it was held, and how it influenced the process. I became quite fond of referring to it as the “mystical tension” as there was really no way for us to grasp the idea behind it from the start without someone there with us, telling us what exactly it was and more importantly, how it felt.
After watching the video enough to memorize its contents, I finally managed to create a few stitches with the small wool that I had just purchased. Despite this success, we lacked a fundamental understanding we had surrounding the activity and the smaller yarn increased the difficulty ten-fold. As a result, we quickly switched tactics to try using bigger yarn, even though it was synthetic and would hinder our ability to add on later. As we were still trying to learn how to create a simple chain, we did not consider this to be a significant issue and were simply using scrap pieces to practice with.
This change proved to be the best decision we could have made and drastically improved our ability to understand what it was that we were doing and how we were doing it because we could finally see exactly how each stitch was being formed. While the first few stitches in the original chain took over an hour to complete, I was able to create a significantly longer row after only 45 minutes of using the larger yarn.
Throughout the process of this initial session/attempt at naalbinding, I found that I was not experiencing any changes in my fine motor abilities or pain level. I feel like this is likely because I was starting and stopping frequently and fidgeting with what I had created thus far. It is my estimation that I will not be quite so fortunate in my future attempts as I engage more with the activity.
Attempt 2
During this second attempt I focused my efforts on learning more about the “mystical tension” I had been aiming for during my first attempt. To do this I spent around an hour and a half simply practicing the stitch we had learned previously while playing with the tension. In the beginning I wanted to direct my efforts more towards refreshing my memory on the stitch and adjusting to using a significantly smaller yarn.
When I had started this chain, I was experiencing a little bit of a flare-up in my hands. That being said, it did not seem to worsen my condition until I hit upon the hour mark of consistently chaining.
Like the other members of our team, I have a fair bit of experience with crochet and despite the somewhat similar movements overall, I have found that naalbinding is easier for me to do for a longer period of time.
Attempt 3
Despite this attempt having been the most chaotic, I feel that I learned the most from it. To put it simply, I had been trying to figure out how to add another row onto the initial chain. While I would not necessarily describe this attempt as being particularly successful overall, I did manage to add on another row to the piece. I believe that the main area where I went wrong with this one was once again with the tension as evidenced by how it twists. As I did not have any of our naalbinding needles on me at the time, I decided to try and use a small plastic thread needle. This seems to have resulted in me tightening the stitches too much as I knew I would need less space to get the needle back through later on. This attempt took me around an hour to do, with some short breaks every 20 minutes or so. The breaks helped to alleviate the stiffness that was beginning to impact my non-dominant hand from holding it in one position for so long while the loop of yarn was on it.
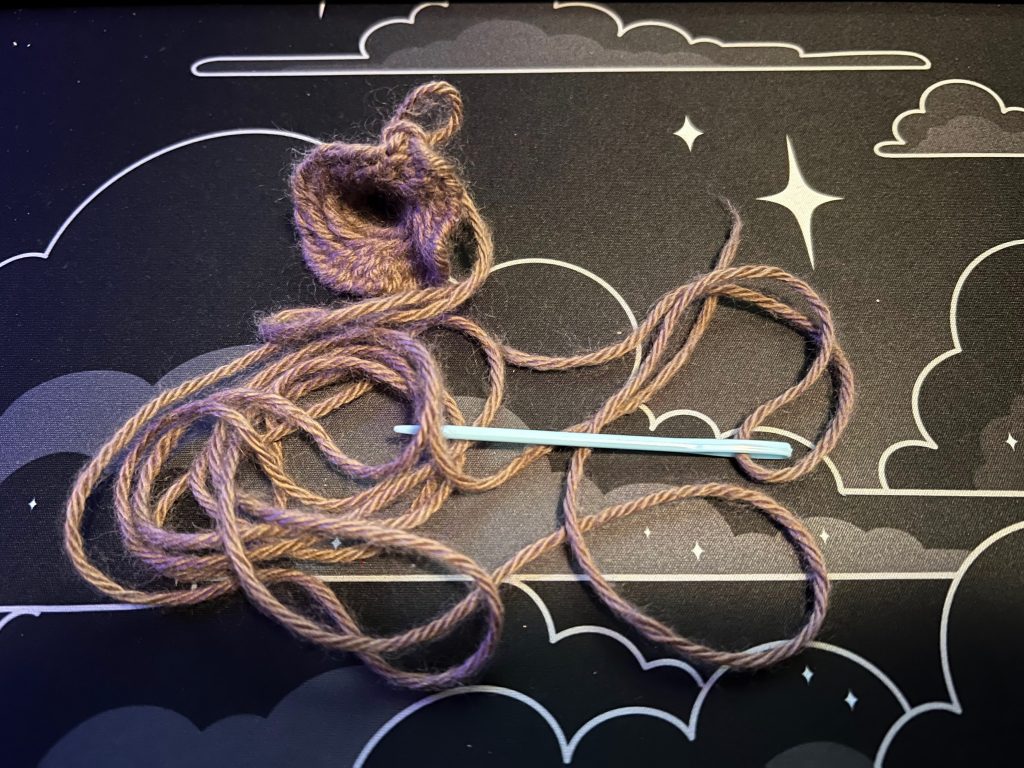
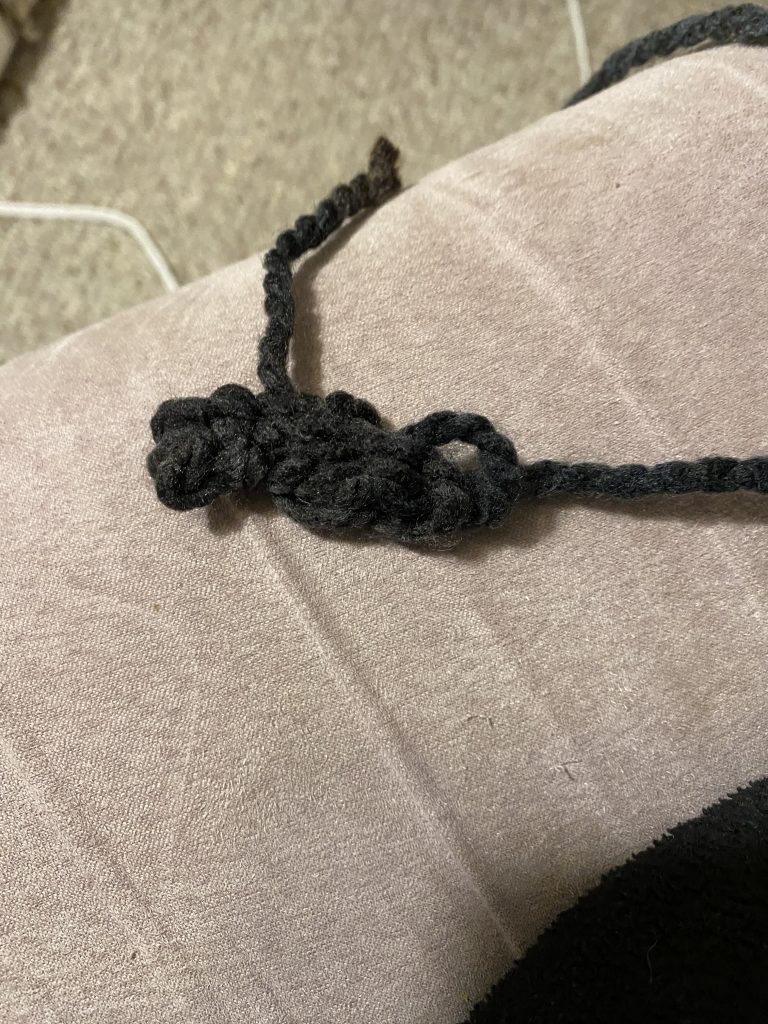
I was rather satisfied with this first attempt, but I was not attached to the three rows I had made in it, so I decided to cut off each of the edges and take a look at how it would unravel with the loss of important connections that could have resulted in the full unraveling of a crochet piece.
I pulled at the ends for a while as I was watching a movie and only managed to pull a few short pieces of yarn loose that had been damaged with the original cuts. Tugging at the other exposed ends did not appear to provide a particularly notable source of damage. I ended up leaving it in the state pictured above since the durability of pieces created through naalbinding, but found it interesting nonetheless.
Attempt 4
In this attempt I reviewed a few different sources for starting a round in the hopes of learning how to make a hat. These included The Artful Acorn’s blog and a video from Happy Needlebinding. These two reviewed different methods, and I ended up choosing to start with the recommendation of Happy Needlebinding which was to begin with a chain and use the excess thread on the end to pull the chain into a loop. This was significantly more difficult than anything else so far because having proper tension is extremely important. If the base chain is too tight, it is extremely difficult to continue onto the next step of threading the tail through one side of the chain. I spent a few hours trying to get a handle on the first steps and trying both of the methods I had looked at before moving on to adding more rows to it. Since it is more of a spiral, the addition of rows was much easier than with the previous attempt. Increasing the amount of stitches on each row was also a challenge, but got easier as the round increased in size.
With this in mind, working with larger yarn would most likely make the process easier to do, similar to the case as when we first started learning how to make a chain.
I believe that this attempt was particularly insightful into how naalbinding affects my body, as I was in good condition going into the activity. Once I got into actually working on the round, I ended up spending a few more hours on it and the most significant symptom I noticed was that my left hand had gotten quite stiff.
Attempt 5
This attempt was rather short-lived as I had wanted to try working with larger yarn and see the difference it made in creating a round. I really only spent about 15 minutes working on this one, but it was enough time to realize that it was a bit too big for my current skill level. I will likely revisit it in the future, but should use something similar to what we did in our first attempt before that point.
Conclusions
It is quite difficult to quantify exactly how naalbinding affects different people. Based off of the multiple attempts I have made, I believe that it affects me the most by causing my hand to stiffen up. This sort of problem can be quite common with an aging population, so it is possible that accommodations were made to alleviate this sort of strain.
Throughout the process of researching different techniques, I came across many examples of people using wooden dowels to hold their place in their work. This caused me to toss around a few ideas of potential accommodations that I think would have helped me that may show up in the archaeological record. The idea that I thought would be the most reasonable drew on the use of a dowel as a placeholder to act as a stand-in for a thumb. This would help to keep the working end in one position while leaving the non dominant hand to make adjustments as needed without getting stiff.
Jordy
Attempt 1
My first attempt at naalbinding was at Hazel’s house, where we all got together to try and learn together. I got there later than everyone else because I had to work, so by the time that I arrived, the others had spent a few hours practicing already, and were able to help me as I tried to learn. I’m not really sure what exactly I was expecting, but it was surprisingly hard. I had sort of assumed (naively and baselessly) that because I am an experienced crocheter, naalbinding would come semi-naturally to me. I was wrong. It took many, many attempts of rewinding the tutorial video, trying to follow it, failing, and then trying to frog my progress, which turns out is very hard with naalbinding. I think part of the problem was that the video concealed what was going on behind the thumb, which made it very hard for me to understand how exactly the textile was meant to come together, or how the loops actually functioned. Still, I decided to shoot for progress instead of perfection, and allowed myself to make mistakes.

Attempt 2
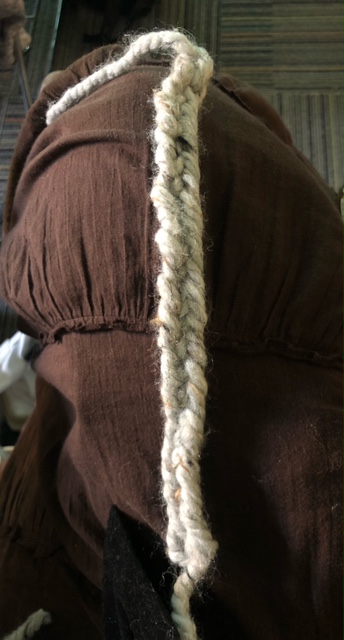
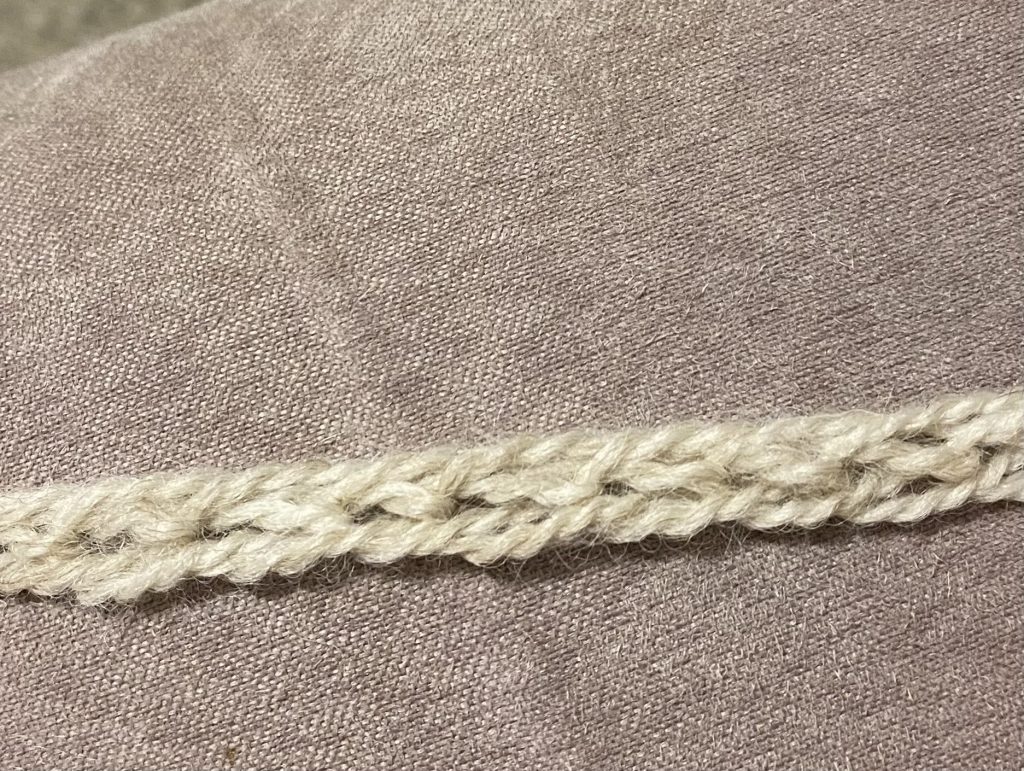
My second attempt was much more successful overall. This time, I was alone, and therefore much more comfortable to take control over the video and truly replay it as much as I needed to. It also finally clicked as to how the stitch actually worked, making it much easier for me to know where to put my needle, how much tension I needed, etc. Also, I was using a yarn that was much lighter in colour, allowing me to see the stitches much better. As you can see, my stitches are much more even.

Overview
About halfway through the semester, I got COVID, which strangely very much affected my right elbow, to the point where I was unable to use it for about a week, and it remained weak for a month after. Because of this, I found it difficult to do much more naalbinding, and took a more research-oriented role. Though this “injury” may have been able to provide some insight to our research, there is still very much a limit on how much we were willing to sacrifice our own health for the project! I still learned a lot and gained a lot of perspective from the little naalbinding I was able to do.
Juliette
Attempt 1
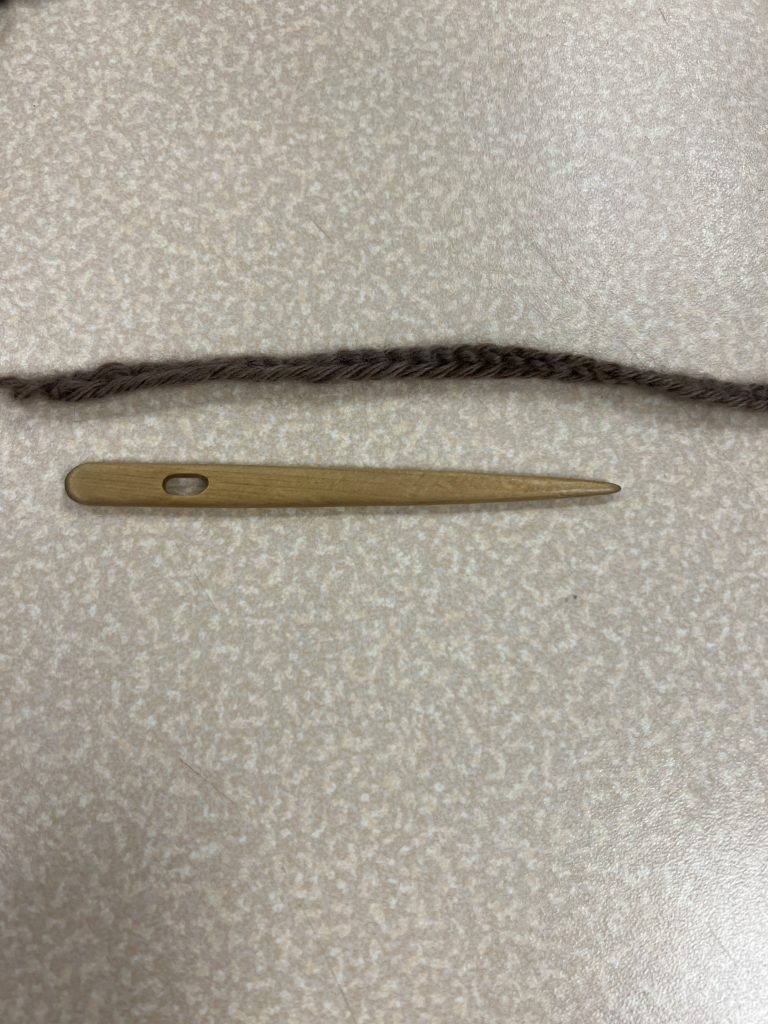
During a group session, we followed a video posted by Kimberly Nelson a historical reenactor proficient in medieval nalbinding. For my first attempt, I used a standard bone needle along with thick cotton yarn. Although I have previous practice with modern crocheting, I found this initial part quite difficult. Not much is similar between crochet and nalbinding, so my previous experience did not help much.
After several attempts over the span of around 40 minutes, I finally oriented myself around the process of nalbinding. Eventually creating a continuous chain with even tension throughout the project.
Once I understood the naalbinding process, I moved onto smaller merino wool yarn. Although I understood the patterning of this naalbinding stitch, the smaller yarn proved difficult. Specifically when attempting to adjust the tension between stitches. However with many failed attempts I finally crocheted a decent chain and was ready for the next process of naalbinding.
Attempt 2
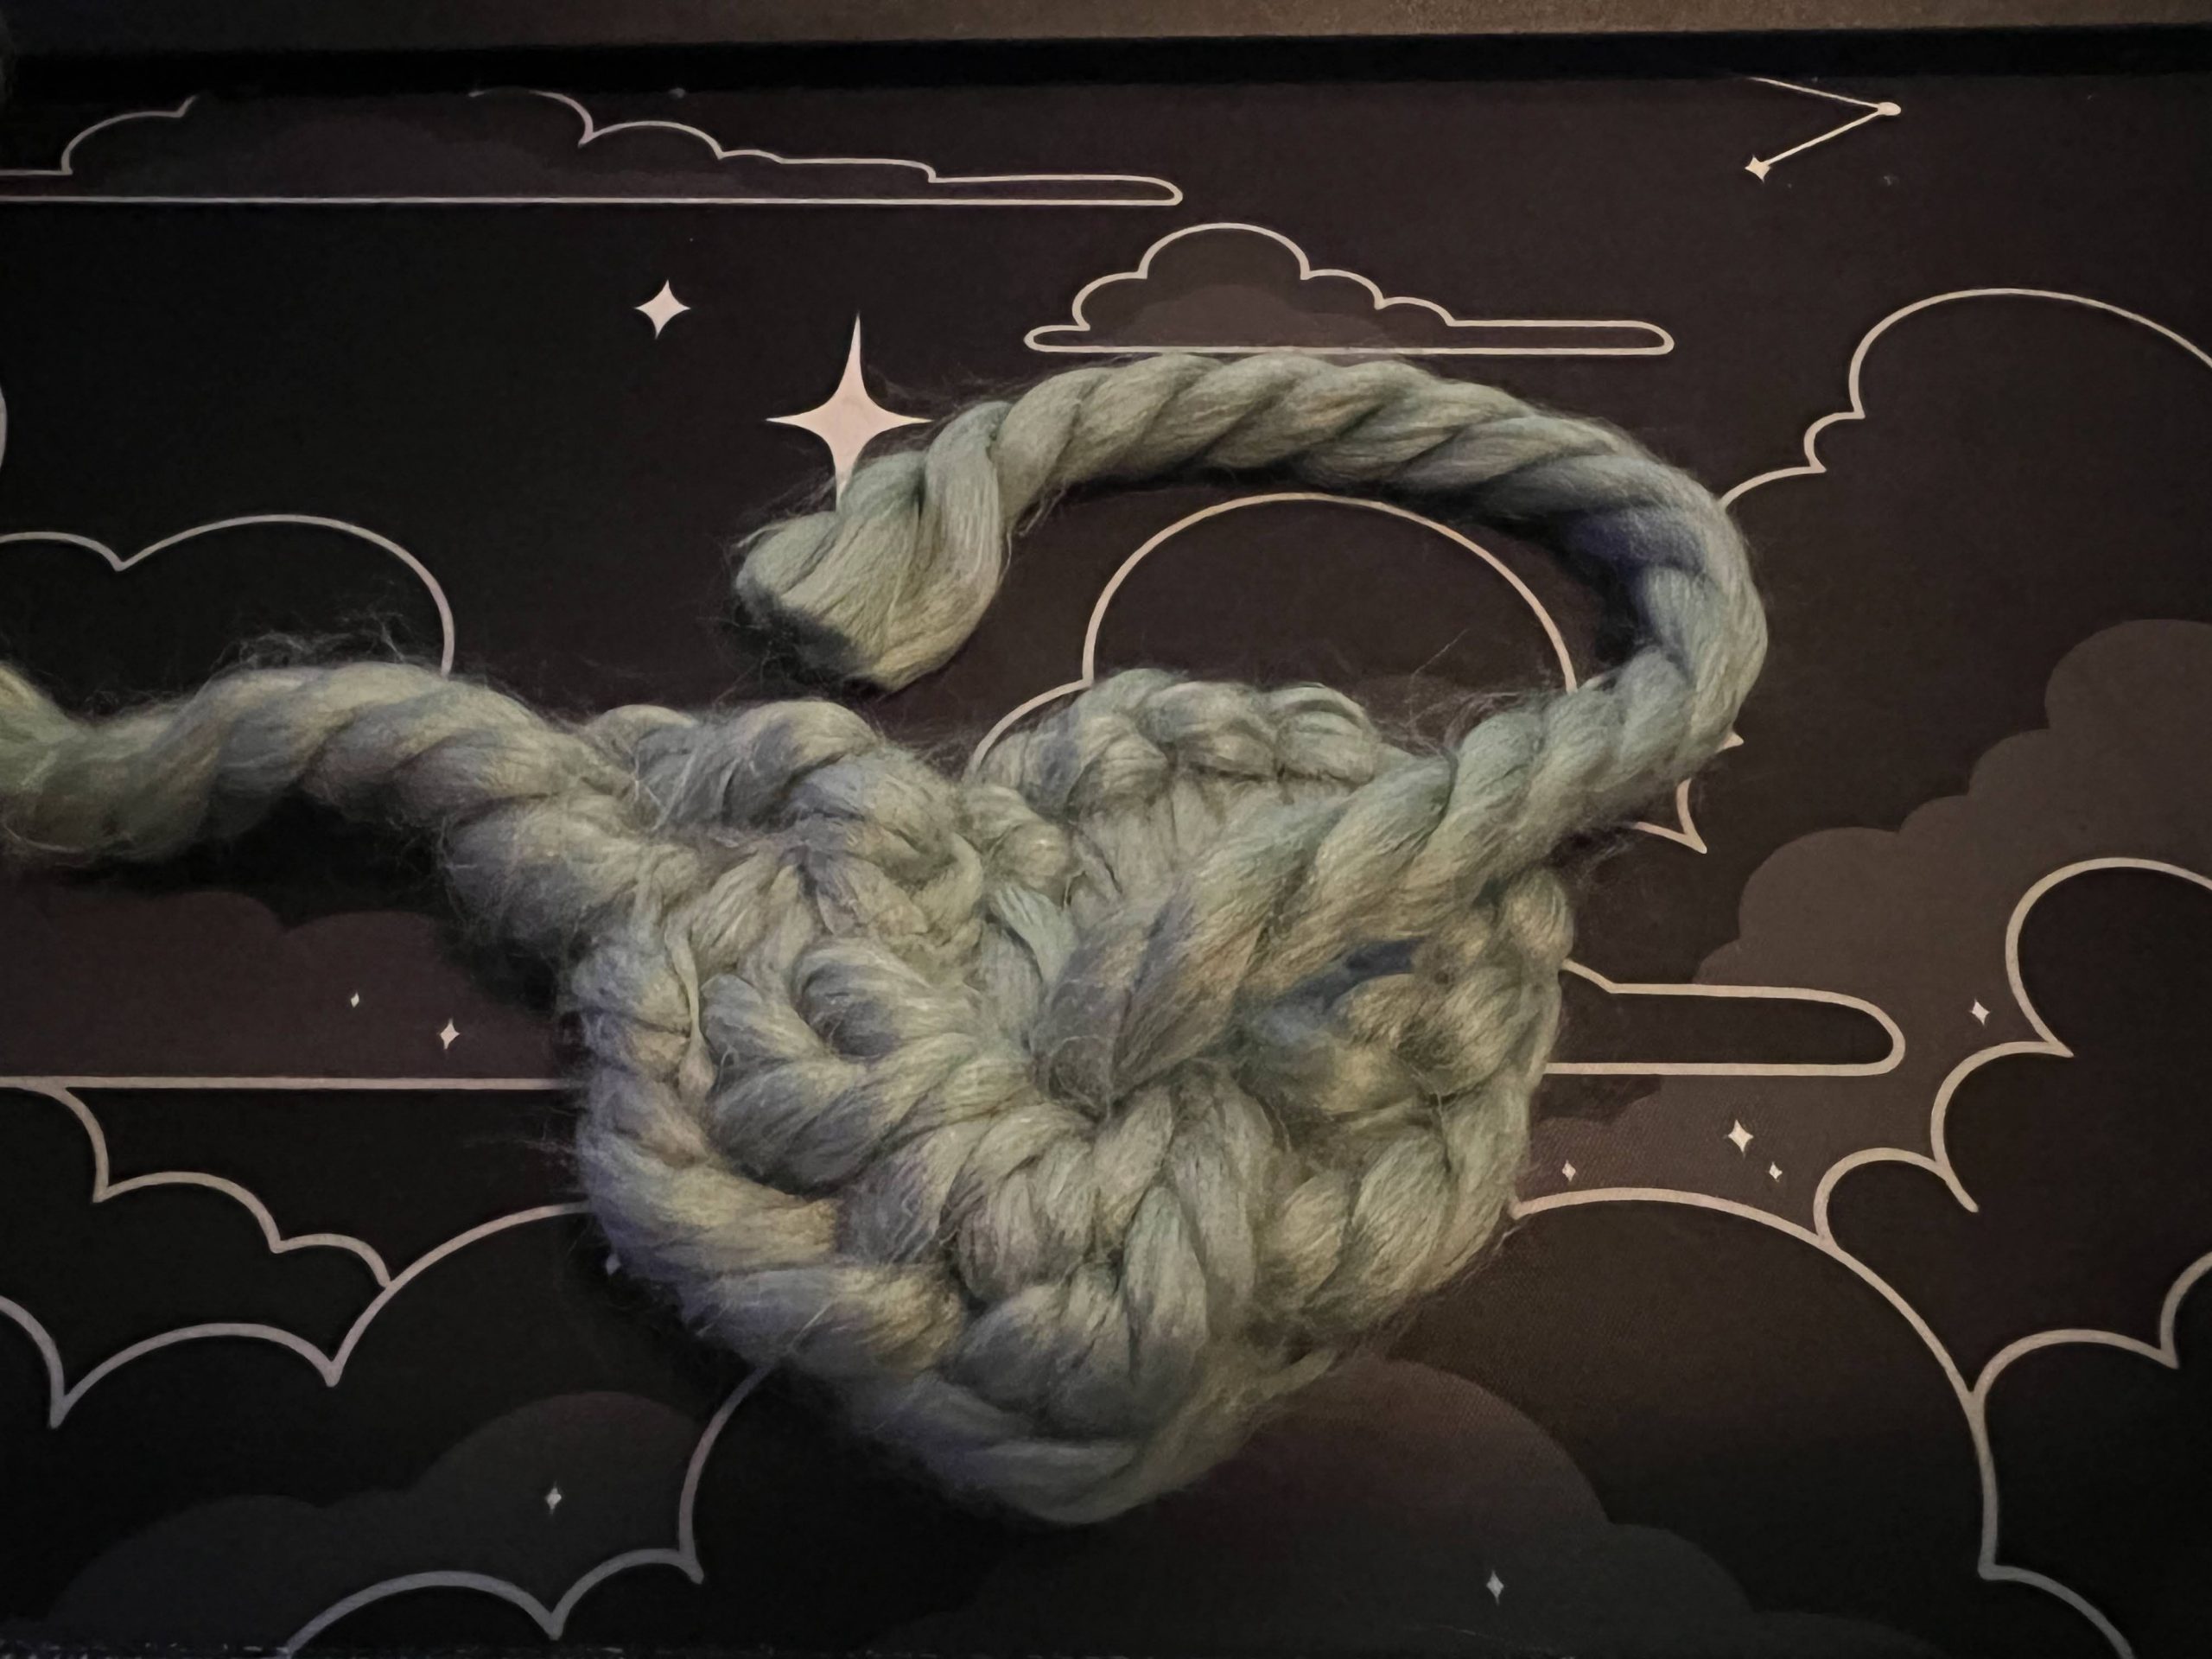
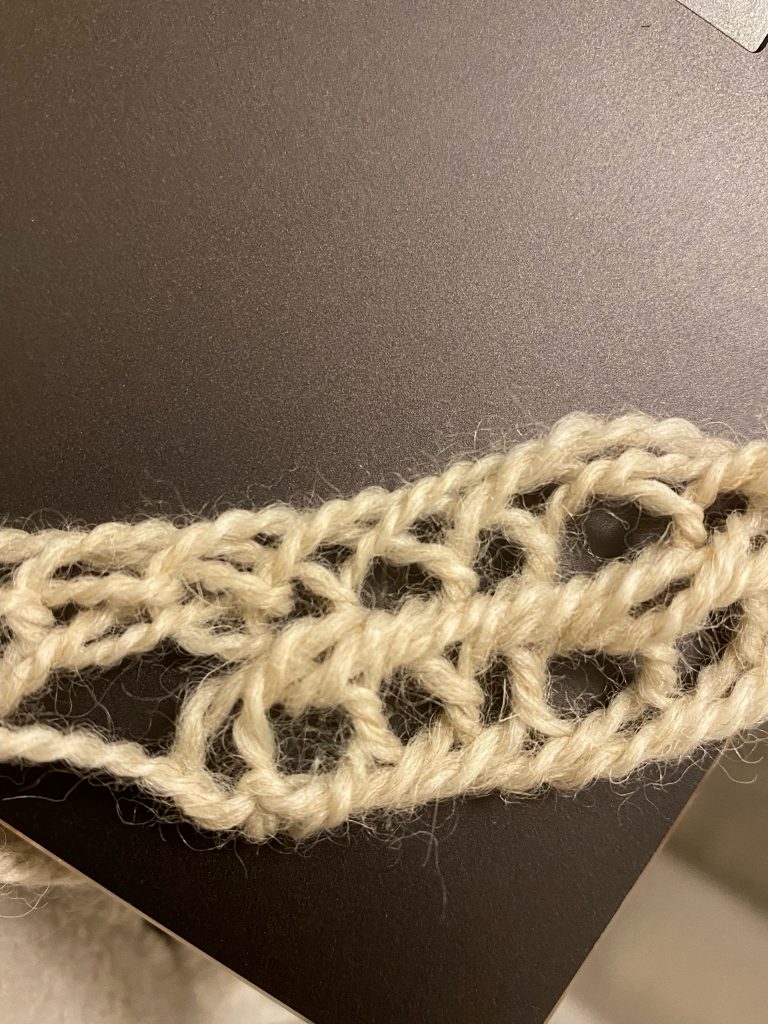
It is taking a lot longer than I initially expected for me to get to a point where I can attempt a second layer. I am still fine tuning my Oslo stitch, so I haven’t been able to move on yet. However, with my multiple attempts I am definitely getting a hang on the stitch sizes however, the beginning portion of every Oslo stitch seems to be the most challenging. You can tell in the first image as it is very bunched up.

As I was looking into adding onto the oslo stitch, I realised from watching a secondary video that there is a different way to orient each stitch. Mainly I have been sliding the loop off of my finger before tightening the next string, this results in a tighter stitch patterning. The lady in the video instead would keep this loop on her thumb and tighten the next stitch along with hers. As I attempted her technique I found that it was far easier for me to understand where to put my needle tip for the next round. This is something I have been struggling with, however this technique comes with a far looser stitch. Therefore I might end up having to attempt each technique along with the secondary level to see which works better.
Attempt 3
With the looser stitch pattern I attempted to continue onto the round pattern. This stitch was much easier than I expected. I also found that after an hour of working with the yarn, my finger joints have started to cramp a bit. Specifically the thumb and pointer finger of my right hand. This may be due to the hyperfixation brought on by my ADHD, I find that setting timers during sessions helps remind me to stretch. Additionally I’ve been finding the restriction of yarn length to be quite annoying. Especially in the beginners phase, the stitch pattern is difficult to unravel and restart. Therefore, it feels as though yarn has been getting wasted during the process.