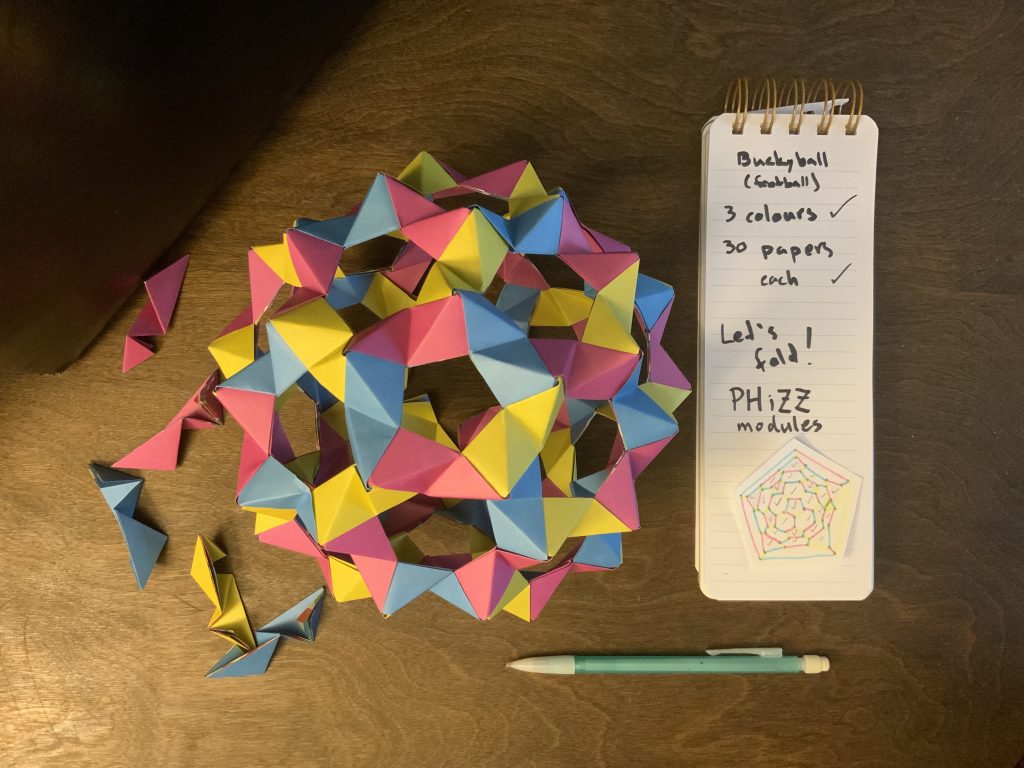
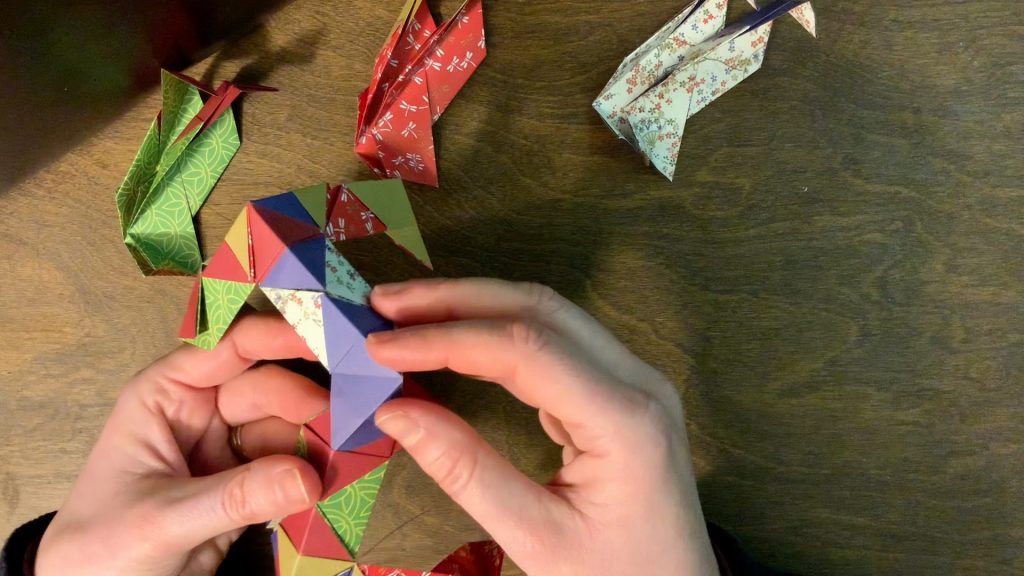
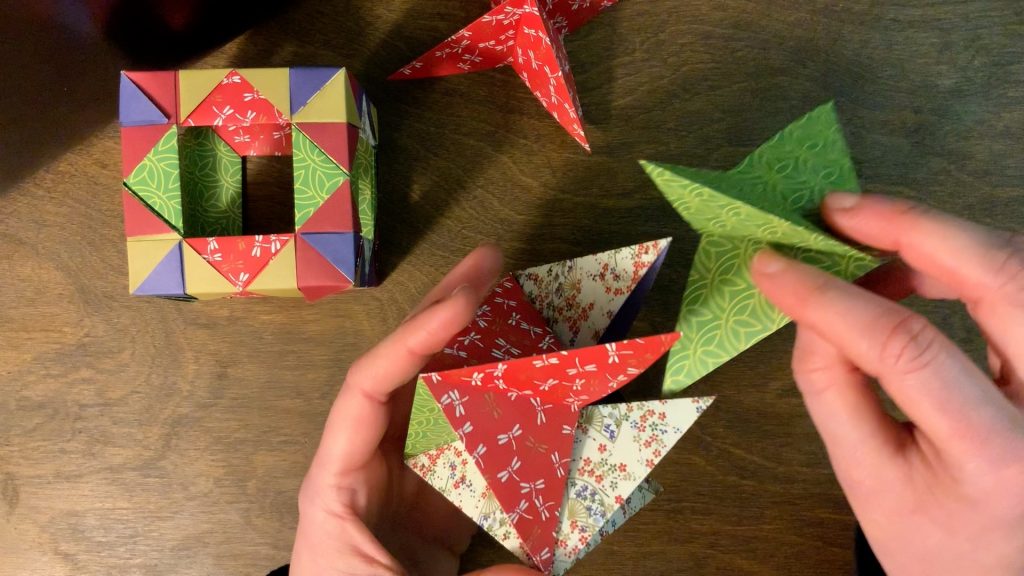
Thomas Hull, in his book Project Origami, presents the PHiZZ Module (Pentagon Hexagon Zig Zag module). It is sometimes hard to see how these modules fit together, particularly if you are working from a static diagram. In this video, I start with a sort of stop-motion demonstration of how to fold the module itself, and then show you how to fit them together. Watch the whole thing for a time-lapse of me assembling a whole buckyball, with a brief cameo by my cat.
You can see some examples of this fold in the Elliot Building origami display (here is a link to my post about that). Since our first assembly of the display, I have made several more!
Astrophysicist Koryo Miura developed this fold as a way of packing things such as solar panels flat, so that they could be very easily opened (and closed) in space. Because of this space connection I asked a colleague from Physics & Astronomy to donate something more space-related for me to fold, to replace the math research poster I had originally used for our display. In this video, you can see me demonstrating the two-points-of-contact folding and unfolding that the Miura fold provides:
Click on the picture to watch the video.
I will update the Elliot Building displays soon, to include this space-themed example. I will also add some examples made from geological survey maps, donated by a colleague from Earth & Ocean Sciences, because the Miura fold is also excellent for storing maps.
Thank you to Arif Babul (Physics & Astronomy) and Duncan Johannessen (Earth & Ocean Sciences) for the donations!
Earlier I shared a video of me folding a cube made from Fuse’s wireframe modules. While I was working at the University of Minnesota’s Math Centre for Educational Programs, I learned a different way of folding a wireframe cube. I don’t know the original designer, because the video I used to reference is gone. Here is a video of me slowly folding the module (in case you want to learn yourself) and then a time-lapse of me assembling it into a cube:
The cube is one of the five platonic solids (named for the ancient Greek philosopher Plato). A platonic solid is a solid whose faces are all the same, whose faces are all regular polygons, and whose vertices all have the same number of faces meeting together. Faces of the cube are regular 4-gons (squares), and at each vertex three faces meet. Now, if you put a vertex in the middle of each face and then connect two vertices together if and only if their corresponding faces share a mutual edge you get another solid. We call that the dual of the first one. It turns out that the dual to a platonic solid is always also a platonic solid. Grab a cube and see if you can work out what its dual is!
Go ahead; I’ll wait.
You could always fold one yourself; you just need 12 pieces of paper!
The shape you have (perhaps) just drawn or visualized is called an octahedron because it has eight faces. Each face is an equilateral triangle. In this next video I’ll show you how to fold a model of an octahedron, which I also learned at the Math Centre for Educational Programs. It’s made out of six “water bomb” modules. While at UMN, I regularly helped teach local teachers how to fold these and help their grades 3 and 4 students assemble the model, as part of the Girls Excel in Math (GEM) program there. That means that this model is not too hard to put together; it is certainly easier than the wireframe cubes.
Watch to the end to see a demonstration of their duality!
Tomoko Fuse’s wireframe unit (from The Complete Book of Origami Polyhedra) is great for making cubes. This video might help you follow his instructions, and work out how to lock the units together. Watch to the end to see my final product!