In class on May 31st, my group learned many things in the classroom. We spent most of the day learning how to use programs such as PhotoScanPro and MeshLab, which proved to be both exciting and a little challenging. The purpose of PhotoScan was to learn Photogrammetry, where we created 3D models from 2D images! I find being able to do this completely fascinating because, just from taking a series of pictures of an object, you can create very realistic models that represent the work being done in the field, in our case in the Emanu-El Jewish Cemetery. The program works by finding measurements on many overlapping images, and uses all the points to create the 3D model (MacKinnon, 2017). Although taking the images is a relatively quick process, the program takes much longer. For instance, my team’s model took more than four hours to complete just one step! The subjects used for this assignment were gravestones located in the Jewish Cemetery and my gravestone, which is seen being modelled in the pictures below, will be further assessed in another assignment.
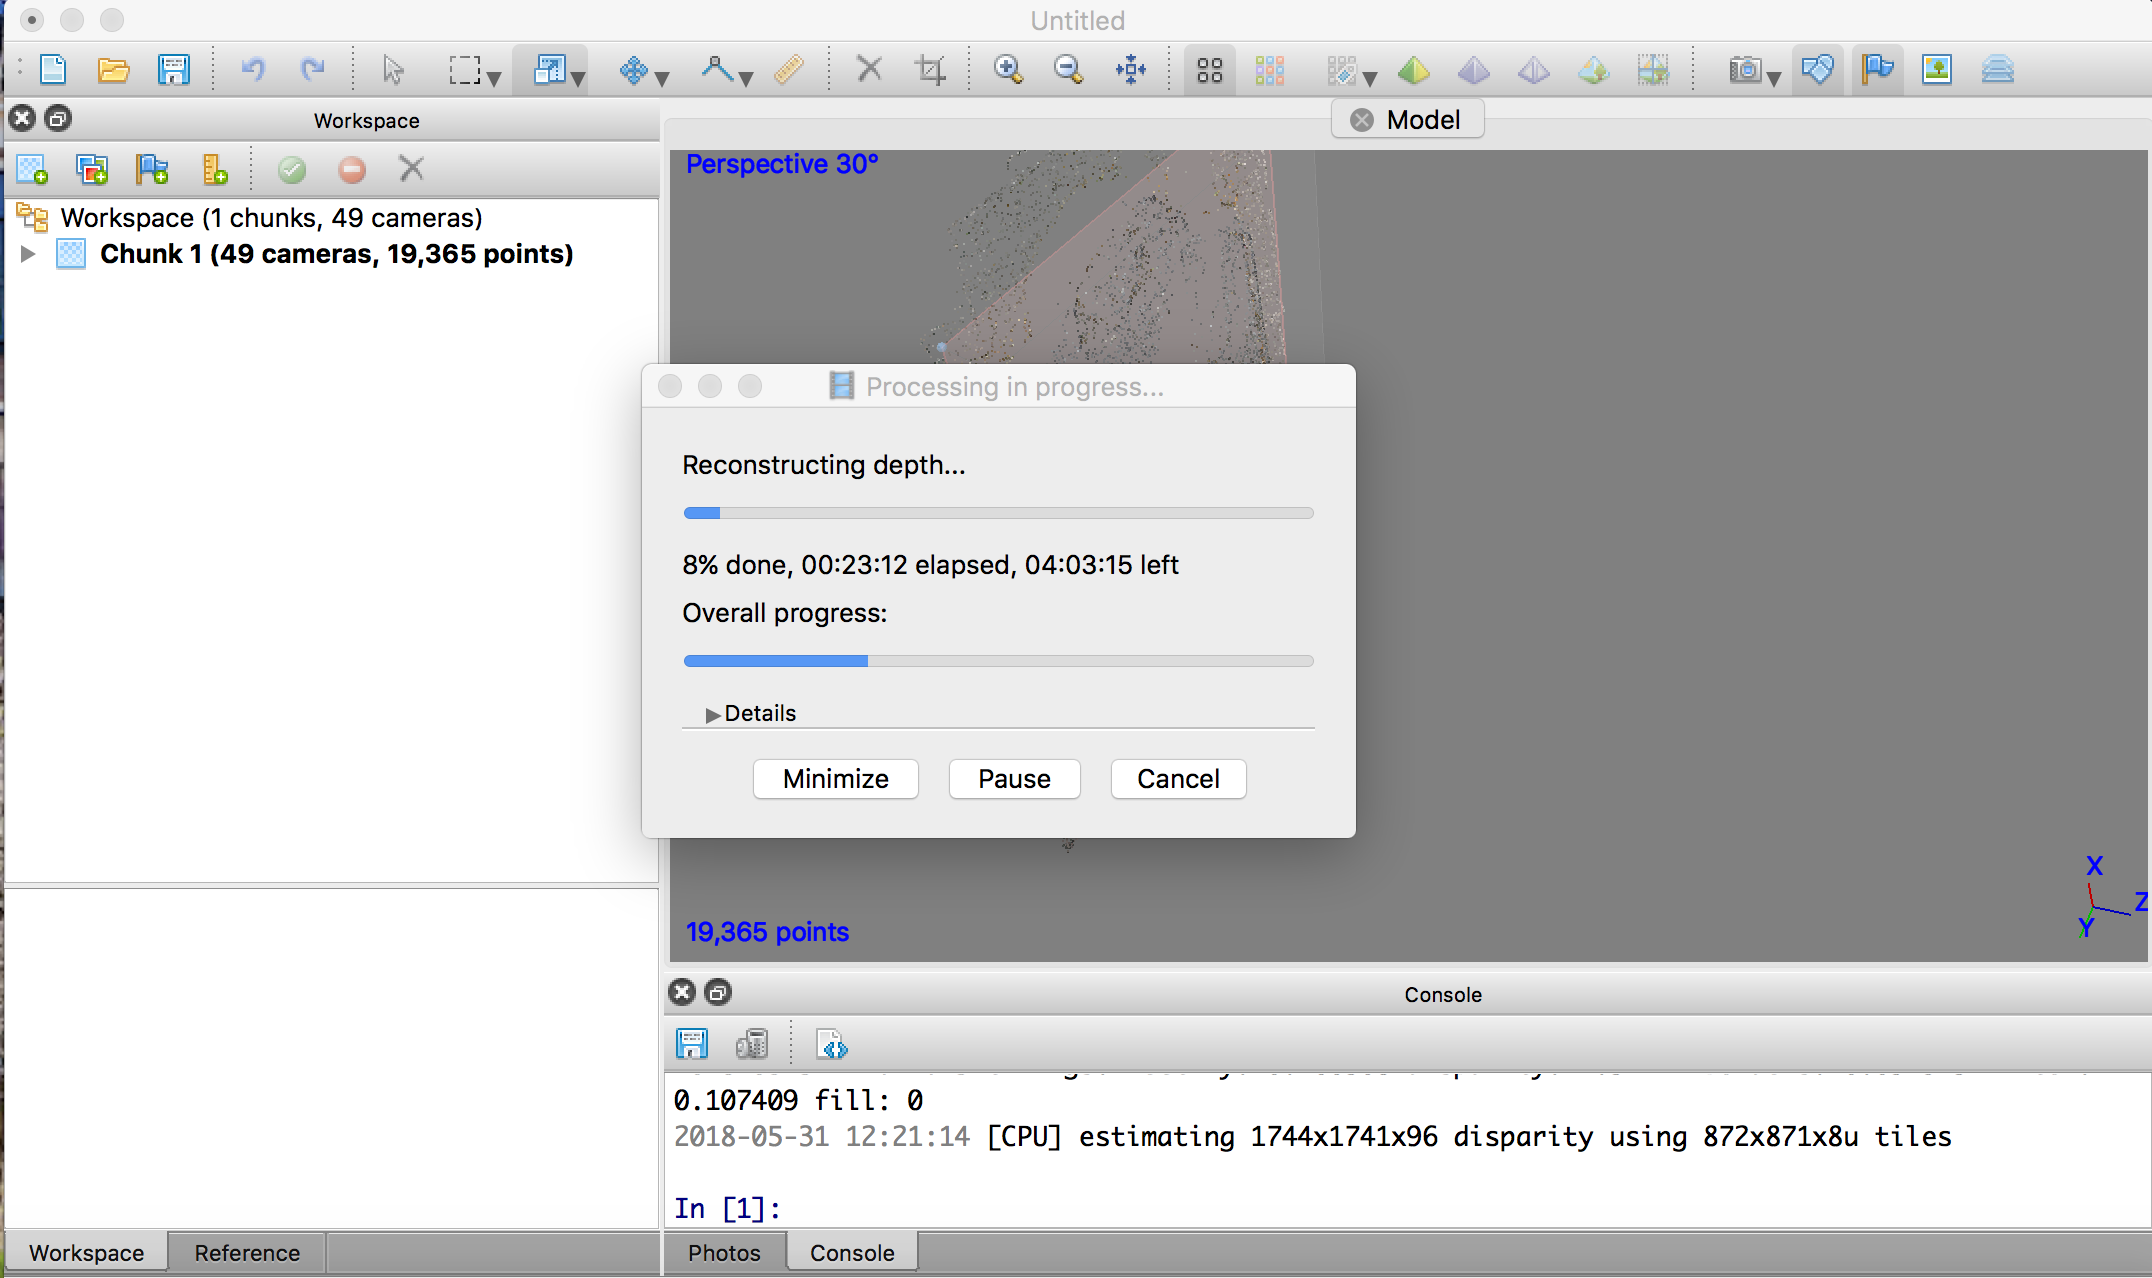
One stage of Photogrammetry – taking a long time! By Emily Wushke
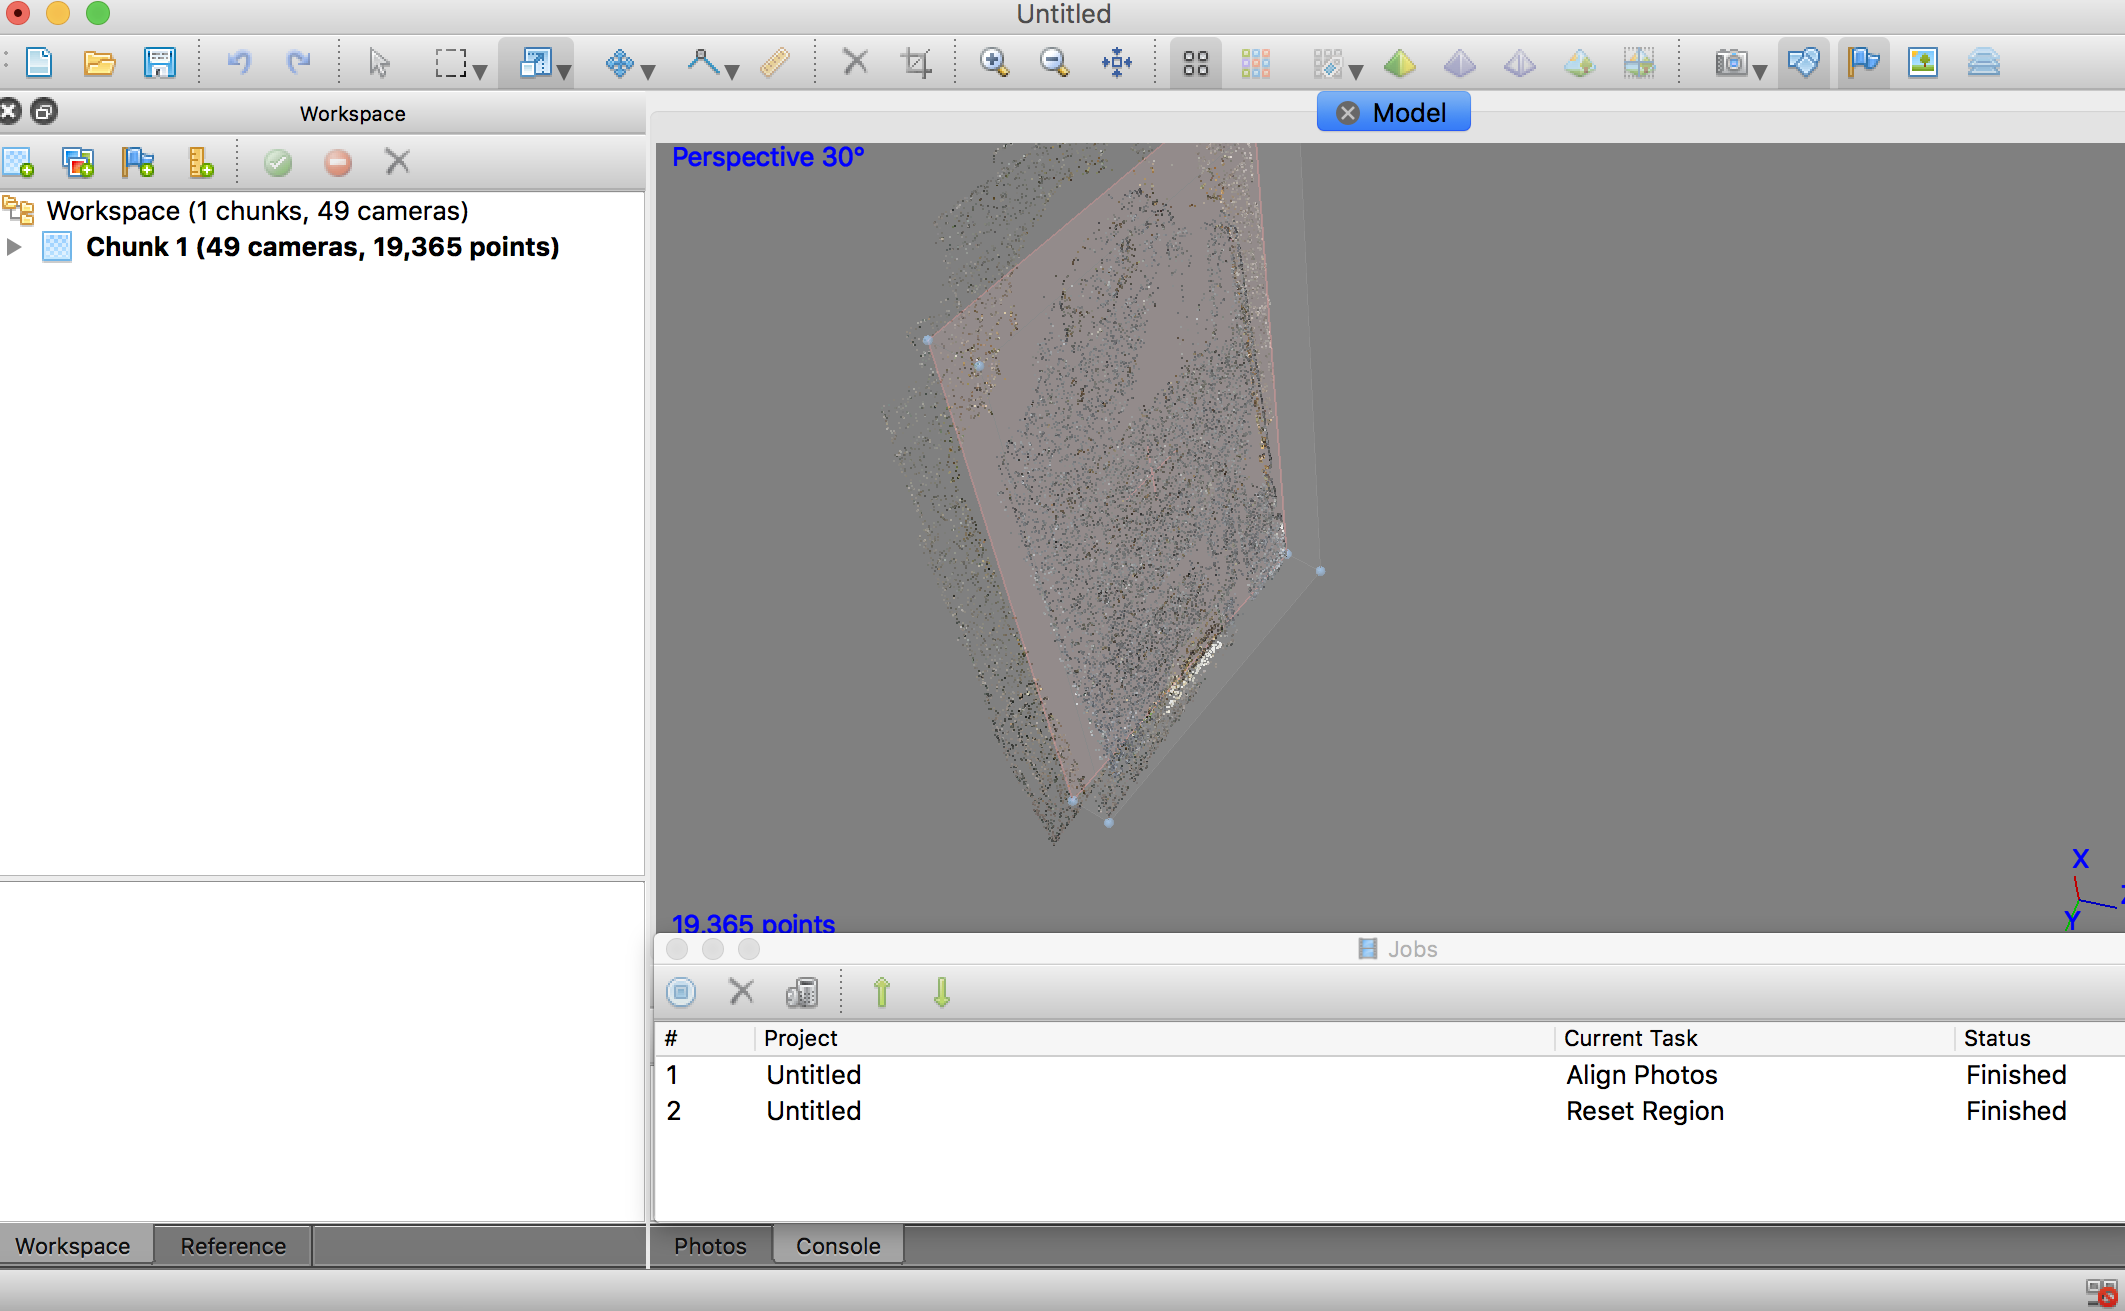
PhotoScanPro – the program used to make our 3D models, by Emily Wushke
As someone who is not very tech savvy, I found working with this program to be challenging, as it took me a while to understand the ins and outs of it. Since it ended up taking a long time to load, I found myself growing frustrated and I was worried that something would go wrong with the program. However, seeing the finished model made it worth it in the end. It was especially exciting because the inscription on my team’s gravestone is nearly indecipherable when viewing it in the cemetery and in the pictures. The MeshLab program allowed my partner and I to play around with light and other settings on the 3D model. The settings were called ‘dynamic relighting’ and ‘depth mapping’, and enabled us to read much more of the inscription and add information that was previously missing on the record.
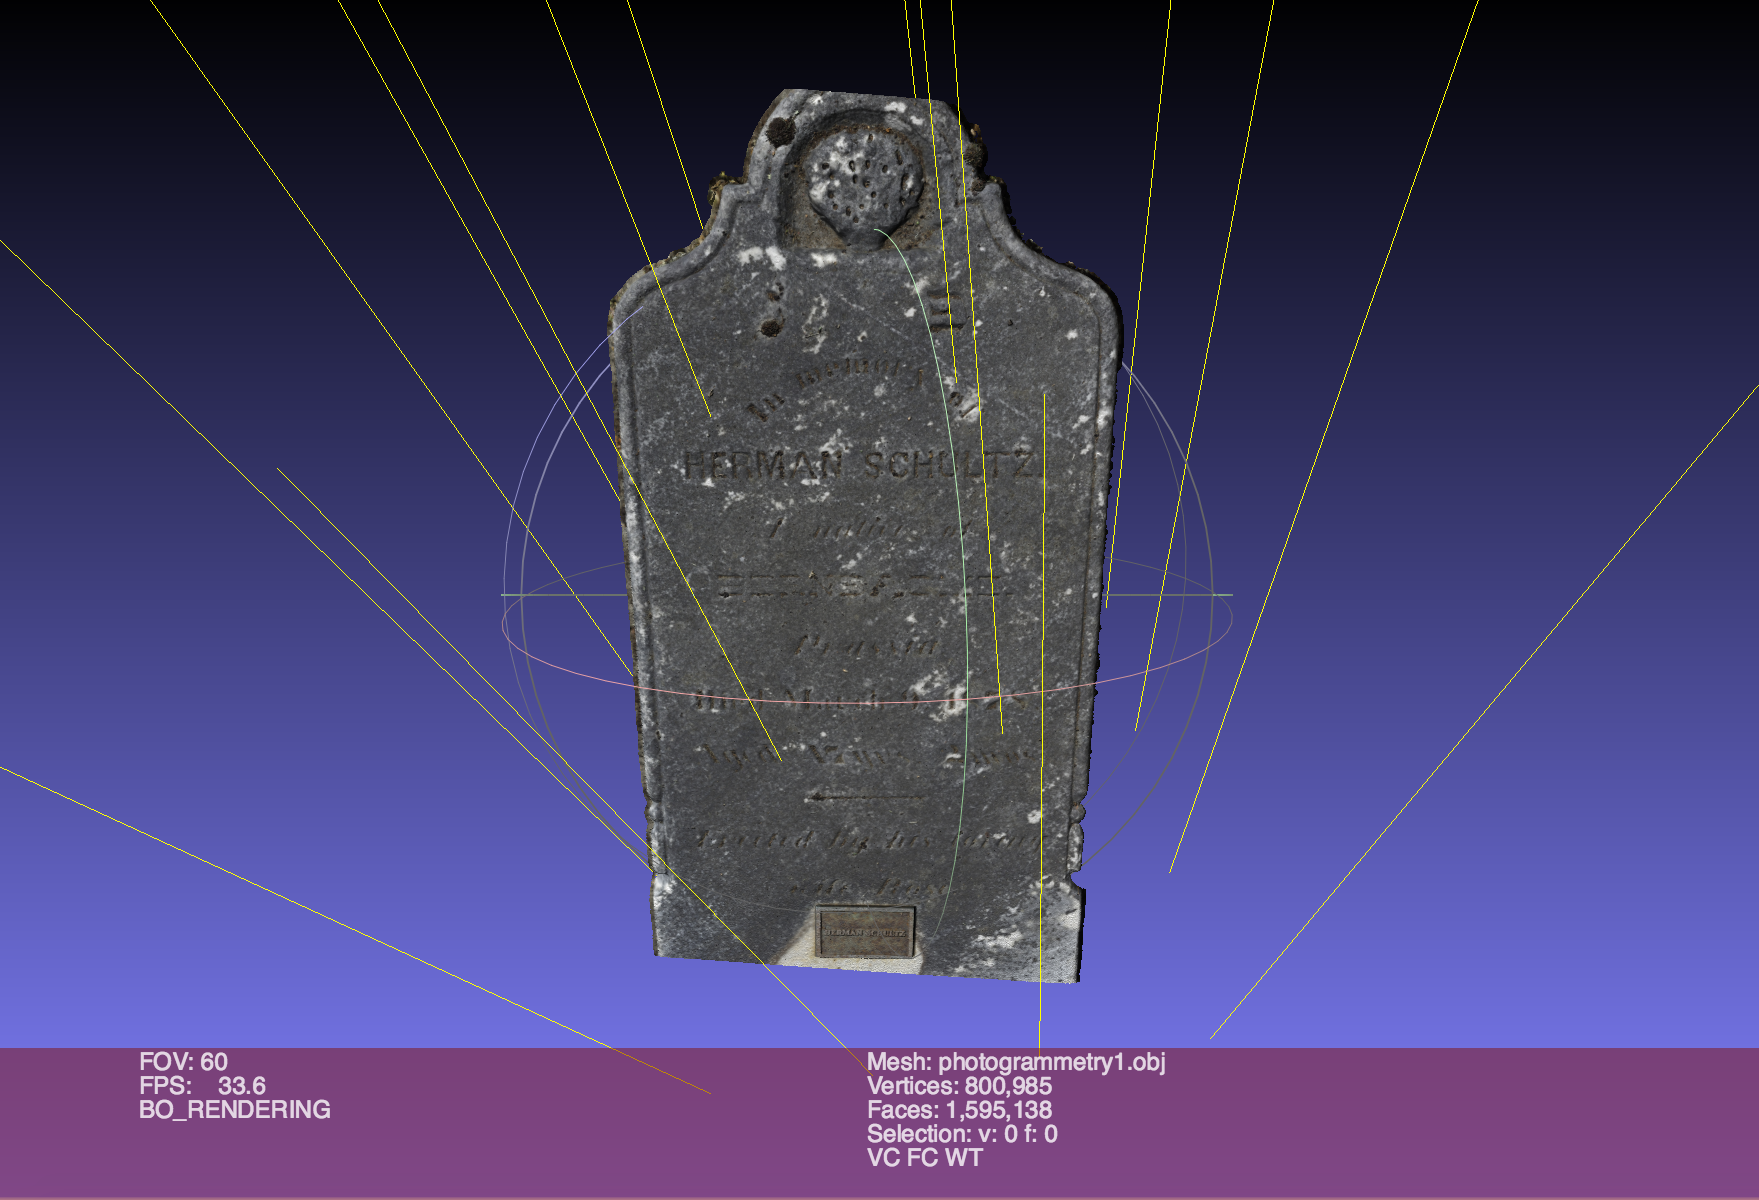
The 3D model imported into MeshLab undergoing “dynamic relighting”, by Emily Wushke
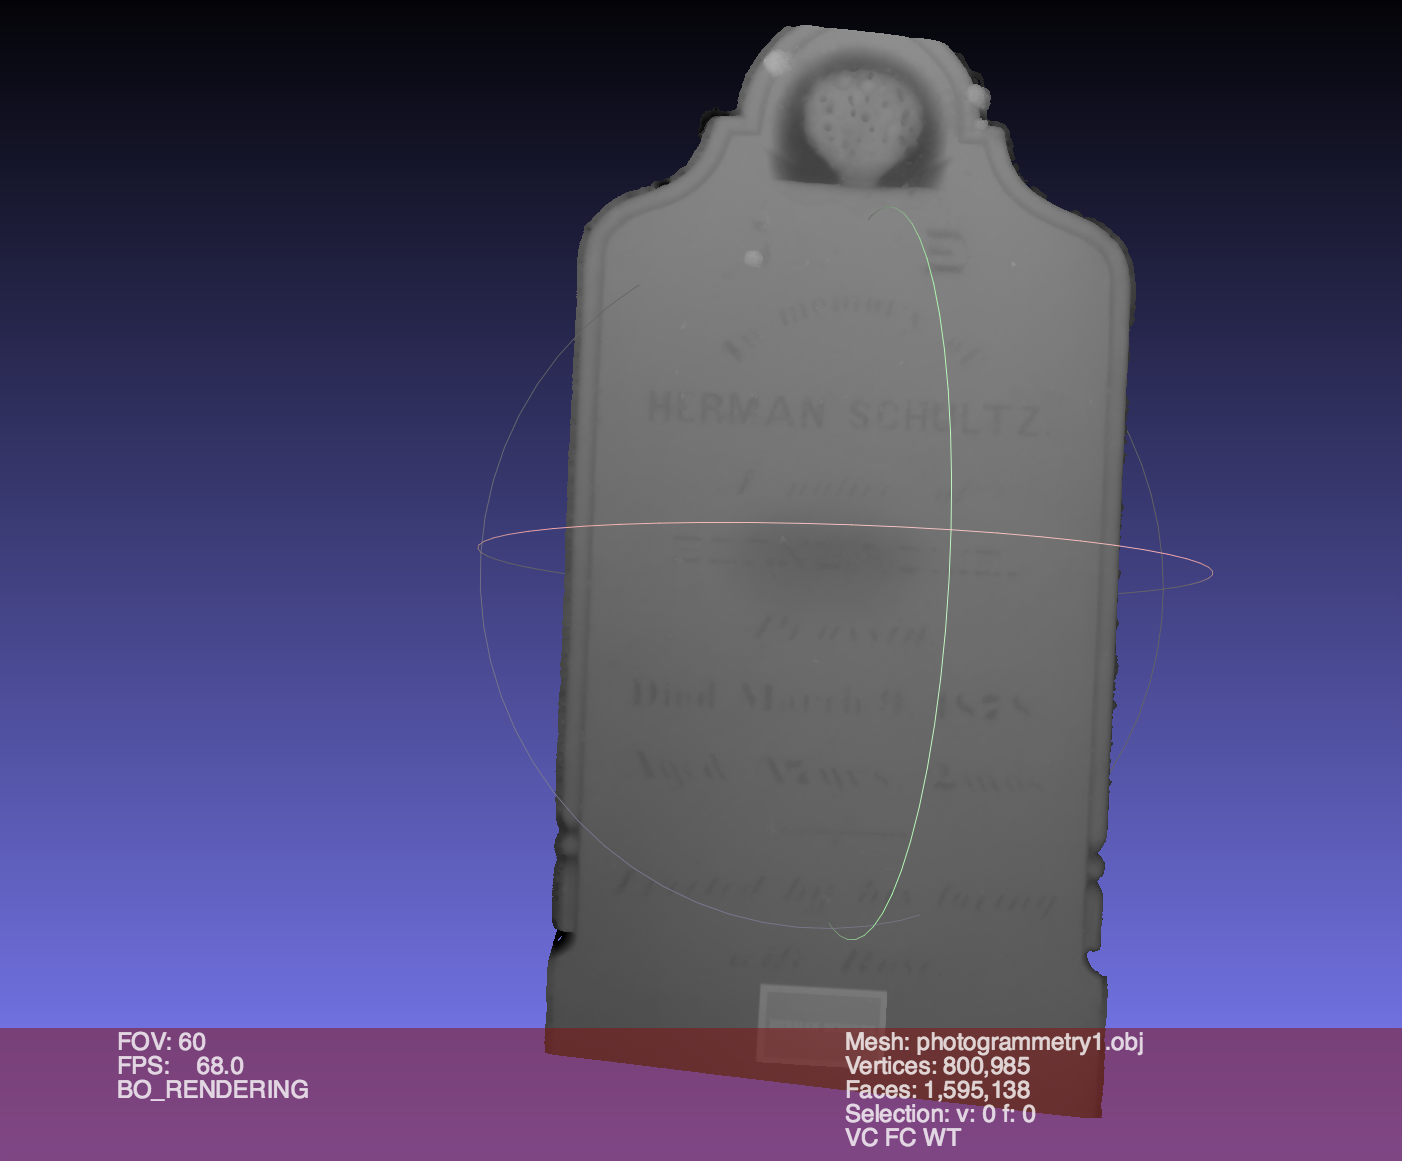
The second stage in MeshLab called “depthmap”, which colours the monument based on elevations of the monument’s surface (MacKinnon, 2018), by Emily Wushke
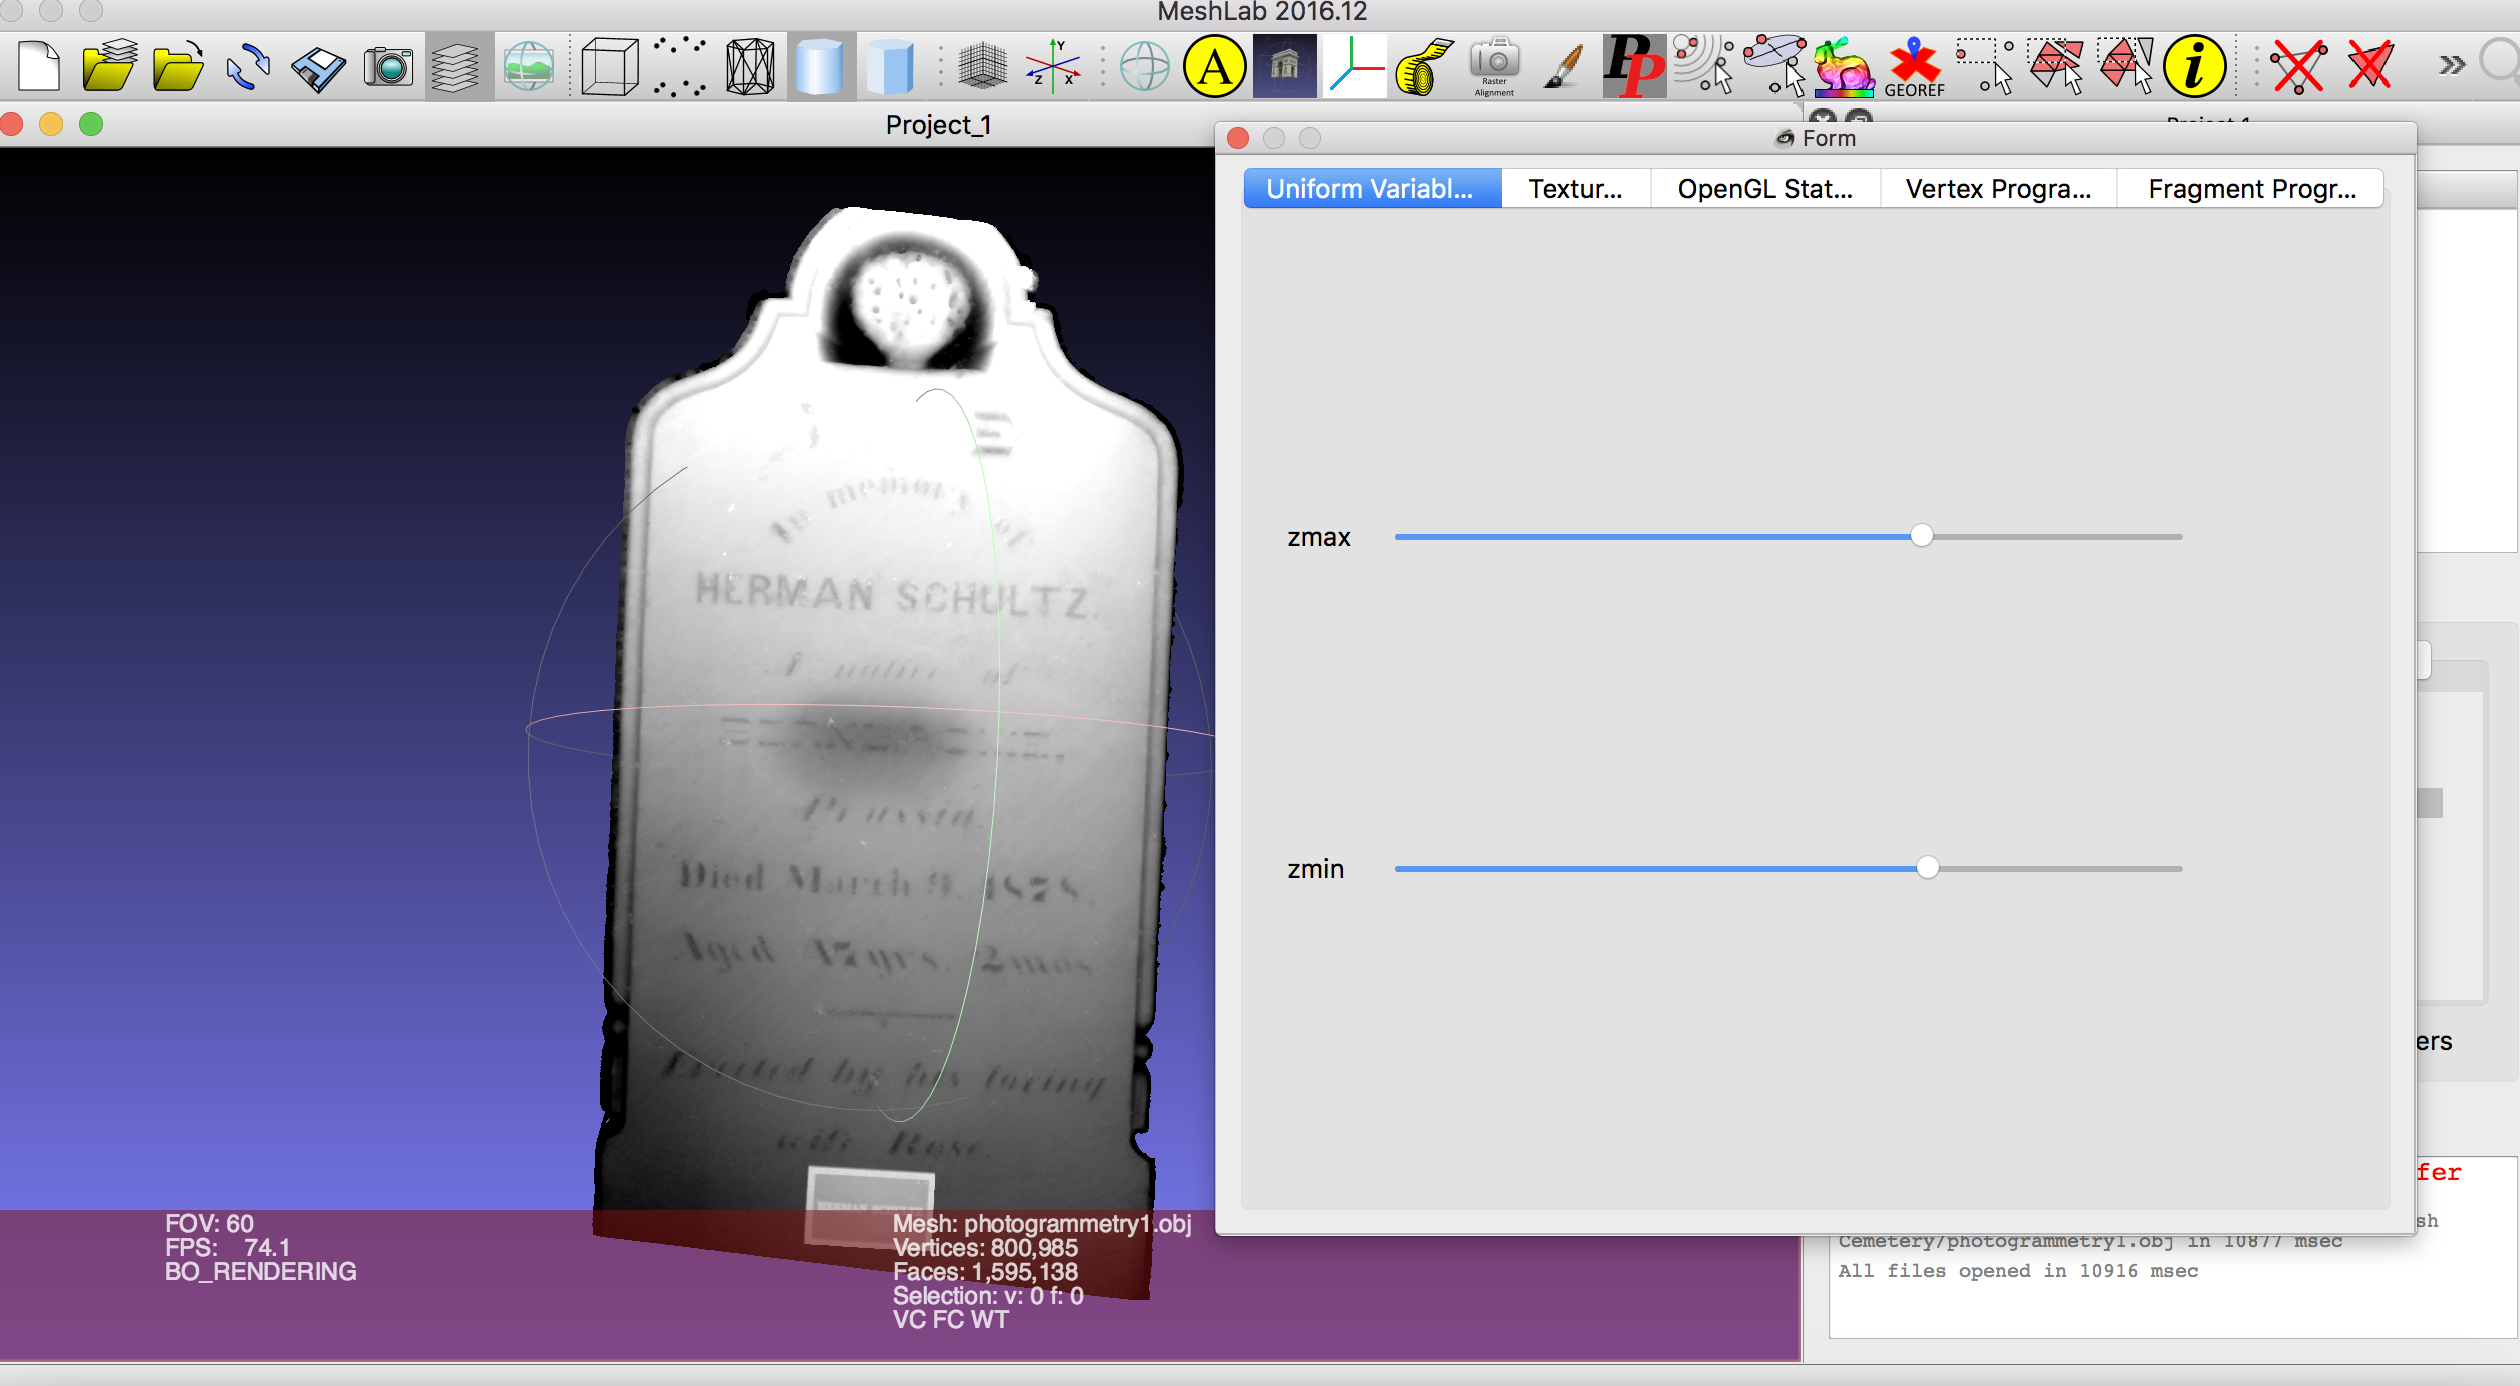
The depth mapping uses the ‘zmax’ and ‘zmin’ sliders to change where the inscription pops out the most. My partner and I had to keep adjusting the levels and rotating the model in order to clearly see the inscriptions.
Overall, Thursday’s class and the field school in general has been an incredible experience. It is heartwarming to see the difference we are making in the Jewish community and to be able to be part of such an amazing group. I didn’t know I could learn so much from spending only a few weeks in a cemetery, but I did and I will always be thankful for this opportunity. Our class learned many things in addition to the 3D modelling programs, from how to fill out recording forms to cleaning gravestones, as well as the stories of many people buried in the cemetery. Although I had many questions every day and always had to check if I was doing something correctly, I know this was a learning experience for the students too. The more I do the assignments and practice the skills we have all been learning, the easier the tasks will become, both for the photogrammetry and assignments within the cemetery. I will likely be creating additional 3D models because I believe it is an important aspect to the field course. They are not only things that are cool to create, but the models represent real stories and real people. Having the models to fill in missing information will not only help us learn, but will also give back to the community, which is truly spectacular.
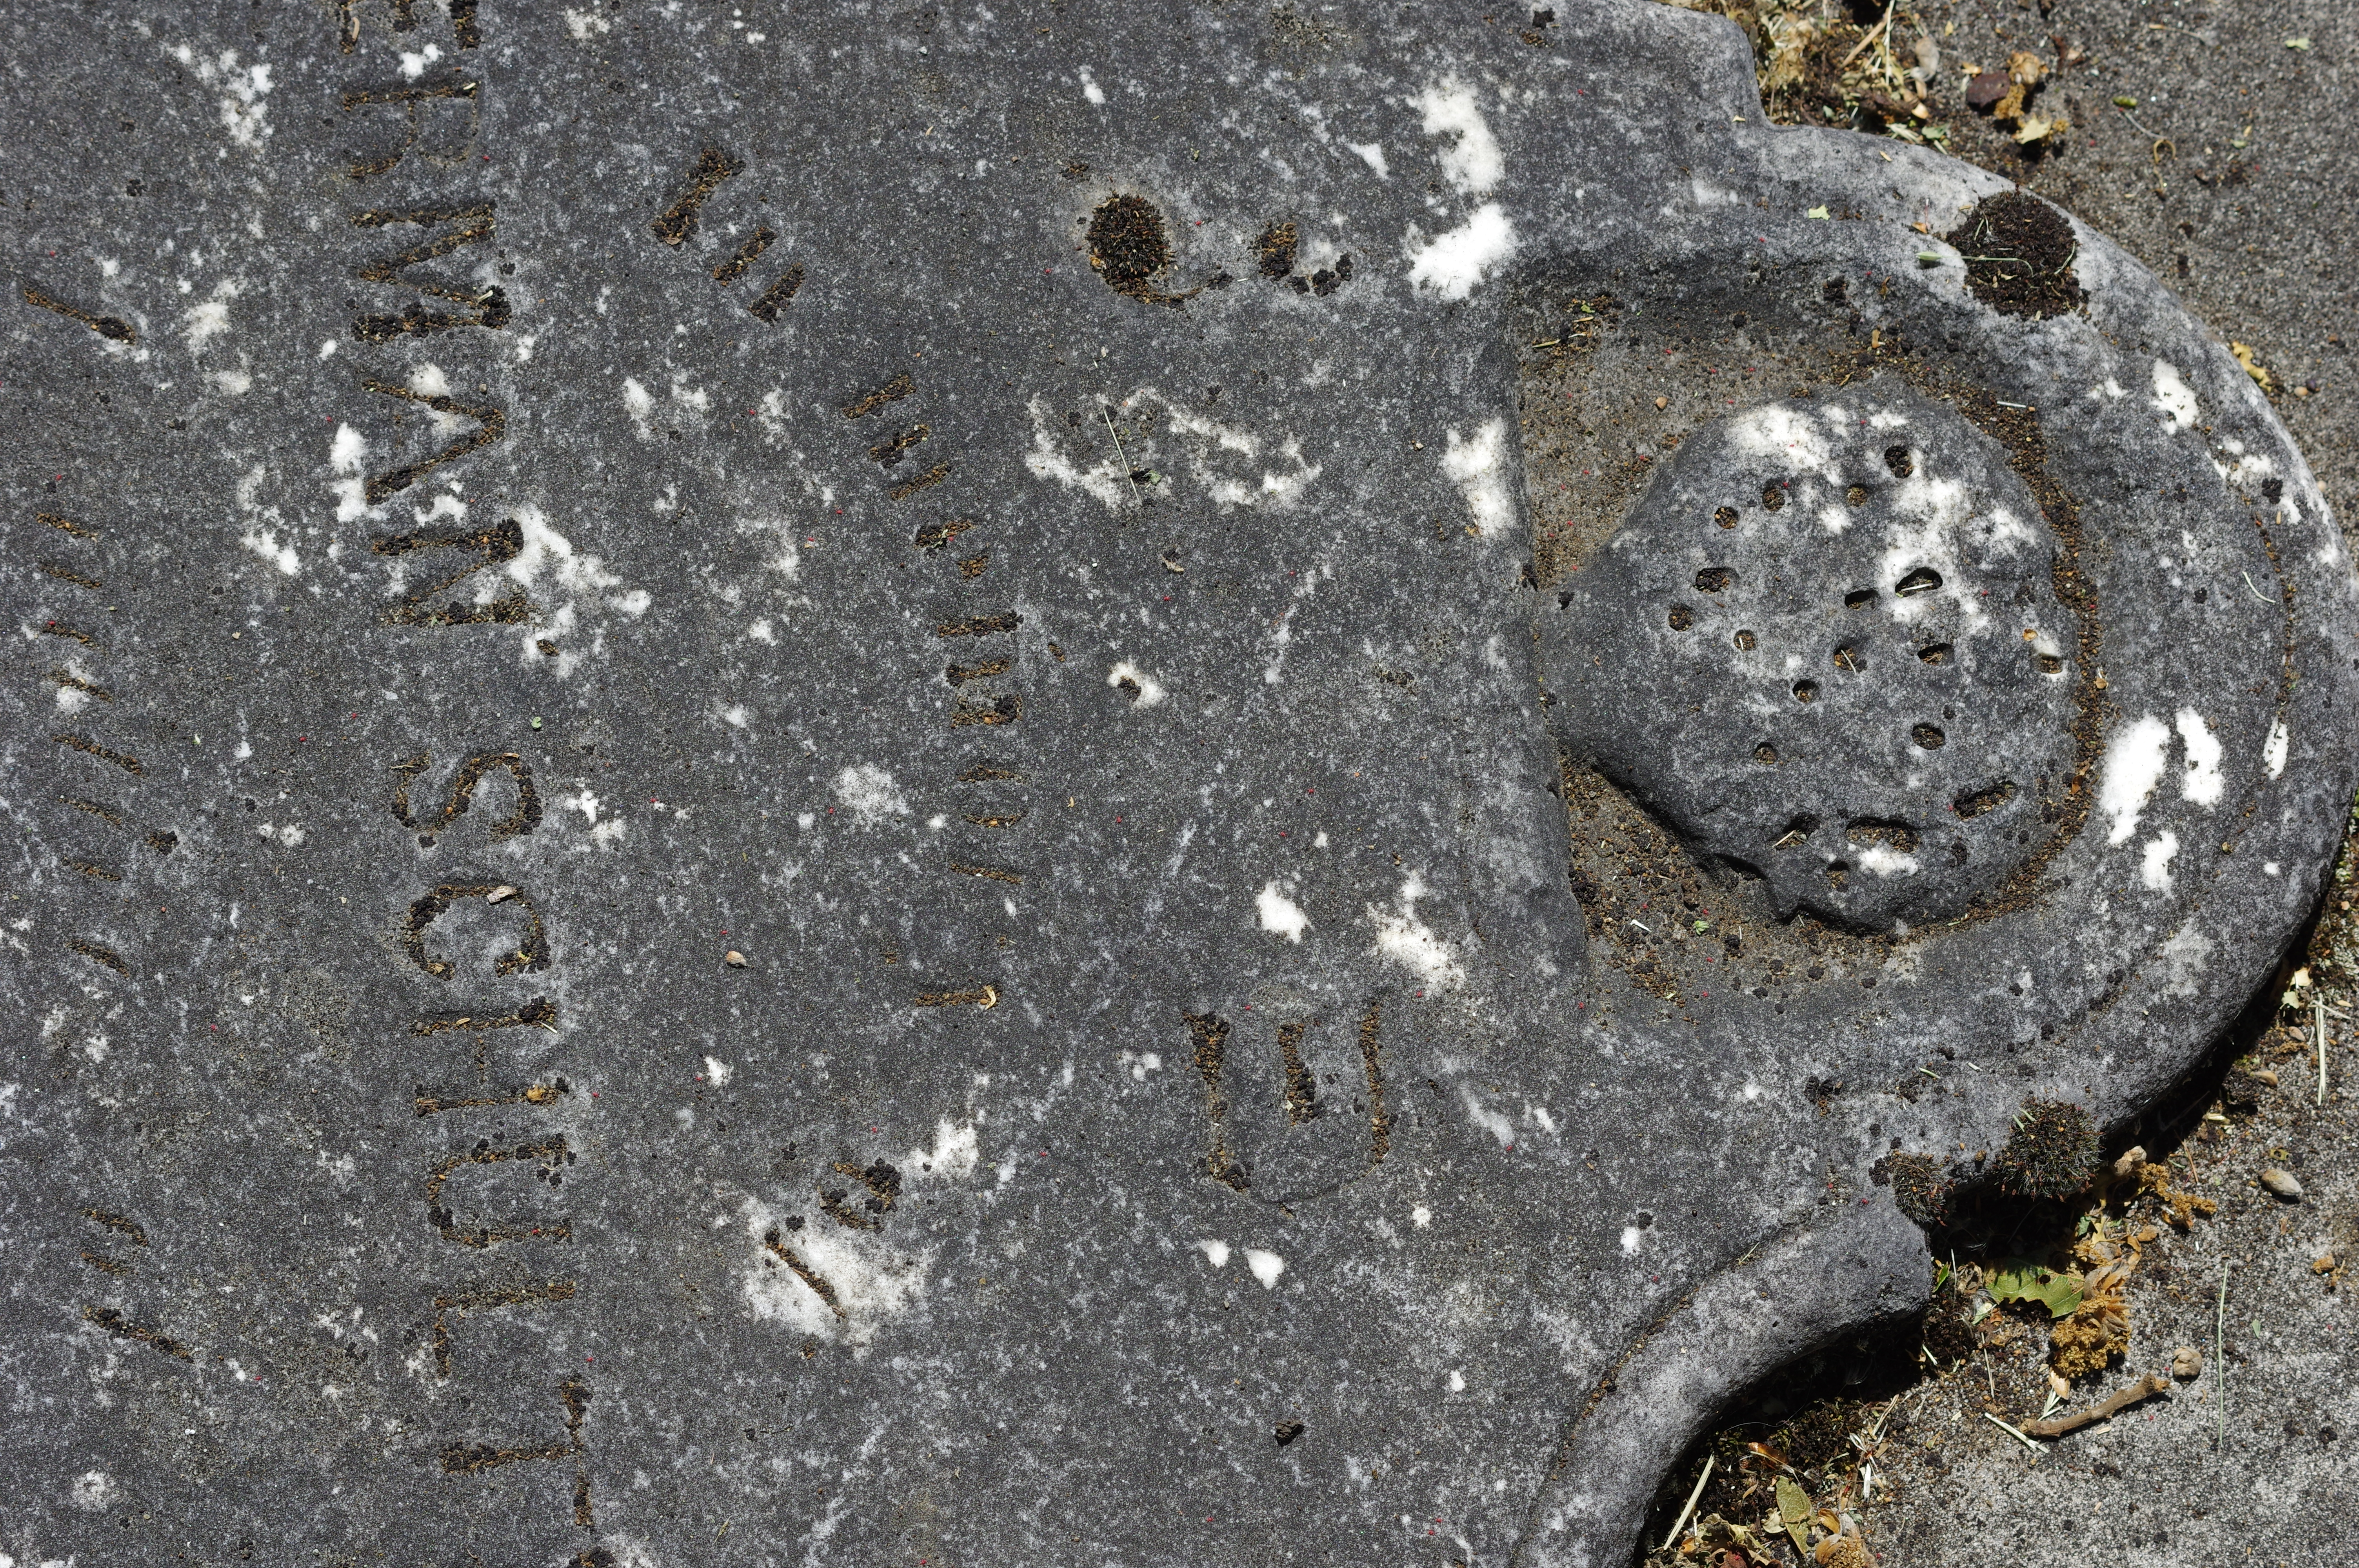
One of the original pictures out of the 49 used to create the 3D model, taken by Mekyah Vieira (plot D34 in the Emanu-El Cemetery)

Final 3D model in the Photogrammetry stage
A short video showing the process of ‘depth mapping’ and how different angles/settings show different parts of the inscription.