Throughout this course, we have seen many damaged and worn monuments within the Congregation Emanu-El Cemetery here in Victoria, BC. For many of these cases, the projects are just too grand for our group to undertake. However, during our last class Erin taught us one way to better preserve and display the monuments – by cleaning them.
Of course, the process and the details are a little more complicated than simply using the traditional soap and warm water treatment. As we learned in class and also read on GravestonePreservation.info, each stone material requires specific care and cleaning methods, and only certain tools will do. For us, there were several factors that had to be taken into account first. For instance, working outside means that we have to be environmentally responsible with the supplies that we use. Secondly, we had to be careful not to damage the stonework in any way while scrubbing the surfaces. We chose the safest tools and monuments to begin our grave cleaning, which would be those made of granite and still in relatively good condition. Granite headstones are more popular now in modern graves because the material is cheaper and more resistant to erosion and wear than a softer stone like marble. The older monuments from the 19th century would have to be left to the experts because our methods would not be appropriate and could do more damage than good.
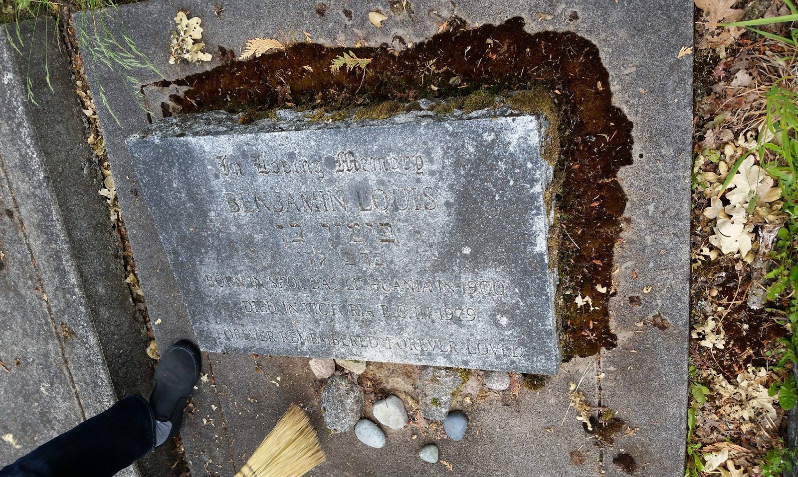
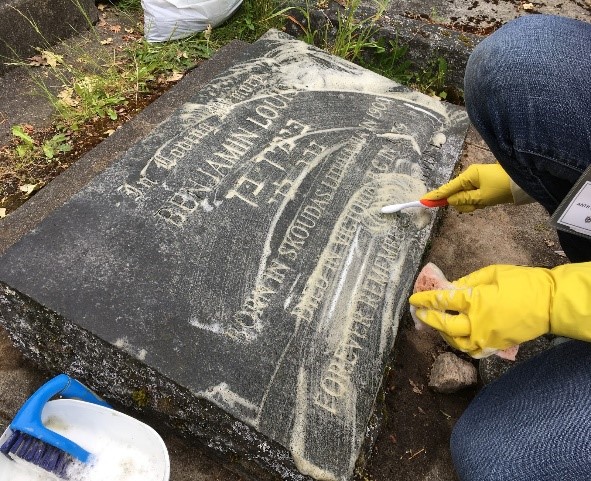
Benjamin Louis
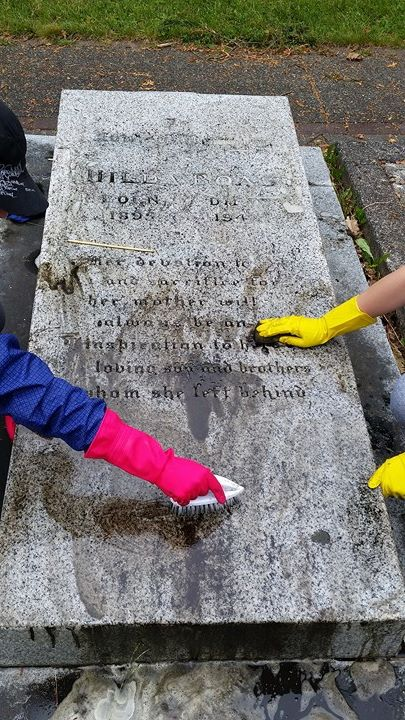
Hilda Boas
Figure 1: These two monuments – Benjamin Louis (left) and Hilda Boas (right) – are in dire need of cleaning. Images by Emily K. and Tony V. (Click to enlarge images)
We began by doing a bit of garden work, weeding around the monument and pulling up the moss building up around the headstone. In fact, what some may see as natural plant growth on stone can actually cause a lot of damage to the monuments due to their acidity and moisture-trapping abilities. A small broom was also used to brush away the surface debris (see Figure 1). We were then ready to start a more vigorous cleaning of the monuments.
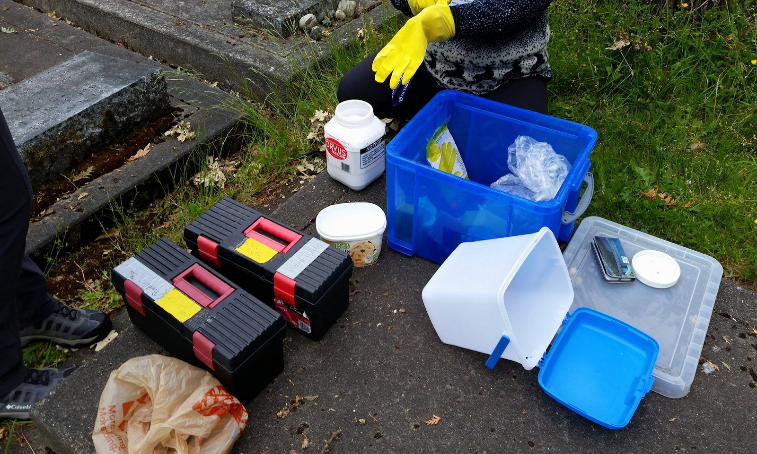
Our cleaning supplies
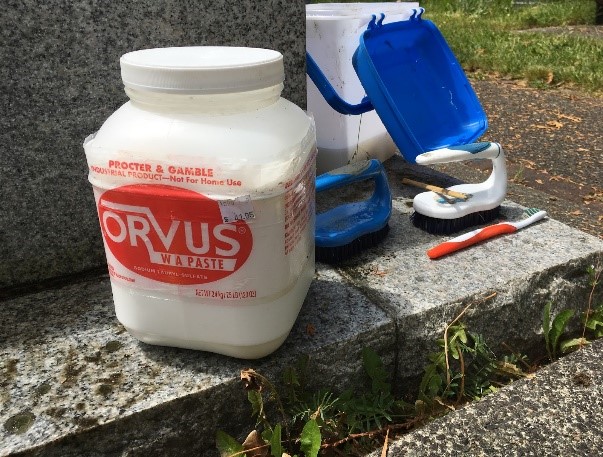
Orvus soap
Figure 2: The cleaning supplies we used, including brushes, chopsticks, gloves, and Orvus brand sodium lauryl sulphate paste.
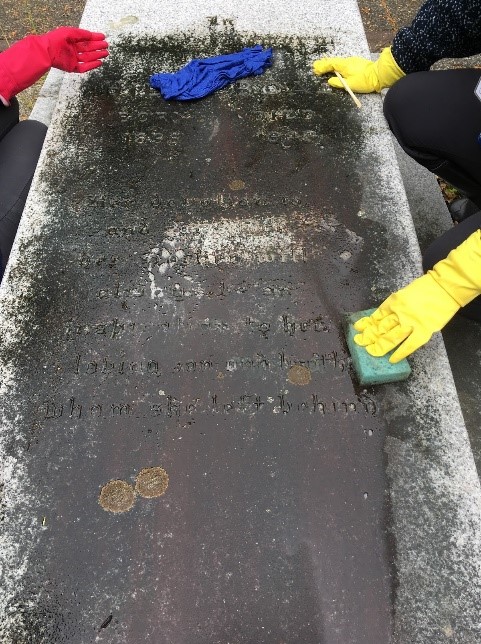
To best do this, we used a sodium lauryl sulfate paste mixed with water because of its mild detergent properties which will not harm the stone of the monuments we clean and will have minimal impact on the environment. With this soapy concoction (and a little of what Erin described as ‘light elbow grease’) we used sponges and brushes to scrub away the years of buildup of pollution and organic soiling. We then used chopsticks and toothbrushes to remove any dirt that had gotten into the inscribed lettering.
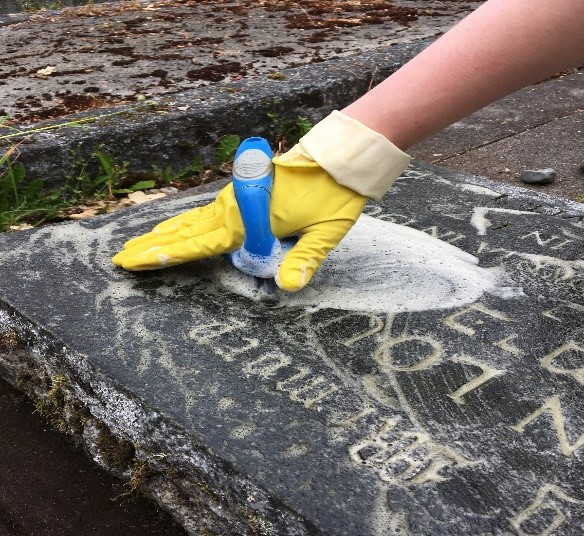
Larger brush
Old, soft toothbrush
Brushes and sponges
Figure 3: Both large and small scrub brushes are used to clean the monuments, with special and more finite care taken around the lettering. Images by Tony V.
It was not immediately clear how effective our efforts were as the bubbles started foaming up on the surface, but once the muddy soap was rinsed away you could see the shining granite underneath. It was surprising to see how clear and lustrous the granite could be when it was properly cleaned, the monuments respectively being returned to their former glory.

Benjamin Louis, after cleaning
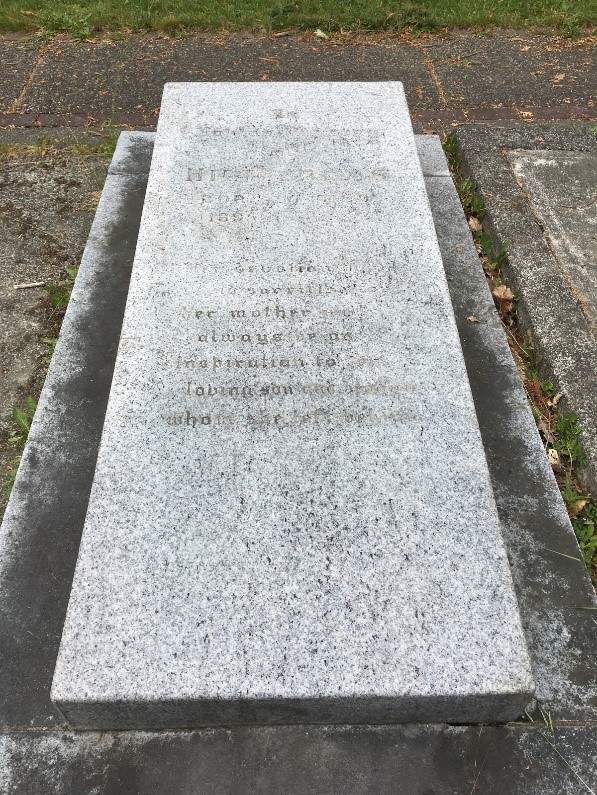
Hilda Boas, after cleaning
Figure 4: The cleaned and dried monuments of Benjamin Louis (left) and Hilda Boas (right). Images by Tony V.
Seeing the results of this headstone cleaning exercise helped us realize how much the cemetery would benefit from a systematic effort in washing all the monuments. As it stands there are still so many that require attention, and it would really revitalize the look of the cemetery as a whole and possibly encourage more public interest in its history. Who knows what could be revealed?
By TONY V. and EMILY K.